Using storage & creating tasks
Follow along with step-by-step instructions on how to complete the task outlined in the previous lesson. Use different storage types, and create a task.
Last lesson, our task was outlined for us. In this lesson, we'll be completing that task by making our Amazon actor push to a named dataset and use the default key-value store to store the cheapest item found by the scraper. Finally, we'll create a task for the actor back on the Apify platform.
Using a named dataset
Something important to understand is that, in the Apify SDK, when you use Actor.pushData(), the data will always be pushed to the default dataset. To open up a named dataset, we'll use the Actor.openDataset() function:
// main.js
// ...

await Actor.init();

const { keyword } = await Actor.getInput();

// Open a dataset with a custom named based on the
// keyword which was inputted by the user
const dataset = await Actor.openDataset(`amazon-offers-${keyword.replace(' ', '-')}`);
// ...
If we remember correctly, we are pushing data to the dataset in the labels.OFFERS handler we created in routes.js. Let's export the dataset variable pointing to our named dataset so we can import it in routes.js and use it in the handler:
export const dataset = await Actor.openDataset(`amazon-offers-${keyword.replace(' ', '-')}`);
Finally, let's modify the function to use the new dataset variable rather than the Actor class:
// Import the dataset pointer
import { dataset } from './main.js';

// ...

router.addHandler(labels.OFFERS, async ({ $, request }) => {
    const { data } = request.userData;

    for (const offer of $('#aod-offer')) {
        const element = $(offer);

        // Replace "Actor" with "dataset"
        await dataset.pushData({
            ...data,
            sellerName: element.find('div[id*="soldBy"] a[aria-label]').text().trim(),
            offer: element.find('.a-price .a-offscreen').text().trim(),
        });
    }
});
That's it! Now, our actor will push its data to a dataset named amazon-offers-KEYWORD!
Using a key-value store
We now want to store the cheapest item in the default key-value store under a key named CHEAPEST-ITEM. The most efficient and practical way of doing this is by filtering through all of the newly named dataset's items and pushing the cheapest one to the store.
Let's add the following code to the bottom of the actor after Crawl finished** is logged to the console:
// ...

const cheapest = items.reduce((prev, curr) => {
    // If there is no previous offer price, or the previous is more
    // expensive, set the cheapest to our current item
    if (!prev?.offer || +prev.offer.slice(1) > +curr.offer.slice(1)) return curr;
    // Otherwise, keep our previous item
    return prev;
});

// Set the "CHEAPEST-ITEM" key in the key-value store to be the
// newly discovered cheapest item
await Actor.setValue(CHEAPEST_ITEM, cheapest);

await Actor.exit();
If you start receiving a linting error after adding the following code to your main.js file, add
"parserOptions": { "ecmaVersion": "latest" }to the .eslintrc file in the root directory of your project.
You might have noticed that we are using a variable instead of a string for the key name in the key-value store. This is because we're using an exported variable from constants.js (which is best practice, as discussed in the modularity) lesson back in the Web scraping for beginners course. Here is what our constants.js file looks like:
// constants.js
export const BASE_URL = 'https://www.amazon.com';

export const OFFERS_URL = (asin) => `${BASE_URL}/gp/aod/ajax/ref=auto_load_aod?asin=${asin}&pc=dp`;

export const labels = {
    START: 'START',
    PRODUCT: 'PRODUCT',
    OFFERS: 'OFFERS',
};

export const CHEAPEST_ITEM = 'CHEAPEST-ITEM';
Code check-in
Just to ensure we're all on the same page, here is what the main.js file looks like now:
// main.js
import { Actor } from 'apify';
import { CheerioCrawler, log } from '@crawlee/cheerio';

import { router } from './routes.js';
import { BASE_URL, CHEAPEST_ITEM } from './constants';

await Actor.init();

const { keyword } = await Actor.getInput();

export const dataset = await Actor.openDataset(`amazon-offers-${keyword.replace(' ', '-')}`);

const proxyConfiguration = await Actor.createProxyConfiguration({
    groups: ['RESIDENTIAL'],
});

const crawler = new Actor.CheerioCrawler({
    proxyConfiguration,
    useSessionPool: true,
    maxConcurrency: 50,
    requestHandler: router,
});

await crawler.addRequests([
    {
        url: `${BASE_URL}/s/ref=nb_sb_noss?url=search-alias%3Daps&field-keywords=${keyword}`,
        label: 'START',
        userData: {
            keyword,
        },
    },
]);

log.info('Starting the crawl.');
await crawler.run();
log.info('Crawl finished.');

const { items } = await dataset.getData();

const cheapest = items.reduce((prev, curr) => {
    if (!prev?.offer) return curr;
    if (+prev.offer.slice(1) > +curr.offer.slice(1)) return curr;
    return prev;
});

await Actor.setValue(CHEAPEST_ITEM, cheapest);

await Actor.exit();
And here is routes.js:
// routes.js
import { createCheerioRouter } from '@crawlee/cheerio';
import { dataset } from './main.js';
import { BASE_URL, OFFERS_URL, labels } from './constants';

export const router = createCheerioRouter();

router.addHandler(labels.START, async ({ $, crawler, request }) => {
    const { keyword } = request.userData;

    const products = $('div > div[data-asin]:not([data-asin=""])');

    for (const product of products) {
        const element = $(product);
        const titleElement = $(element.find('.a-text-normal[href]'));

        const url = `${BASE_URL}${titleElement.attr('href')}`;

        await crawler.addRequests([{
            url,
            label: labels.PRODUCT,
            userData: {
                data: {
                    title: titleElement.first().text().trim(),
                    asin: element.attr('data-asin'),
                    itemUrl: url,
                    keyword,
                },
            },
        }]);
    }
});

router.addHandler(labels.PRODUCT, async ({ $, crawler, request }) => {
    const { data } = request.userData;

    const element = $('div#productDescription');

    await crawler.addRequests([{
        url: OFFERS_URL(data.asin),
        label: labels.OFFERS,
        userData: {
            data: {
                ...data,
                description: element.text().trim(),
            },
        },
    }]);
});

router.addHandler(labels.OFFERS, async ({ $, request }) => {
    const { data } = request.userData;

    for (const offer of $('#aod-offer')) {
        const element = $(offer);

        await dataset.pushData({
            ...data,
            sellerName: element.find('div[id*="soldBy"] a[aria-label]').text().trim(),
            offer: element.find('.a-price .a-offscreen').text().trim(),
        });
    }
});
Don't forget to push your changes to GitHub using git push origin MAIN_BRANCH_NAME to see them on the Apify platform!
Creating a task (It's easy!)
Back on the platform, on your actor's page, you can see a button in the top right hand corner that says Create new task:

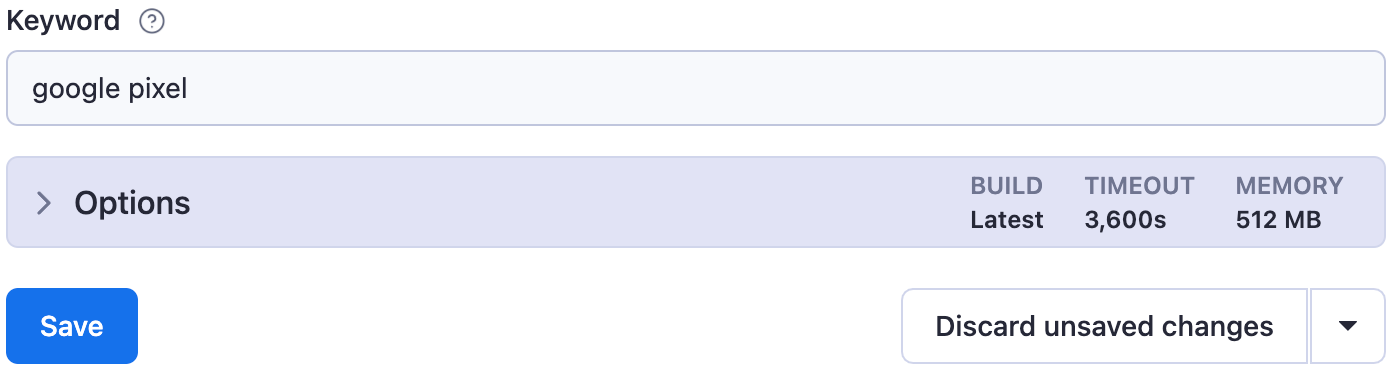
Then, configure the task to use google pixel as a keyword and click Save.
You can also add a custom name and description for the task in the Settings tab!
After saving it, you'll be able to see the newly created task in the Tasks tab on the Apify Console. Go ahead and run it. Did it work?
Quiz answers 📝
Q: What is the relationship between actors and tasks?
A: Tasks are pre-configured runs of actors. The configurations of an actor can be saved as a task so that it doesn't have to be manually configured every single time.
Q: What are the differences between default (unnamed) and named storage? Which one would you use for everyday usage?
A: Unnamed storage is persisted for only 7 days, while named storage is persisted indefinitely. For everyday usage, it is best to use default unnamed storages unless the data should explicitly be persisted for more than 7 days.
With named storages, it's easier to verify that you're using the correct store, as they can be referred to by name rather than by an ID.
Q: What is data retention, and how does it work for all types of storages (default and named)?
A: Default/unnamed storages expire after 7 days unless otherwise specified. Named storages are retained indefinitely.
Wrap up
You've learned how to use the different storage options available on Apify, the two different types of storage, as well as how to create tasks for actors.