Using the Apify API & JavaScript client
Learn how to interact with the Apify API directly through the well-documented RESTful routes, or by using the proprietary Apify JavaScript client.
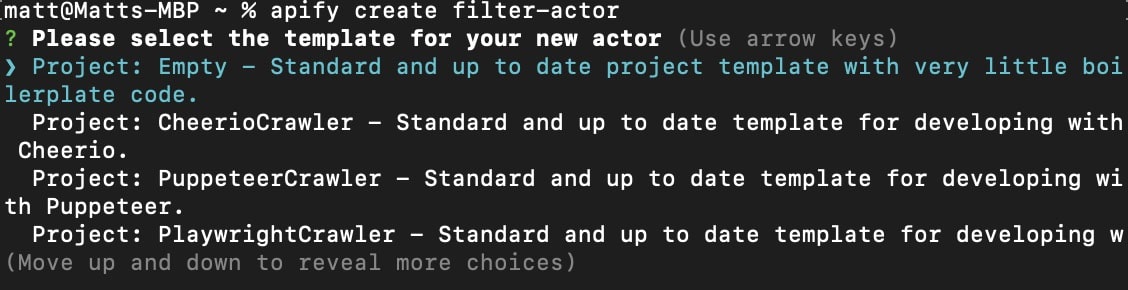
Since we need to create another Actor, we'll once again use the apify create command and start from an empty template.
This time, let's call our project actor-caller.
Let's also set up some boilerplate, grabbing our inputs and creating a constant variable for the task:
import { Actor } from 'apify';
import axios from 'axios';

await Actor.init();

const { useClient, memory, fields, maxItems } = await Actor.getInput();

const TASK = 'YOUR_USERNAME~demo-actor-task';

// our future code will go here

await Actor.exit();
Calling a task via JavaScript client
When using the apify-client package, you can create a new client instance by using new ApifyClient(). Within the Apify SDK however, it is not necessary to even install the apify-client package, as the Actor.newClient() function is available for use.
We'll start by creating a function called withClient() and creating a new client, then calling the task:
const withClient = async () => {
    const client = Actor.newClient();
    const task = client.task(TASK);

    const { id } = await task.call({ memory });
};
After the task has run, we'll grab hold of its dataset, then attempt to download the items, plugging in our maxItems and fields inputs. Then, once the data has been downloaded, we'll push it to the default key-value store under a key named OUTPUT.csv.
const withClient = async () => {
    const client = Actor.newClient();
    const task = client.task(TASK);

    const { id } = await task.call({ memory });

    const dataset = client.run(id).dataset();

    const items = await dataset.downloadItems('csv', {
        limit: maxItems,
        fields,
    });

    // If the content type is anything other than JSON, it must
    // be specified within the third options parameter
    return Actor.setValue('OUTPUT', items, { contentType: 'text/csv' });
};
Calling a task via API
First, we'll create a function (right under the withClient()) function named withAPI and instantiate a new variable which represents the API endpoint to run our task:
const withAPI = async () => {
    const uri = `https://api.apify.com/v2/actor-tasks/${TASK}/run-sync-get-dataset-items?`;
};
To add the query parameters to the URL, we could create a super long string literal, plugging in all of our input values; however, there is a much better way: URLSearchParams. By using URLSearchParams, we can add the query parameters in an object:
const withAPI = async () => {
    const uri = `https://api.apify.com/v2/actor-tasks/${TASK}/run-sync-get-dataset-items?`;
    const url = new URL(uri);

    url.search = new URLSearchParams({
        memory,
        format: 'csv',
        limit: maxItems,
        fields: fields.join(','),
        token: process.env.APIFY_TOKEN,
    });
};
Finally, let's make a POST request to our endpoint. You can use any library you want, but in this example, we'll use axios. Don't forget to run npm install axios if you're going to use this package too!
const withAPI = async () => {
    const uri = `https://api.apify.com/v2/actor-tasks/${TASK}/run-sync-get-dataset-items?`;
    const url = new URL(uri);

    url.search = new URLSearchParams({
        memory,
        format: 'csv',
        limit: maxItems,
        fields: fields.join(','),
        token: process.env.APIFY_TOKEN,
    });

    const { data } = await axios.post(url.toString());

    return Actor.setValue('OUTPUT', data, { contentType: 'text/csv' });
};
Finalizing the Actor
Now, since we've written both of these functions, all we have to do is write a conditional statement based on the boolean value from useClient:
if (useClient) await withClient();
else await withAPI();
And before we push to the platform, let's not forget to write an input schema in the INPUT_SCHEMA.JSON file:
{
  "title": "Actor Caller",
  "type": "object",
  "schemaVersion": 1,
  "properties": {
    "memory": {
      "title": "Memory",
      "type": "integer",
      "description": "Select memory in megabytes.",
      "default": 4096,
      "maximum": 32768,
      "unit": "MB"
    },
    "useClient": {
      "title": "Use client?",
      "type": "boolean",
      "description": "Specifies whether the Apify JS client, or the pure Apify API should be used.",
      "default": true
    },
    "fields": {
      "title": "Fields",
      "type": "array",
      "description": "Enter the dataset fields to export to CSV",
      "prefill": ["title", "url", "price"],
      "editor": "stringList"
    },
    "maxItems": {
      "title": "Max items",
      "type": "integer",
      "description": "Fill the maximum number of items to export.",
      "default": 10
    }
  },
  "required": ["useClient", "memory", "fields", "maxItems"]
}
Final code
To ensure we're on the same page, here is what the final code looks like:
import { Actor } from 'apify';
import axios from 'axios';

await Actor.init();

const { useClient, memory, fields, maxItems } = await Actor.getInput();

const TASK = 'YOUR_USERNAME~demo-actor-task';

const withClient = async () => {
    const client = Actor.newClient();
    const task = client.task(TASK);

    const { id } = await task.call({ memory });

    const dataset = client.run(id).dataset();

    const items = await dataset.downloadItems('csv', {
        limit: maxItems,
        fields,
    });

    return Actor.setValue('OUTPUT', items, { contentType: 'text/csv' });
};

const withAPI = async () => {
    const uri = `https://api.apify.com/v2/actor-tasks/${TASK}/run-sync-get-dataset-items?`;
    const url = new URL(uri);

    url.search = new URLSearchParams({
        memory,
        format: 'csv',
        limit: maxItems,
        fields: fields.join(','),
        token: process.env.APIFY_TOKEN,
    });

    const { data } = await axios.post(url.toString());

    return Actor.setValue('OUTPUT', data, { contentType: 'text/csv' });
};

if (useClient) {
    await withClient();
} else {
    await withAPI();
}

await Actor.exit();
Quiz answers 📝
Q: What is the relationship between the Apify API and Apify client? Are there any significant differences?
A: The Apify client mimics the Apify API, so there aren't any super significant differences. It's super handy as it helps with managing the API calls (parsing, error handling, retries, etc) and even adds convenience functions.
The one main difference is that the Apify client automatically uses exponential backoff to deal with errors.
Q: How do you pass input when running an Actor or task via API?
A: The input should be passed into the body of the request when running an actor/task via API.
Q: Do you need to install the apify-client npm package when already using the apify package?
A: No. The Apify client is available right in the SDK with the Actor.newClient() function.
Wrap up
That's it! Now, if you want to go above and beyond, you should create a GitHub repository for this Actor, integrate it with a new one on the Apify platform, and test if it works there as well (with multiple input configurations).