Managing source code
Learn how to manage your Actor's source code more efficiently by integrating it with a GitHub repository. This is standard on the Apify platform.
In this brief lesson, we'll discuss how to better manage an Actor's source code. Up 'til now, you've been developing your scripts locally, and then pushing the code directly to the Actor on the Apify platform; however, there is a much more optimal (and standard) way.
Learning 🧠
Thus far, every time we've updated our code on the Apify platform, we've used the apify push CLI command; however, this can be problematic for a few reasons - mainly because, if someone else wants to make a change to/maintain your code, they don't have access to it, as it is on your local machine.
If you're not yet familiar with Git, please get familiar with it through the Git documentation, then take a quick moment to read about GitHub integration in the Apify docs.
Also, try to explore the Multifile editor in one of the Actors you developed in the previous lessons before moving forward.
Knowledge check 📝
- Do you have to rebuild an Actor each time the source code is changed?
- In Git, what is the difference between pushing changes and making a pull request?
- Based on your knowledge and experience, is the
apify pushcommand worth using (in your opinion)?
Our task
First, we must initialize a GitHub repository (you can use Gitlab if you like, but this lesson's examples will be using GitHub). Then, after pushing our main Amazon Actor's code to the repo, we must switch its source code to use the content of the GitHub repository instead.
Integrating GitHub source code
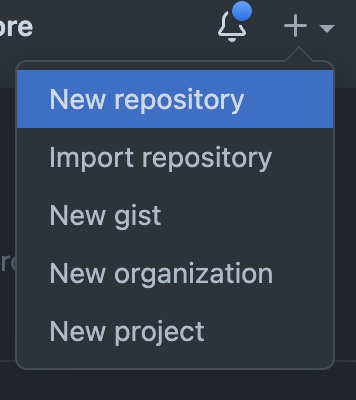
First, let's create a repository. This can be done in a number of ways, but in this lesson, we'll do it by creating the remote repository on GitHub's website:
Then, we'll run the commands it tells us in our terminal (while within the demo-actor directory) to initialize the repository locally, and then push all of the files to the remote one.
After you've created your repo, navigate on the Apify platform to the Actor we called demo-actor. In the Source tab, click the dropdown menu under Source code and select Git repository. By default, this is set to Web IDE, which is what we've been using so far.
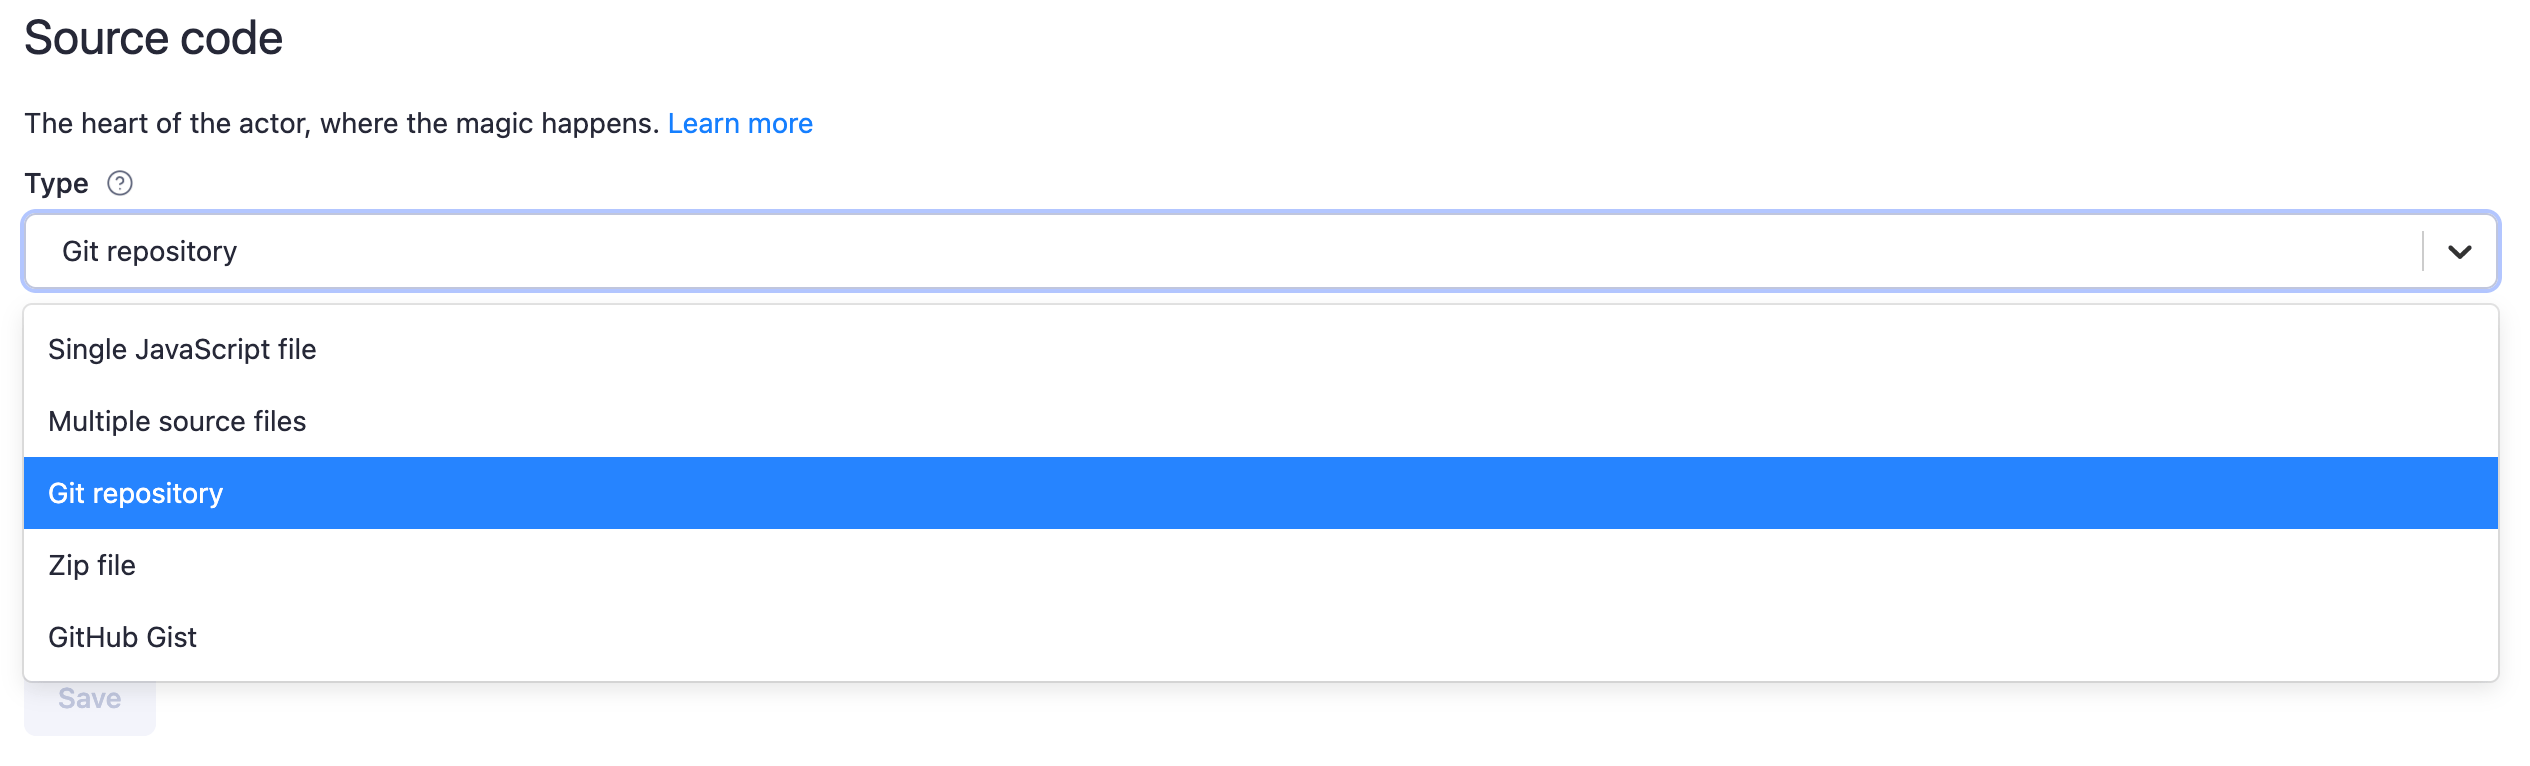
Then, go ahead and paste the link to your repository into the Git URL text field and click Save.
The final step is to click on API in the top right corner of your Actor's page:
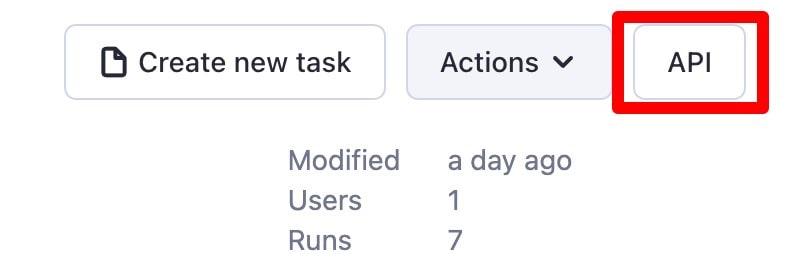
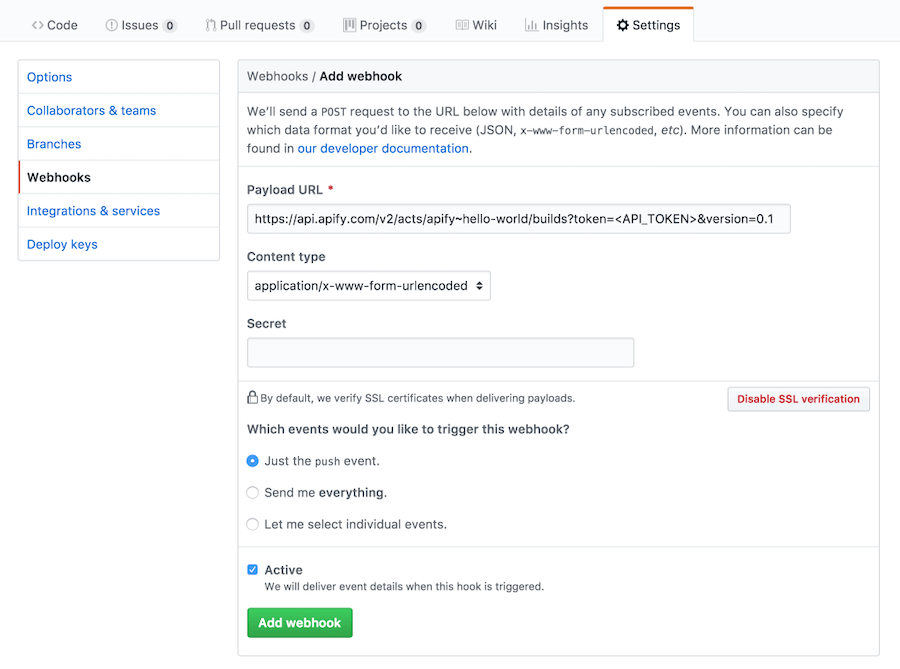
And scroll through all of the links until you find the Build Actor API endpoint. Copy this endpoint's URL, then head back over to your GitHub repository and navigate to Settings > Webhooks > Add webhook. The final thing to do is to paste the URL and save the webhook.
And you're done! 🎉
Quick chat about code management
This was a bit of overhead, but the good news is that you don't ever have to configure this stuff again for this Actor. Now, every time the content of your main/master branch changes, the Actor on the Apify platform will rebuild based on the newest code.
Think of it as combining two steps into one! Normally, you'd have to do a git push from your terminal in order to get the newest code onto GitHub, then run apify push to push it to the platform.
It's also important to know that GitHub/Gitlab repository integration is standard practice. As projects grow and the number of contributors and maintainers increases, it only makes sense to have a GitHub repository integrated with the project's Actor. For the remainder of this course, all Actors created will be integrated with a GitHub repository.
Next up
Next up, you'll learn about the different ways to store scraped data, as well as how to utilize a cool feature to run pre-configured Actors.