Quick Start
This short tutorial will set you up to start using Apify SDK in a minute or two. If you want to learn more, proceed to the Getting Started tutorial that will take you step by step through creating your first scraper.
Local stand-alone usage
Apify SDK requires Node.js 10.17 or later, with the exception of Node.js 11. Add Apify SDK to any Node.js project by running:
npm install apify playwright
Neither
playwrightnorpuppeteerare bundled with the SDK to reduce install size and allow greater flexibility. That's why we install it with NPM. You can choose one, both, or neither.
Run the following example to perform a recursive crawl of a website using Playwright. For more examples showcasing various features of the Apify SDK, see the Examples section of the documentation.
const Apify = require('apify');

// Apify.main is a helper function, you don't need to use it.
Apify.main(async () => {
    const requestQueue = await Apify.openRequestQueue();
    // Choose the first URL to open.
    await requestQueue.addRequest({ url: 'https://www.iana.org/' });

    const crawler = new Apify.PlaywrightCrawler({
        requestQueue,
        handlePageFunction: async ({ request, page }) => {
            // Extract HTML title of the page.
            const title = await page.title();
            console.log(`Title of ${request.url}: ${title}`);

            // Add URLs that match the provided pattern.
            await Apify.utils.enqueueLinks({
                page,
                requestQueue,
                pseudoUrls: ['https://www.iana.org/[.*]'],
            });
        },
    });

    await crawler.run();
});
To read more about what pseudo-URL is, check the getting-started.
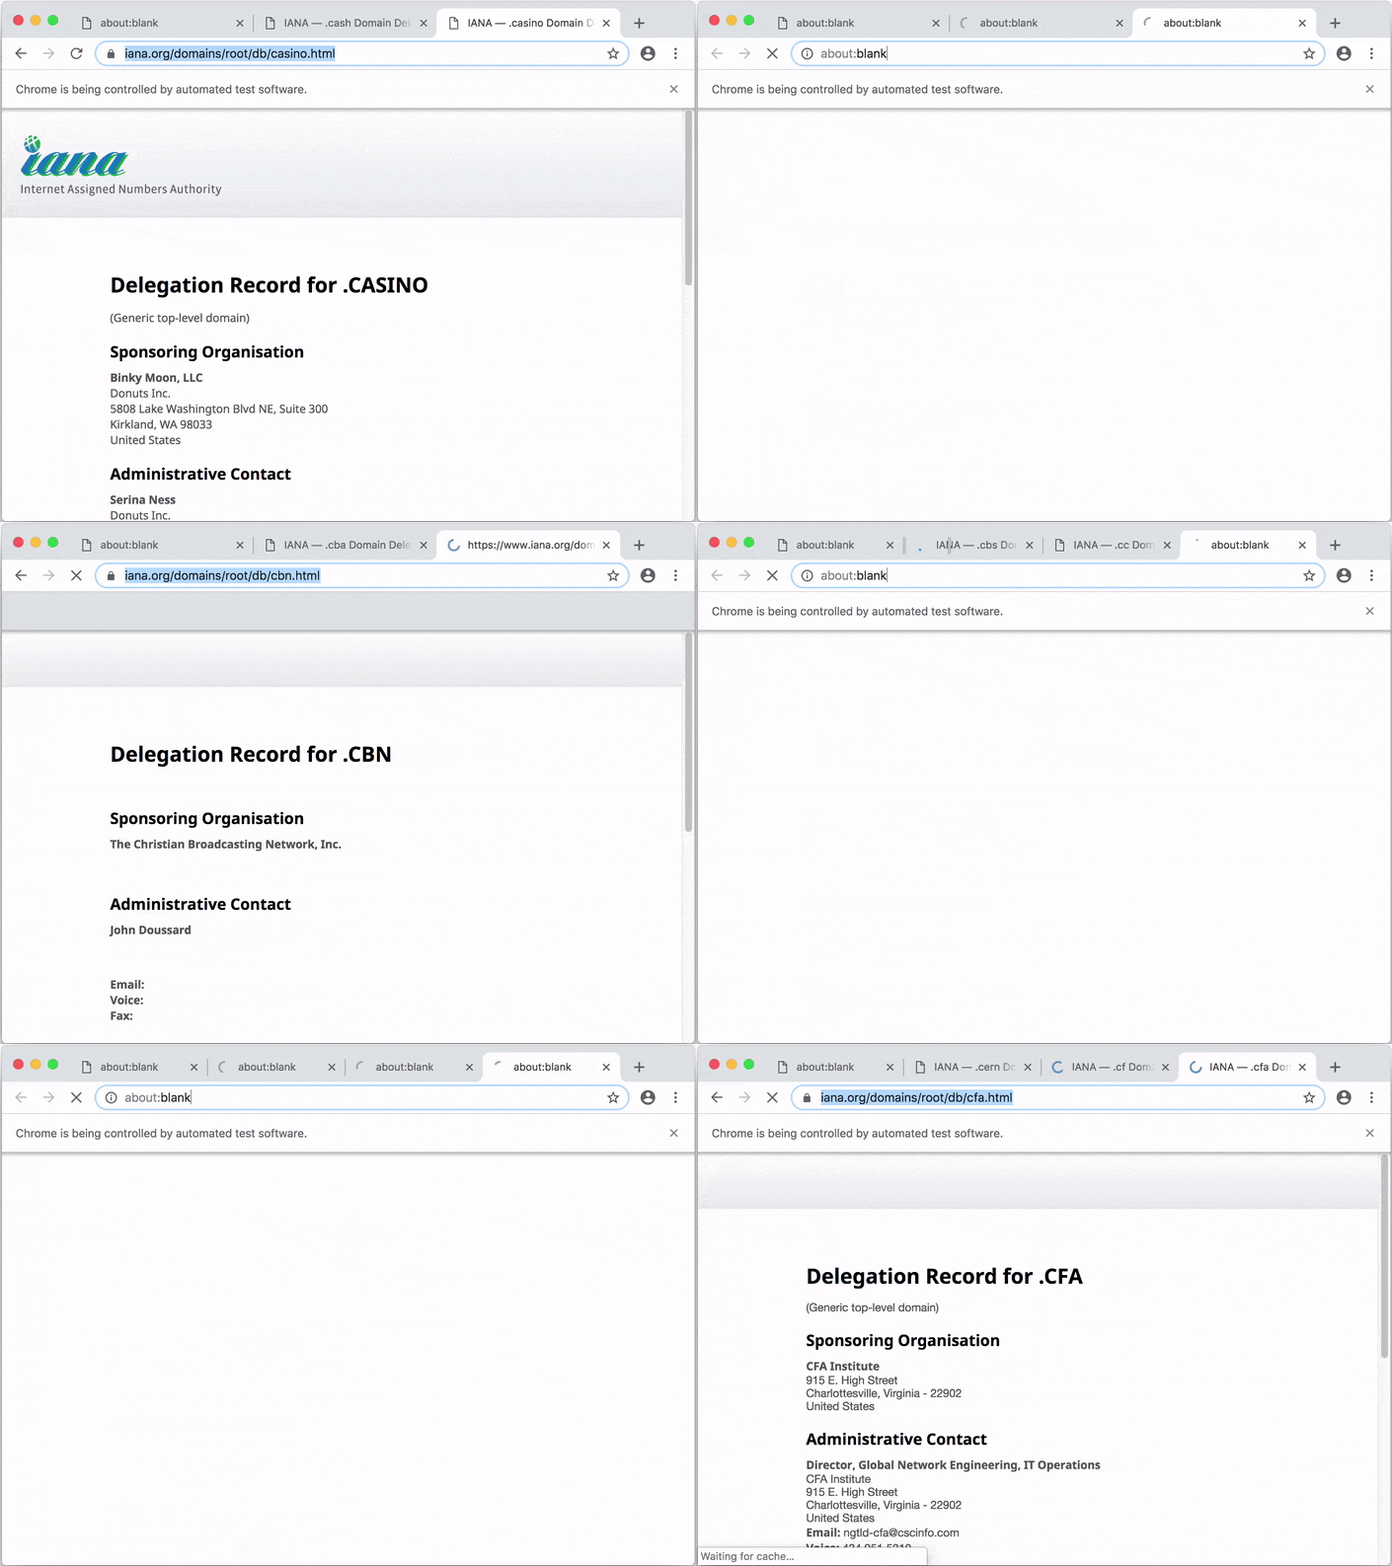
When you run the example, you should see Apify SDK automating a Chrome browser.

By default, Apify SDK stores data to ./apify_storage in the current working directory. You can override this behavior by setting either the
APIFY_LOCAL_STORAGE_DIR or APIFY_TOKEN environment variable. For details, see Environment variables, Request storage and Result storage.
Local usage with Apify command-line interface (CLI)
To avoid the need to set the environment variables manually, to create a boilerplate of your project, and to enable pushing and running your code on the Apify platform, you can use the Apify command-line interface (CLI) tool.
Install the CLI by running:
npm -g install apify-cli
Now create a boilerplate of your new web crawling project by running:
apify create my-hello-world
The CLI will prompt you to select a project boilerplate template - just pick "Hello world". The tool will create a directory called my-hello-world
with a Node.js project files. You can run the project as follows:
cd my-hello-world
apify run
By default, the crawling data will be stored in a local directory at ./apify_storage. For example, the input JSON file for the actor is expected to
be in the default key-value store in ./apify_storage/key_value_stores/default/INPUT.json.
Now you can easily deploy your code to the Apify platform by running:
apify login
apify push
Your script will be uploaded to the Apify platform and built there so that it can be run. For more information, view the Apify Actor documentation.
Usage on the Apify platform
You can also develop your web scraping project in an online code editor directly on the Apify platform. You'll need to have an Apify Account. Go to the Actors page in the app, click Create new and then go to the Source tab and start writing your code or paste one of the examples from the Examples section.
For more information, view the Apify actors quick start guide.