Apify SDK for JavaScript and Node.js
Apify SDK for JavaScript and Node.js
Toolkit for building Actors—serverless microservices running (not only) on the Apify platform.

npx apify-cli create my-crawler
Apify SDK v3 is out 🚀
What's new? Read below 👇
Four years ago, Apify released its open-source Node.js library for web scraping and automation, Apify SDK. It became popular among the community, but there was a problem. Despite being open-source, the library's name caused users to think its features were restricted to the Apify platform, which was never the case.
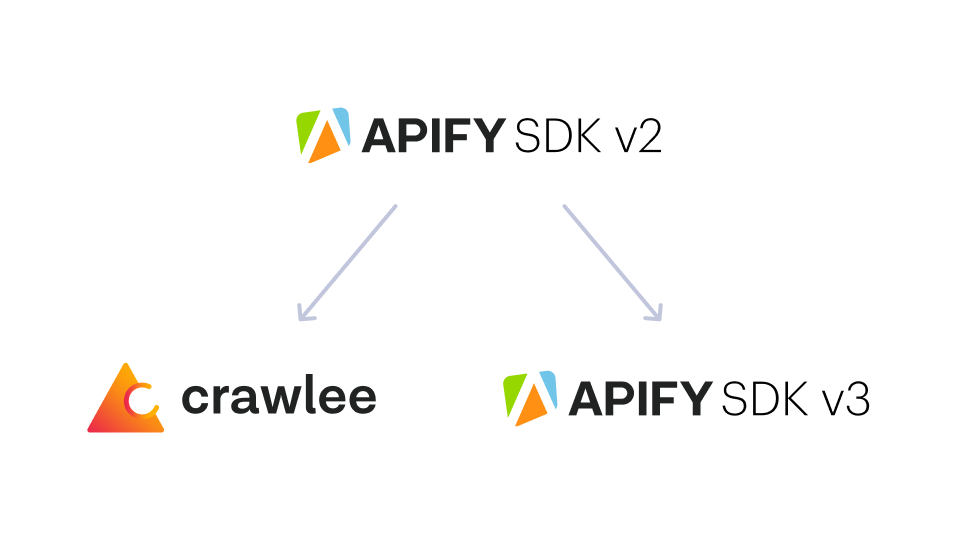
With this in mind, we decided to split Apify SDK into two libraries, Crawlee and Apify SDK v3. Crawlee will retain all the crawling and scraping-related tools and will always strive to be the best web scraping library for its community. At the same time, Apify SDK will continue to exist, but keep only the Apify-specific features related to building actors on the Apify platform.
How it works now
Outside of the Apify platform
If you want to use the crawling functionality of Apify SDK v2 outside of the Apify platform, head to Crawlee documentation to get started. The interface is almost exactly the same as the original SDK, but we've made a lot of improvements under the hood to improve the developer experience.
npm install crawlee
On the Apify platform
In Apify SDK v2, both the crawling and actor building logic were mixed together. This made it easy to build crawlers on the Apify platform, but confusing to build anything else. Apify SDK v3 includes only the Apify platform specific functionality. To build crawlers on the Apify platform, you need to combine it with Crawlee. Or you can use it standalone for other projects.
Build a crawler like you're used to
The following example shows how to build an SDK-v2-like crawler on the Apify platform. To use PlaywrightCrawler you need to install 3 libraries. Apify SDK v3, Crawlee and Playwright. In v2, you only needed to install Apify SDK v2 and Playwright.
npm install apify crawlee playwright
"type": "module" clause into your package.json or copy it into a file with an .mjs suffix. This enables import statements in Node.js. See Node.js docs for more information.// Apify SDK v3 uses named exports instead of the Apify object.
// You can import Dataset, KeyValueStore and more.
import { Actor } from 'apify';
// We moved all the crawling components to Crawlee.
// See the documentation on https://crawlee.dev
import { PlaywrightCrawler } from 'crawlee';
// Initialize the actor on the platform. This function connects your
// actor to platform events, storages and API. It replaces Apify.main()
await Actor.init();
const crawler = new PlaywrightCrawler({
// handle(Page|Request)Functions of all Crawlers
// are now simply called a requestHandler.
async requestHandler({ request, page, enqueueLinks }) {
const title = await page.title();
console.log(`Title of ${request.loadedUrl} is '${title}'`);
// Use Actor instead of the Apify object to save data.
await Actor.pushData({ title, url: request.loadedUrl });
// We simplified enqueuing links a lot, see the docs.
// This way the function adds only links to same hostname.
await enqueueLinks();
}
});
// You can now add requests to the queue directly from the run function.
// No need to create an instance of the queue separately.
await crawler.run(['https://crawlee.dev']);
// This function disconnects the actor from the platform
// and optionally sends an exit message.
await Actor.exit();
For more information, see the upgrading guide that explains all the changes in great detail.
Build an actor without Crawlee
If your actors are not crawlers, or you want to simply wrap existing code and turn it into an actor on the Apify platform, you can do that with standalone Apify SDK v3.
npm install apify
import { Actor } from 'apify';

// Initialize the actor on the platform. This function connects your
// actor to platform events, storages and API. It replaces Apify.main()
await Actor.init();

const input = await Actor.getInput()

// Do something with the input in your own code.
const output = await magicallyCreateOutput(input)

await Actor.setValue('my-output', output);

// This function disconnects the actor from the platform
// and optionally sends an exit message.
await Actor.exit();

