IFTTT integration
IFTTT is a service that helps you create automated workflows called Applets. With the Apify integration for IFTTT, you can connect your Apify Actors to hundreds of services like Twitter, Gmail, Google Sheets, Slack, and more.
This guide shows you how to integrate Apify Actors with IFTTT to build automated workflows. You'll learn how to create IFTTT Applets that can be triggered by Apify events or that can execute Apify tasks.
An IFTTT Applet consists of three key parts:
- A trigger that starts the workflow
- Optional queries that retrieve data
- One or more actions that execute when the Applet runs
The Apify integration lets you trigger workflows when an Actor or task run finishes, start Actor or task runs from other triggers, or retrieve data from datasets and key-value stores.
This integration uses a third-party service. If you find outdated content, please submit an issue on GitHub.
Prerequisites
Before using the Apify integration with IFTTT, you need:
- An Apify account
- An IFTTT account
Connect Apify with IFTTT
To connect your Apify account to IFTTT:
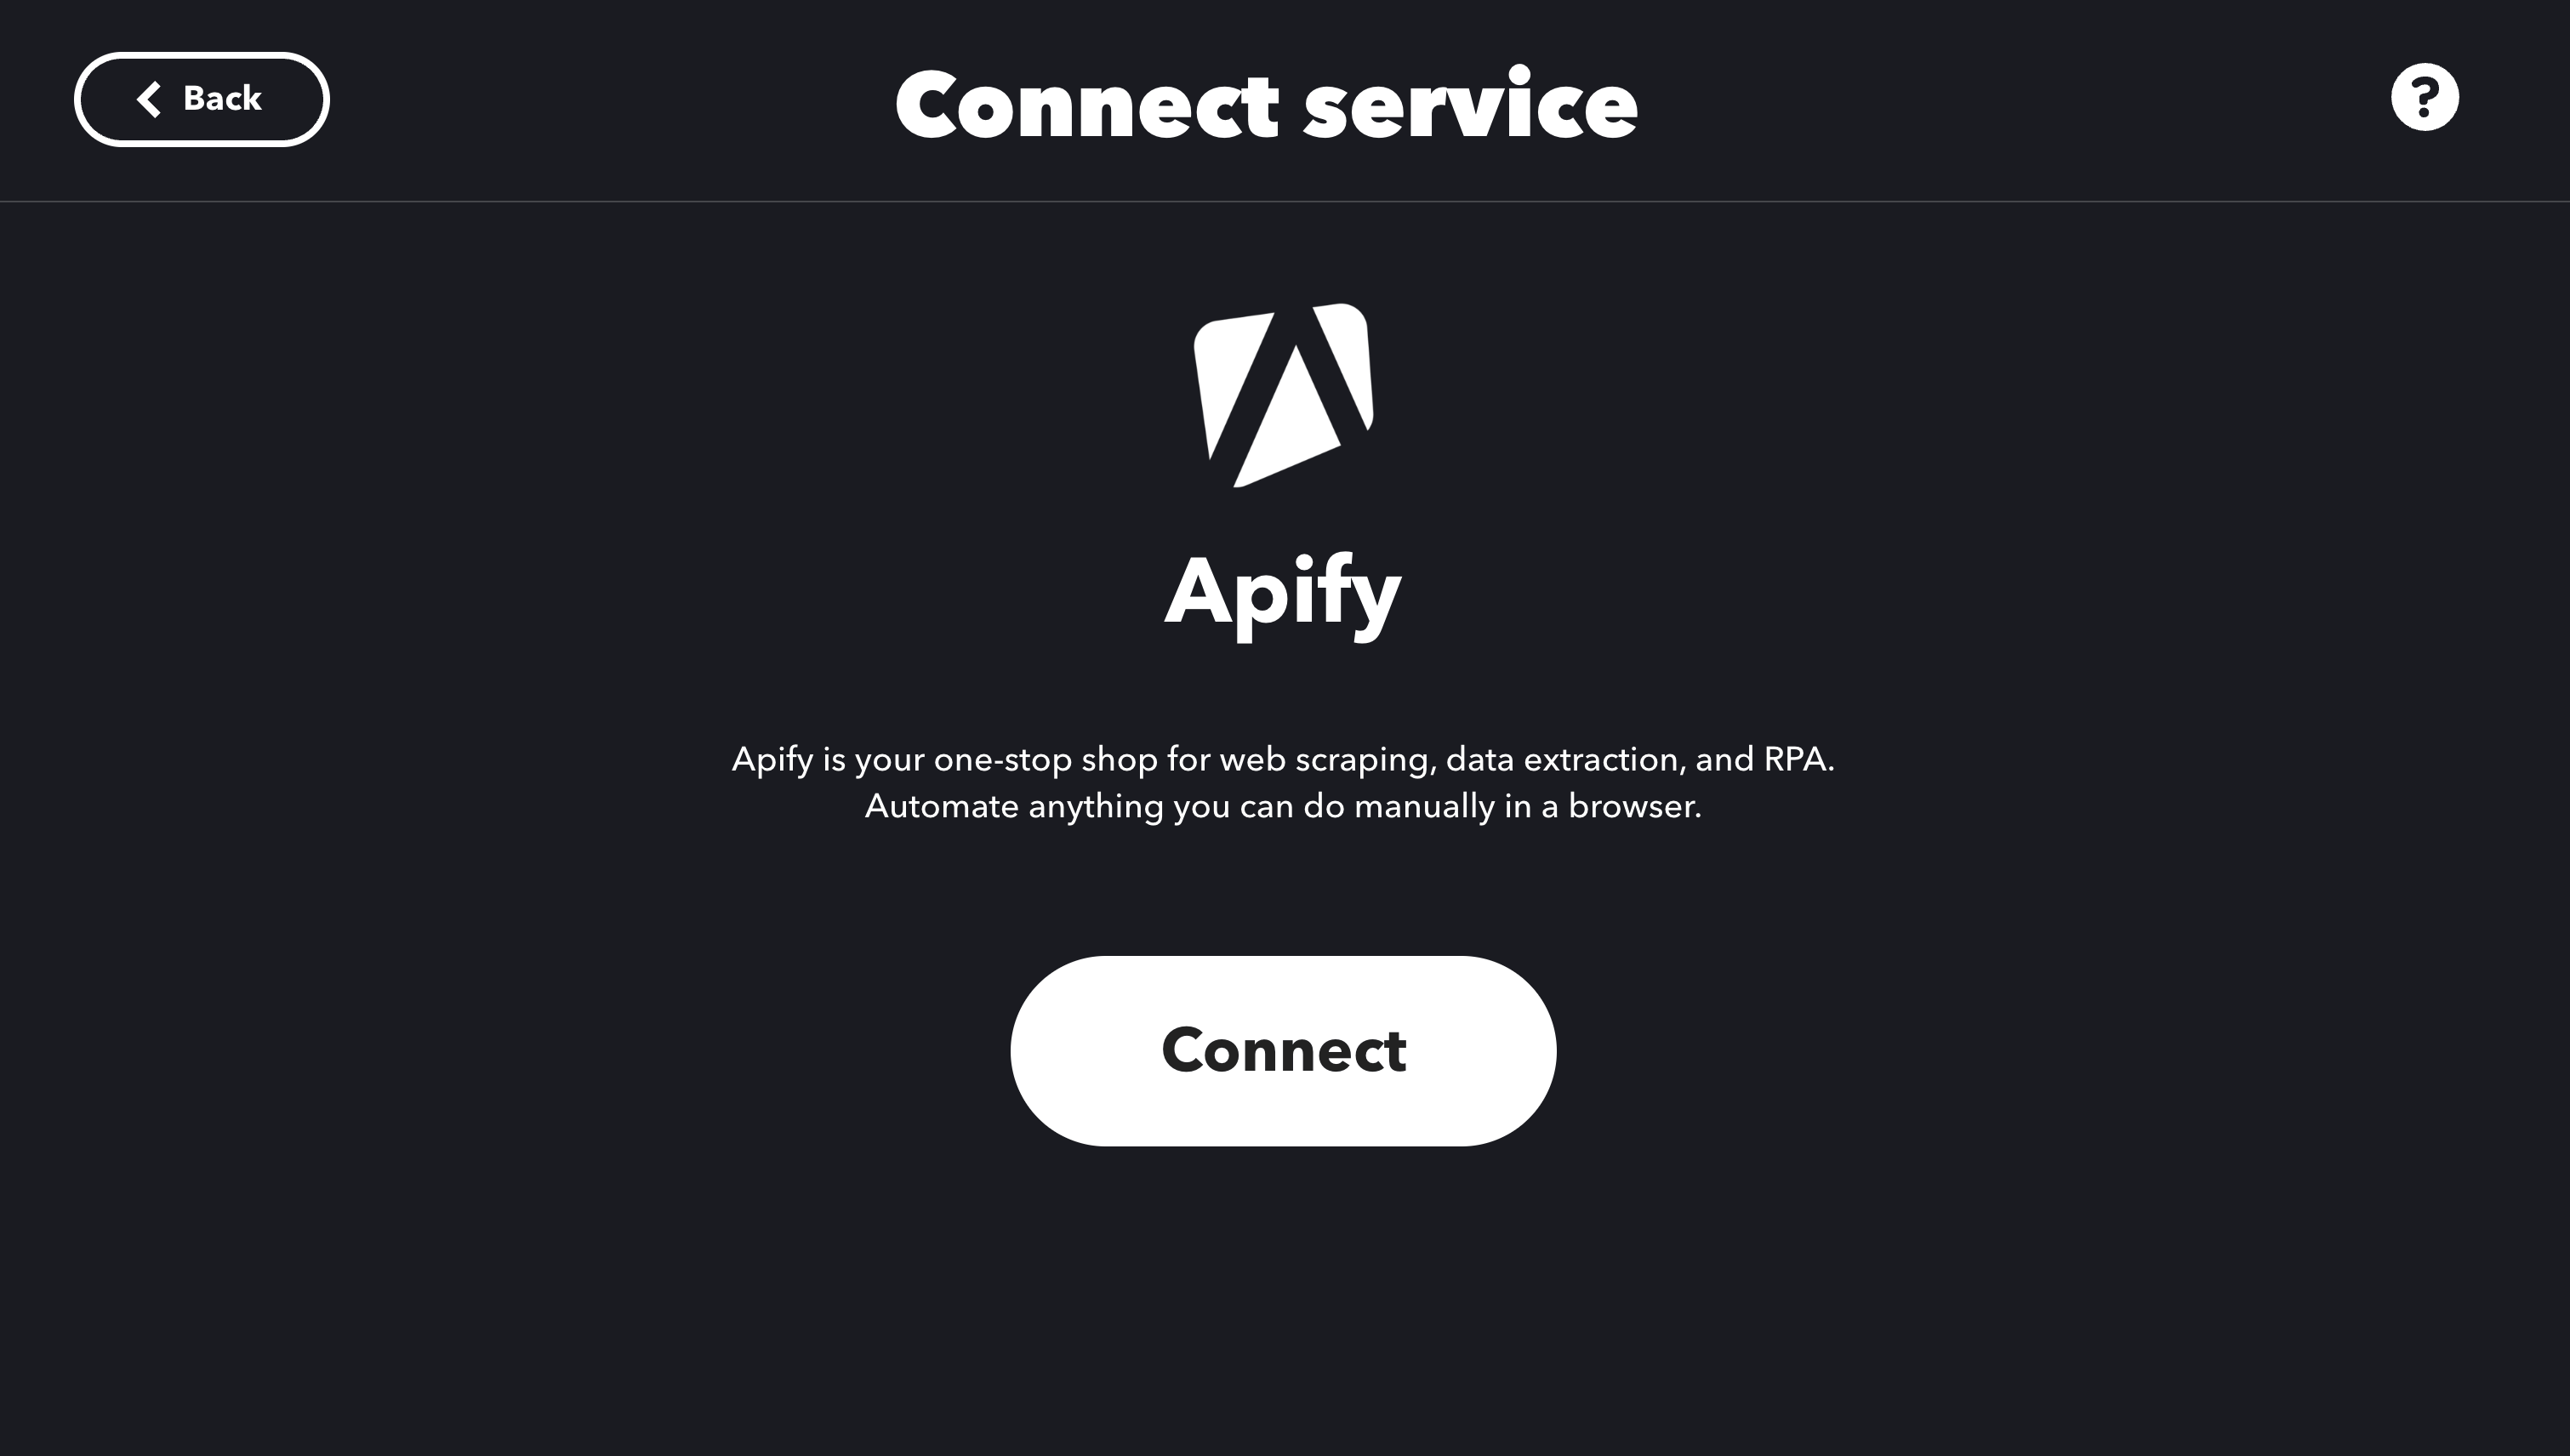
- Visit the Apify service page on IFTTT.
- Click the Connect button.
- When redirected to the Apify login page, sign in to your Apify account.
Create an Applet with Apify
Create an Applet
To create an Applet that starts when Apify event occurs:
- Go to the Explore section on IFTTT.
- Click the Create button.
- In the If this section, click Add.
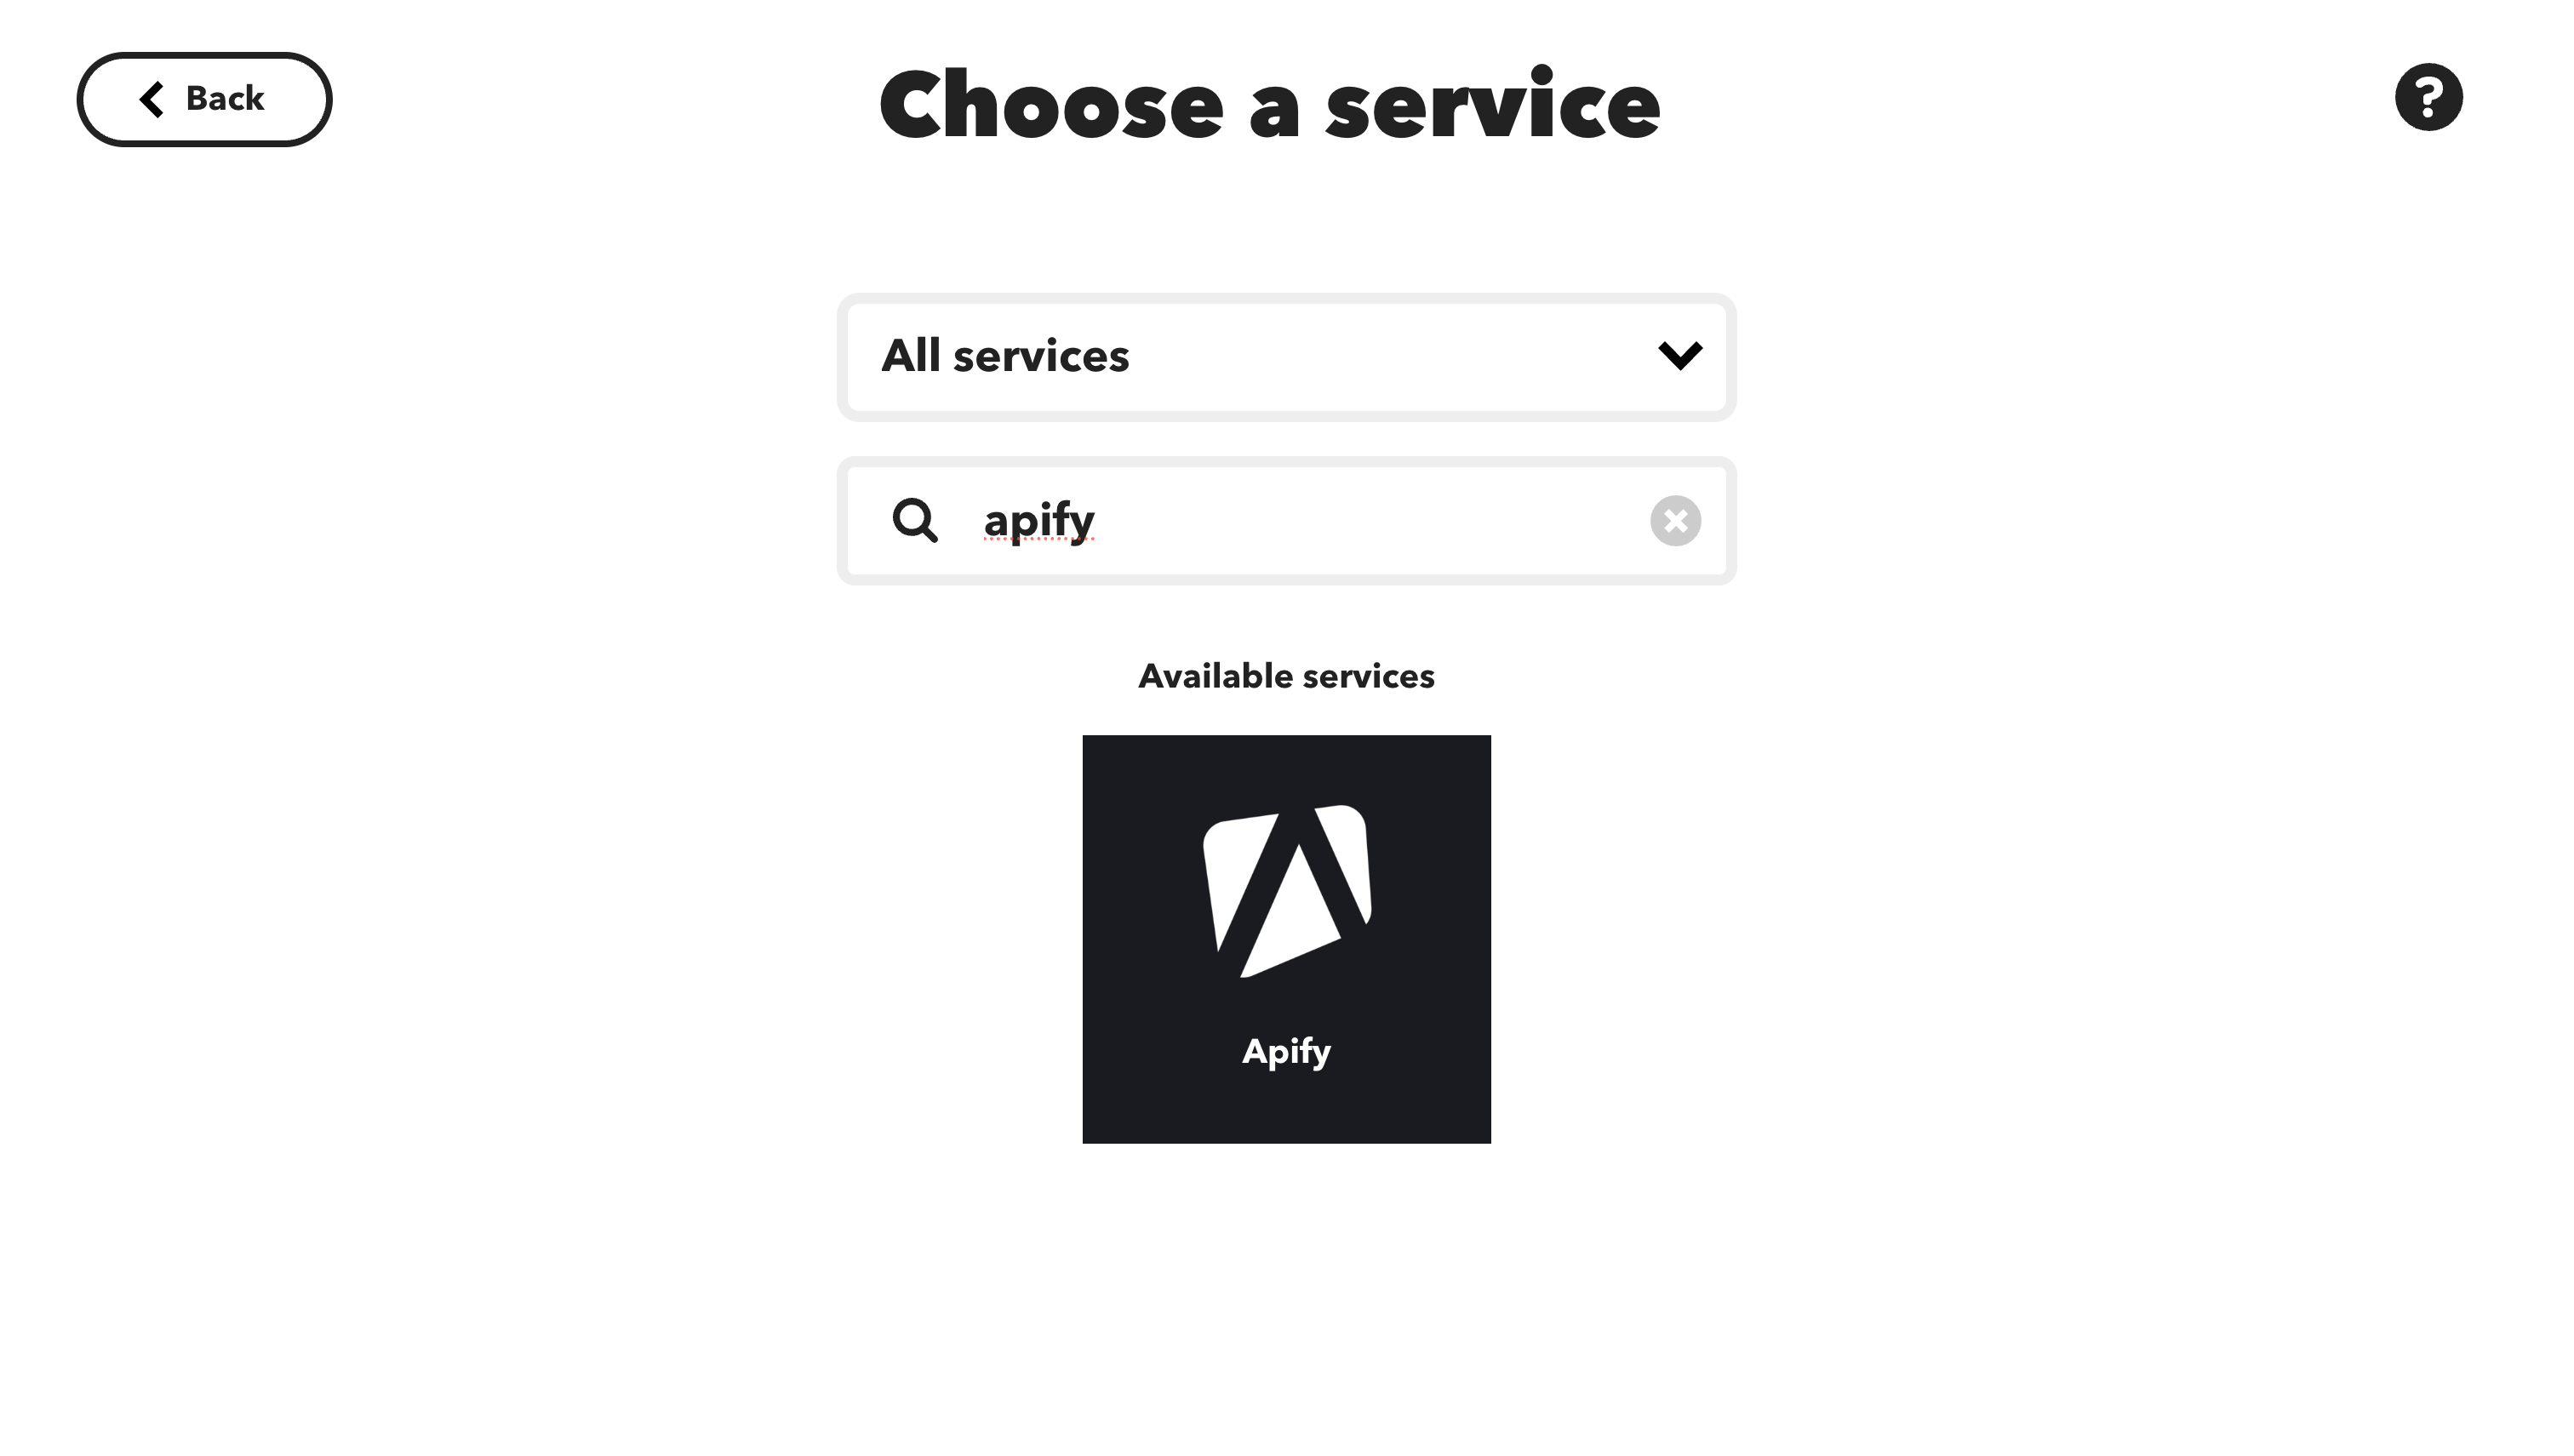
- Search for and select Apify in the service list.
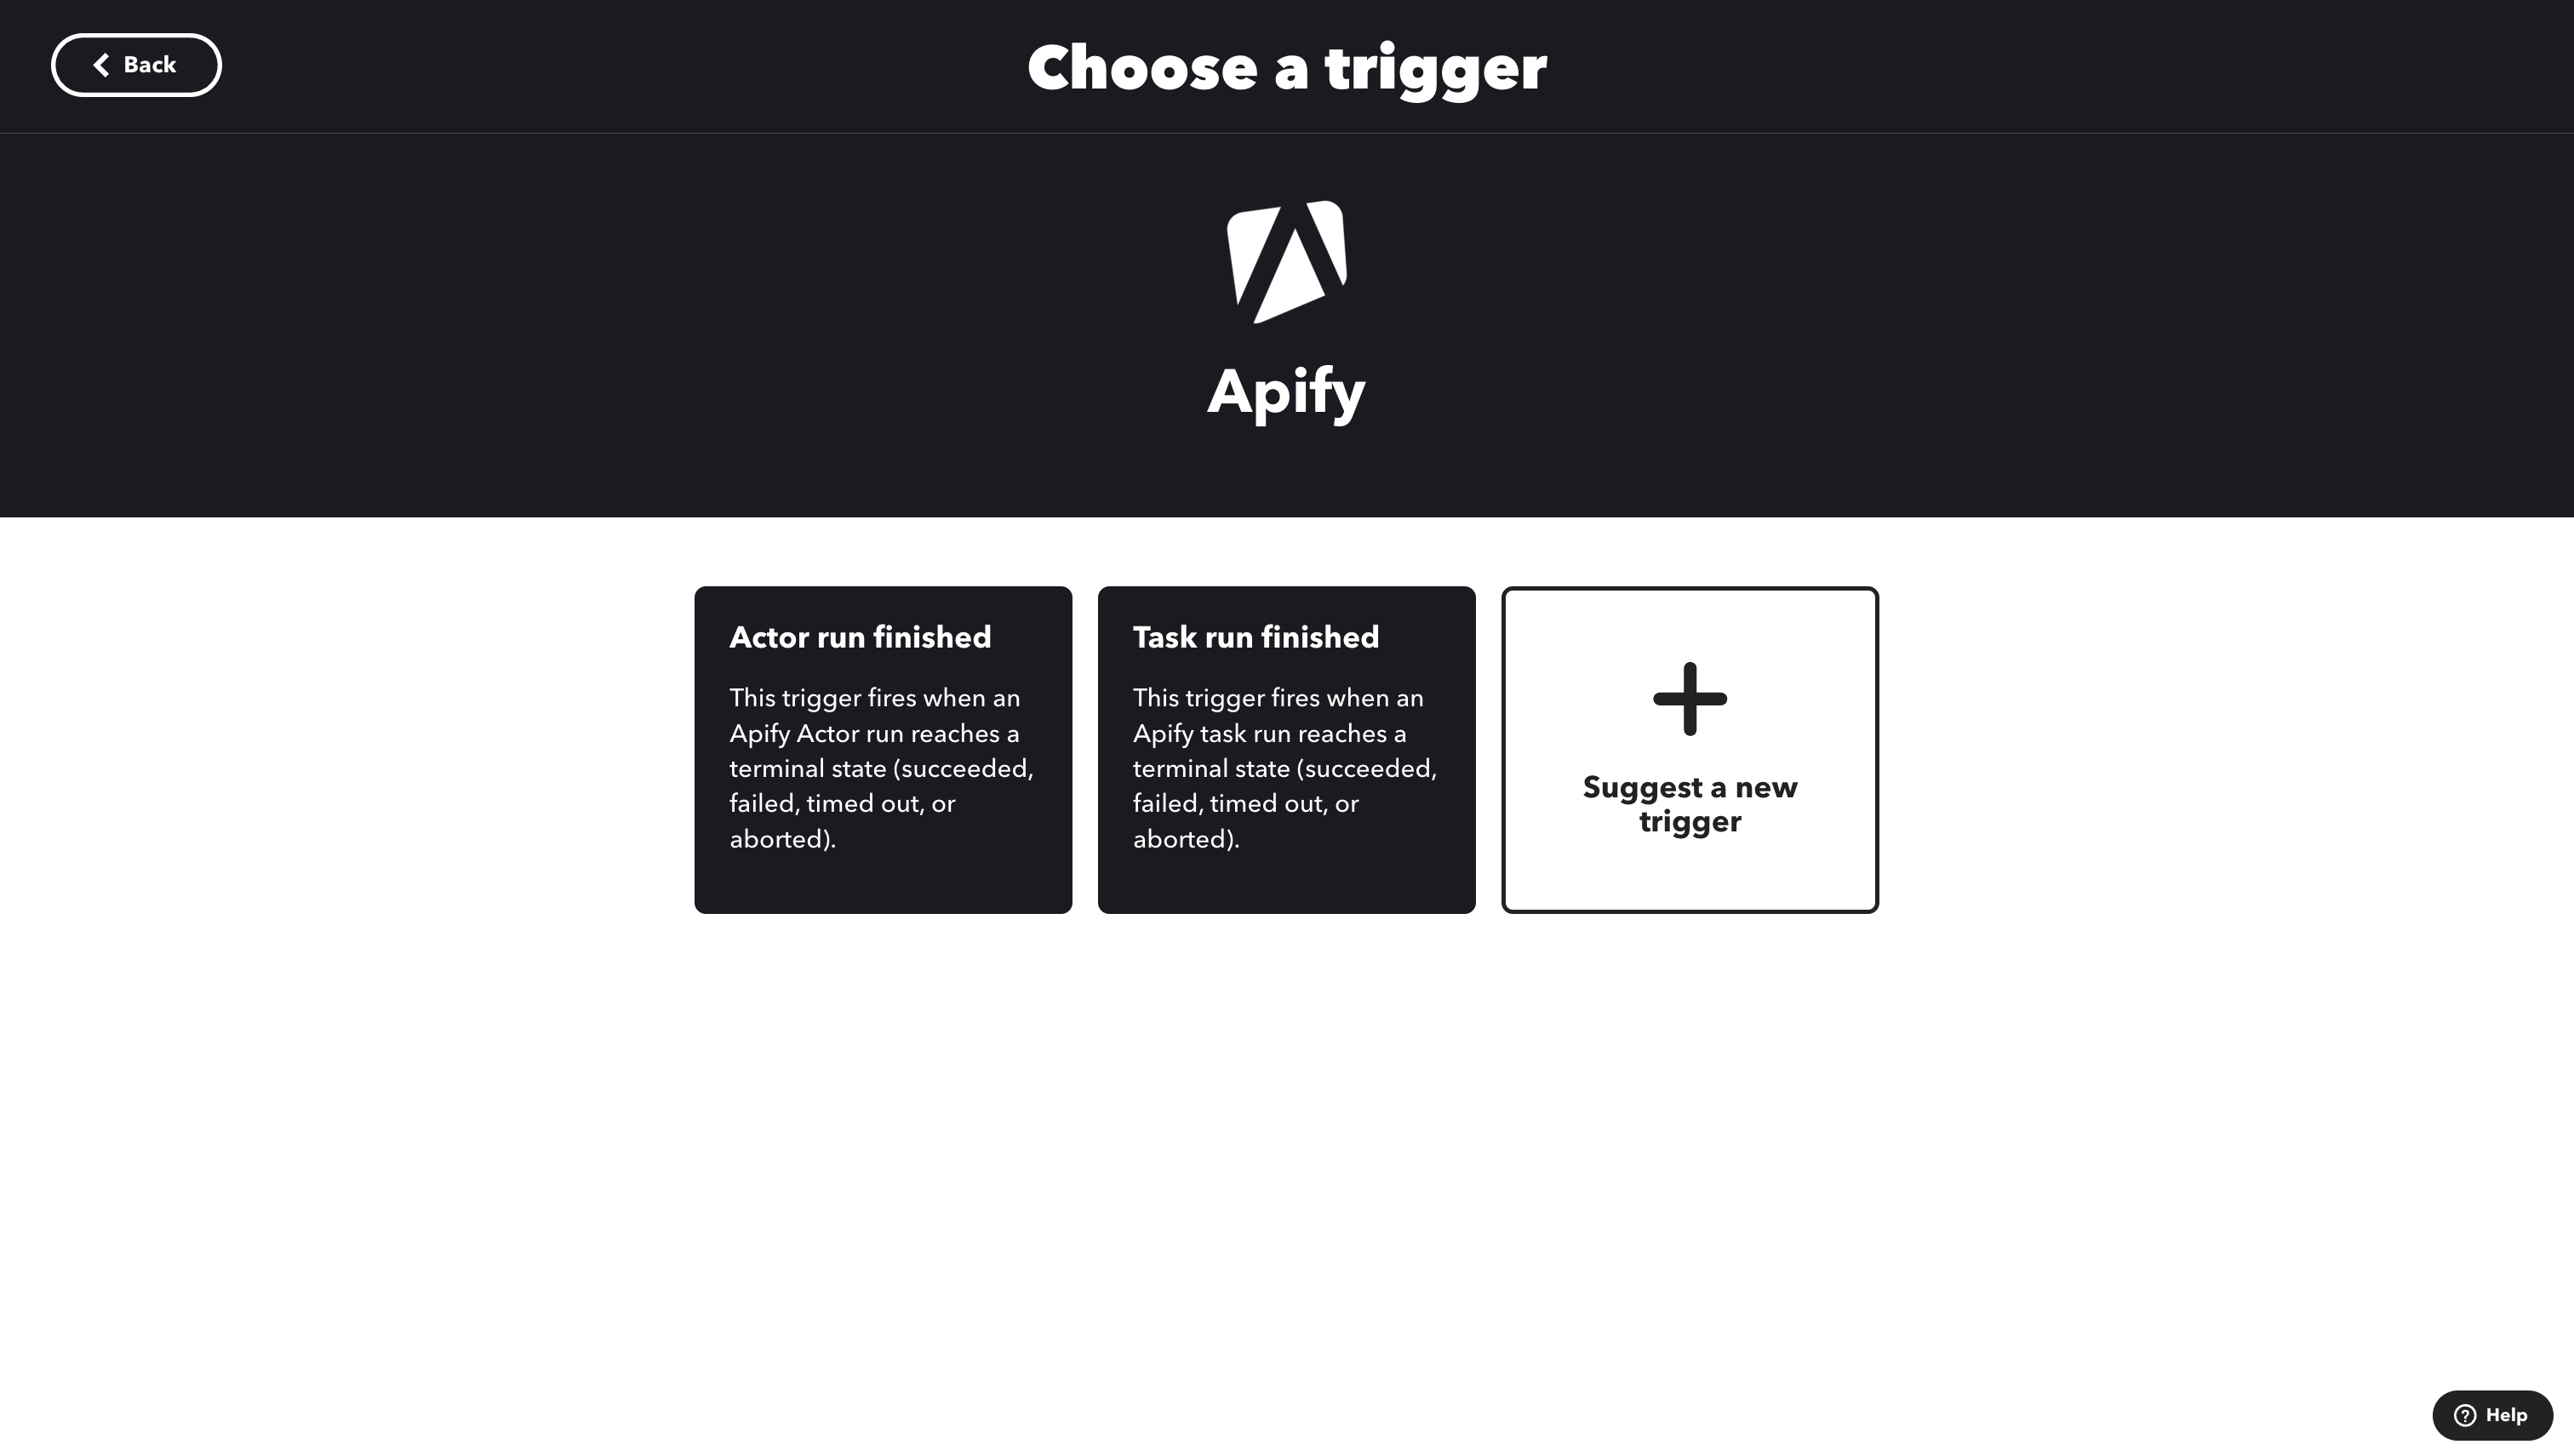
- Select a trigger from the available options:
- Actor Run Finished: Triggers when a selected Actor run completes
- Task Run Finished: Triggers when a selected Actor task run completes
- Configure the trigger by selecting the specific Actor or task.
- Click Create trigger to continue.
In case you didn't connect to the Apify account, you will be prompted to do so when you select a trigger.
Set up an Apify Action
To use Apify as an action in your Applet:
- In the Then That section of your Applet, click Add.
- Search for and select Apify.
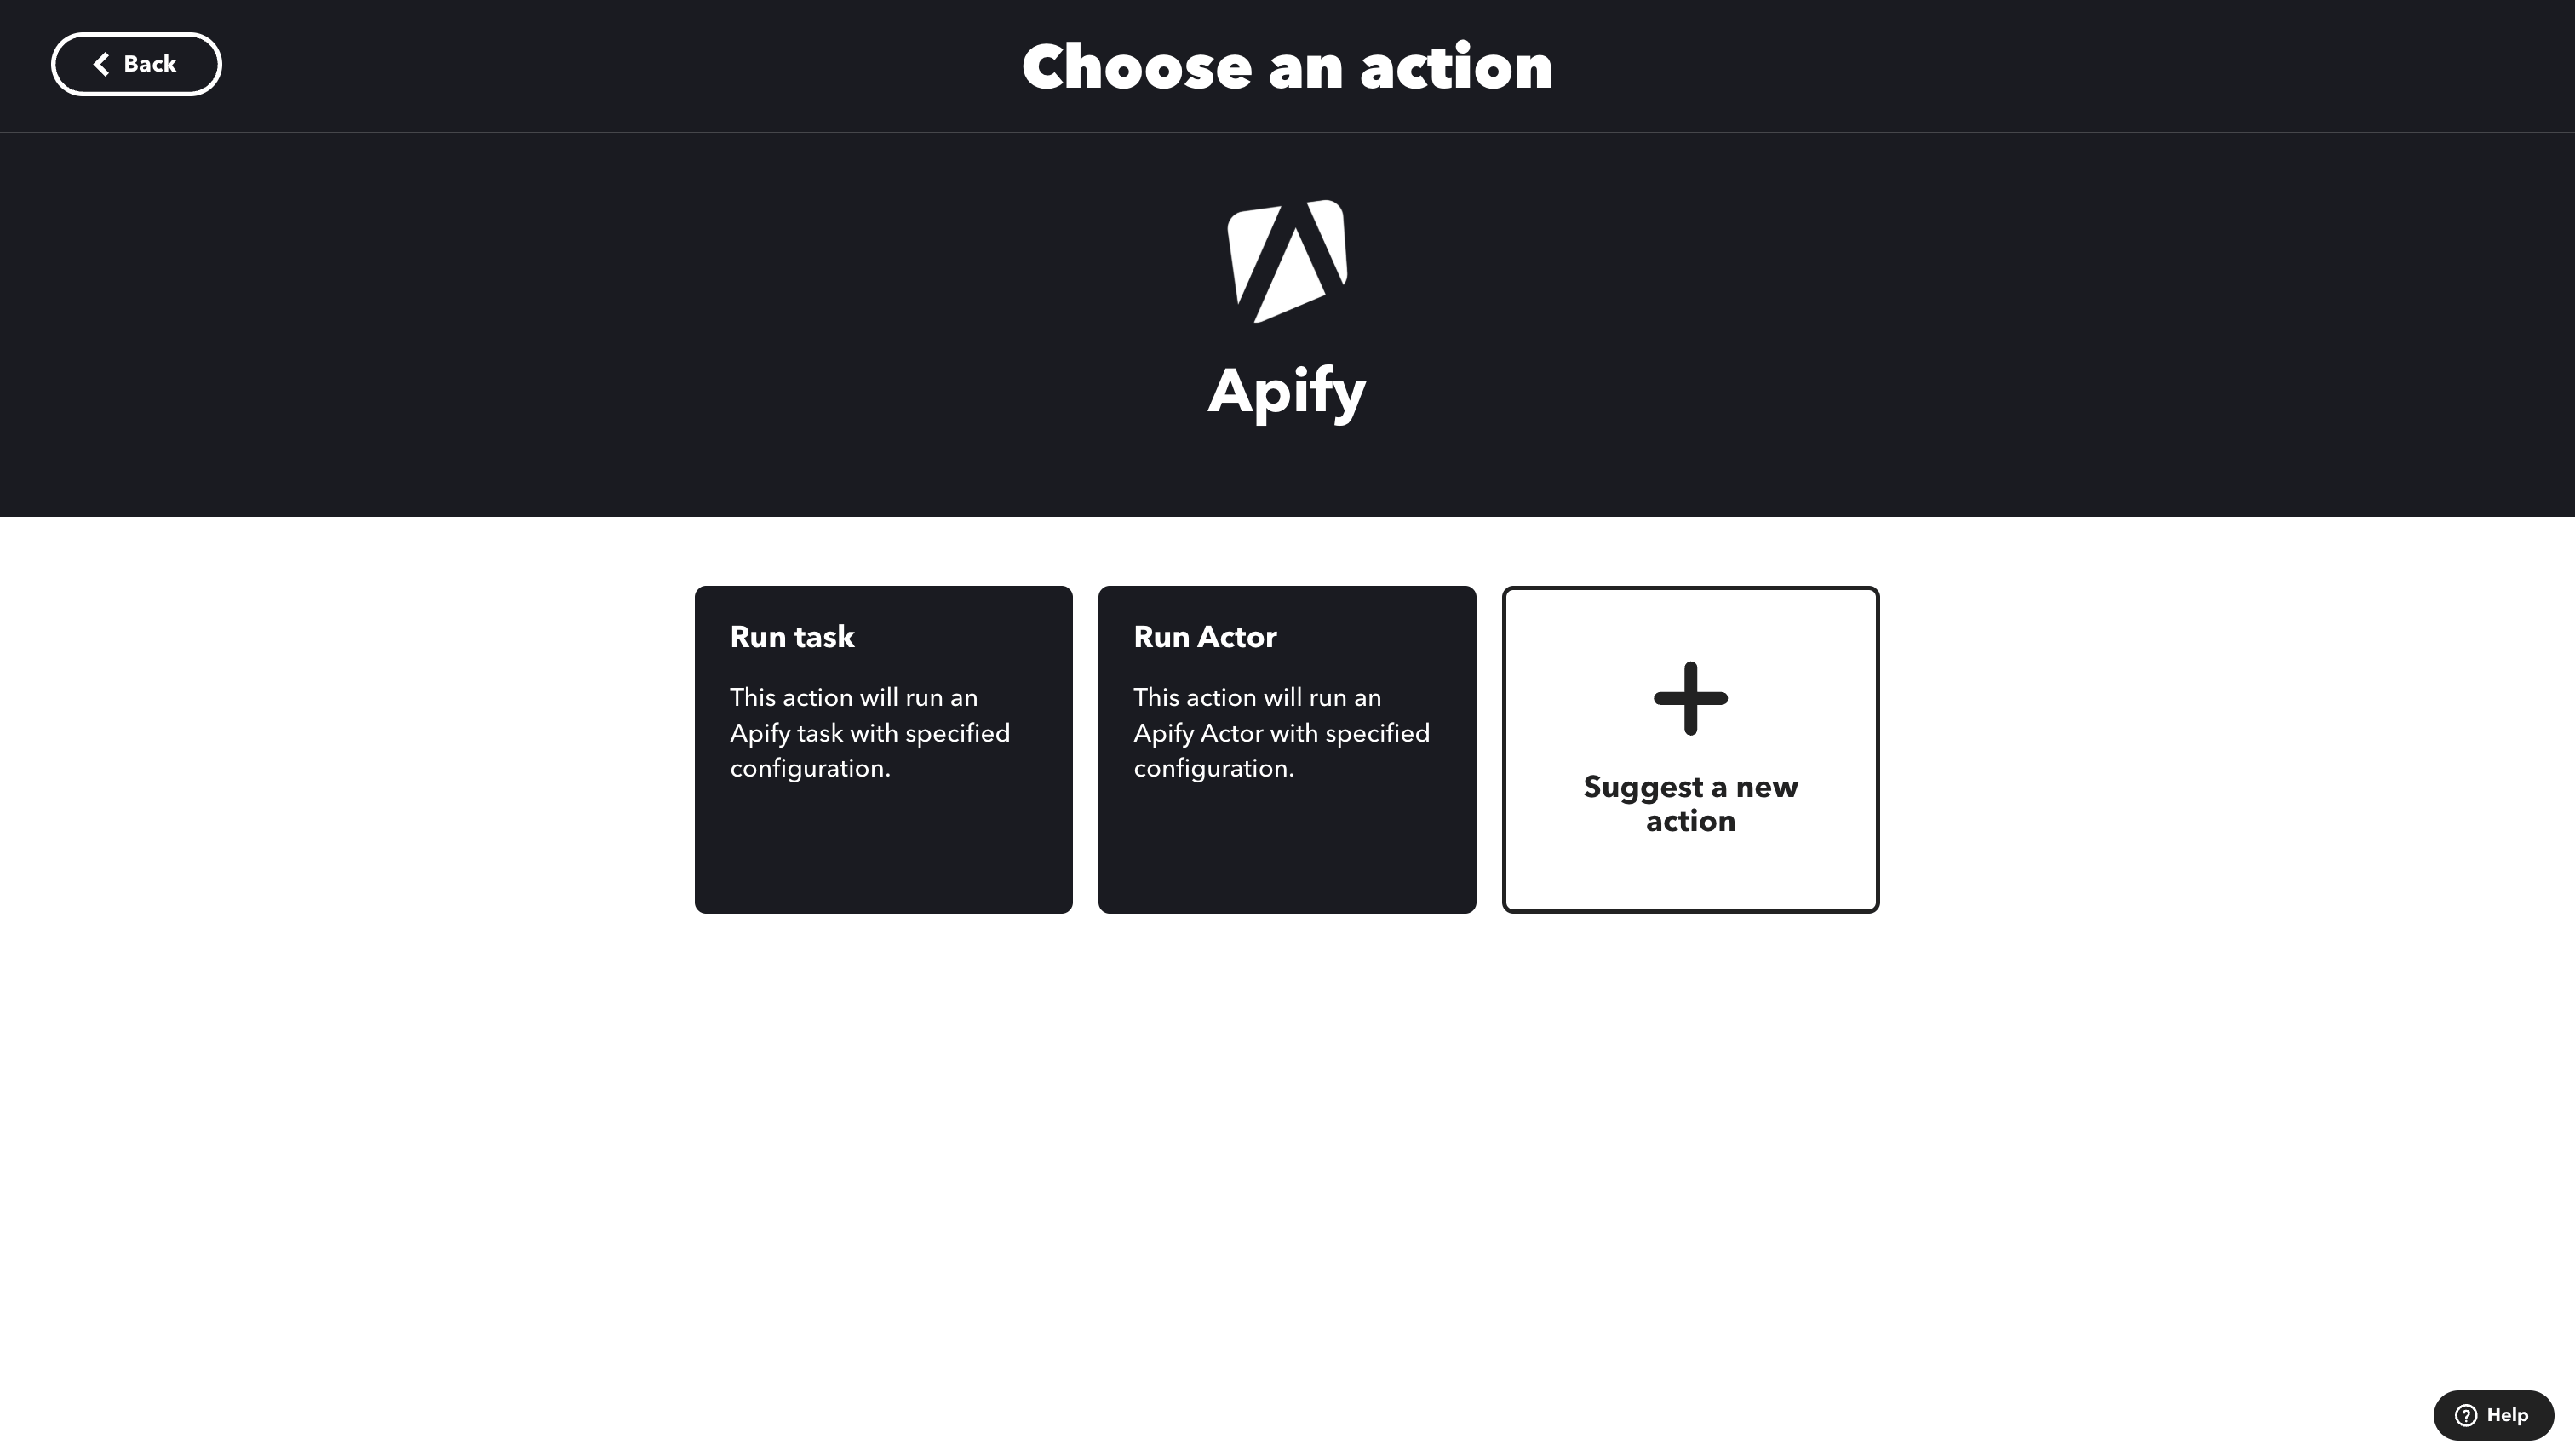
- Choose an action:
- Run Actor: Starts an Actor run
- Run Task: Starts an Actor Task run
- Select the Actor or task you want to use from the dropdown menu.
IFTTT displays up to 50 recent items in a dropdown. If your Actor or task isn't visible, try using it at least once via API or in Apify Console to make it appear in the list.
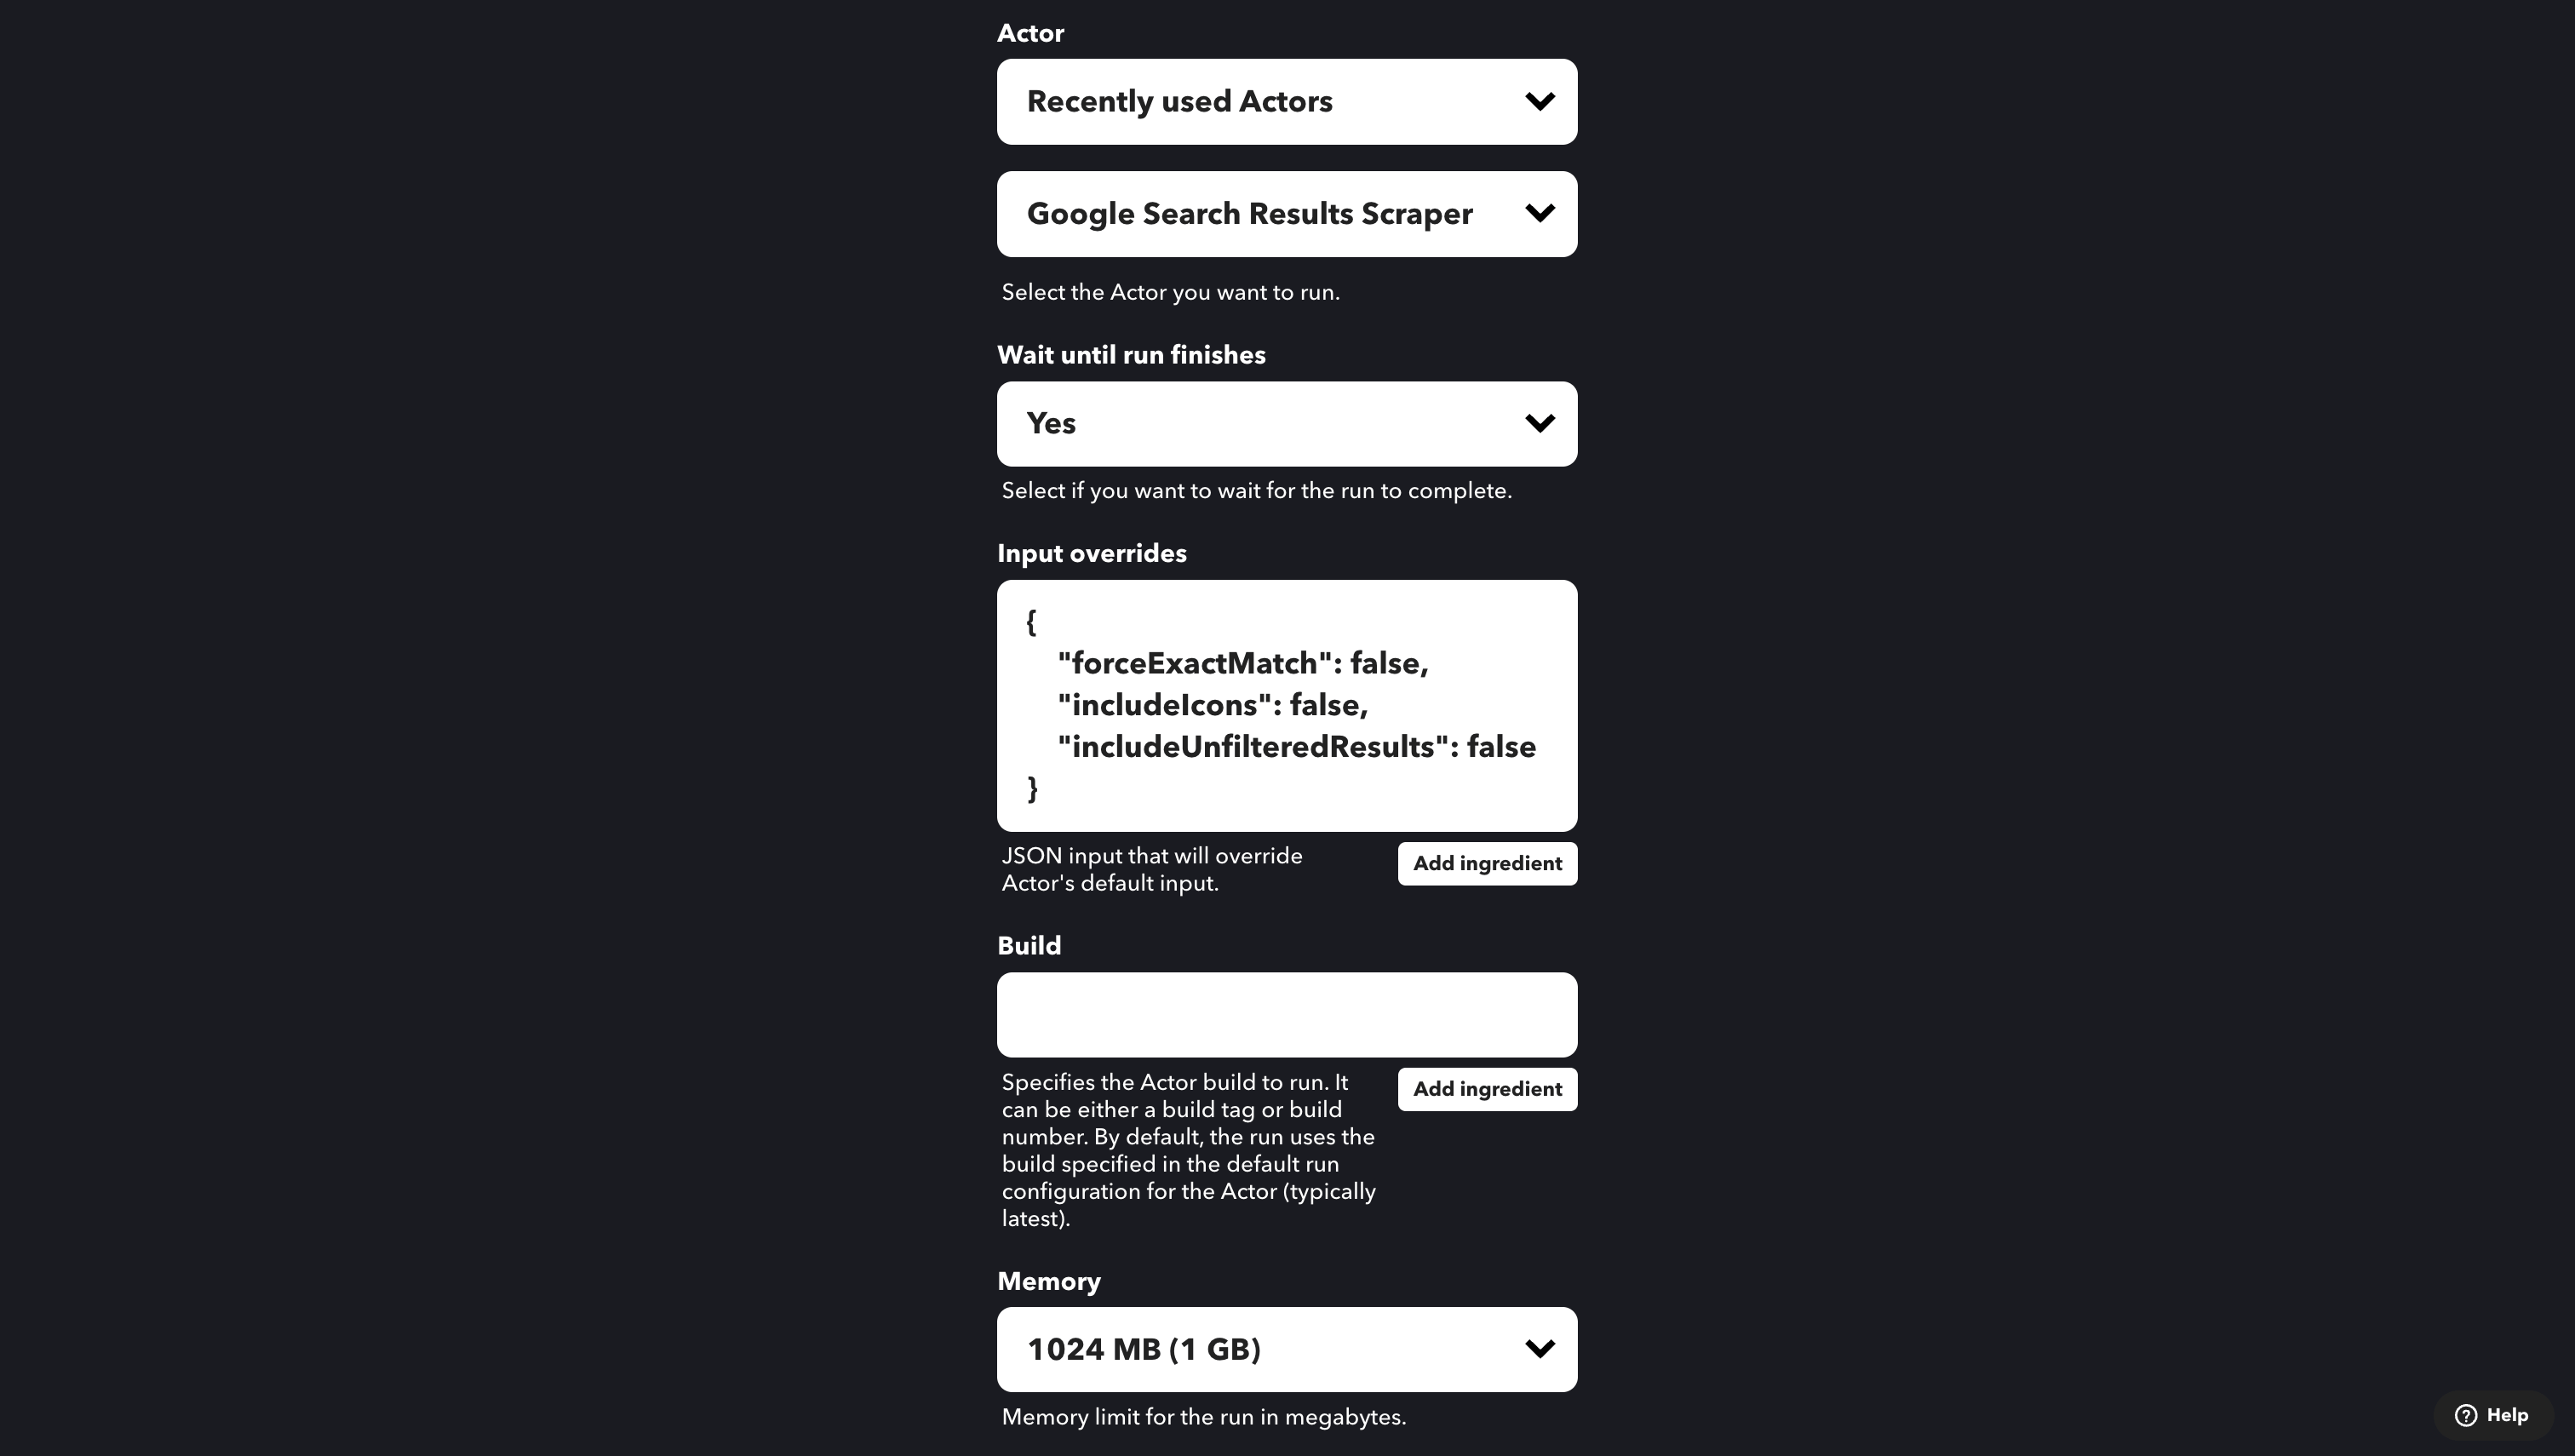
-
Configure the action parameters:
Parameter Description Example Values Wait until run finishes Defines how the Actor should be executed. yes,noInput overrides JSON input that overrides the Actor's default input. {"key": "value"}Build Specifies the Actor build to run. Can be a build tag or build number. See Builds for more information. 0.2.10,version-0Memory Memory limit for the run in megabytes. See Memory for more information. 256 -
Click Create action to finish setting up the action.
- Give your Applet a name and click Finish to save it.
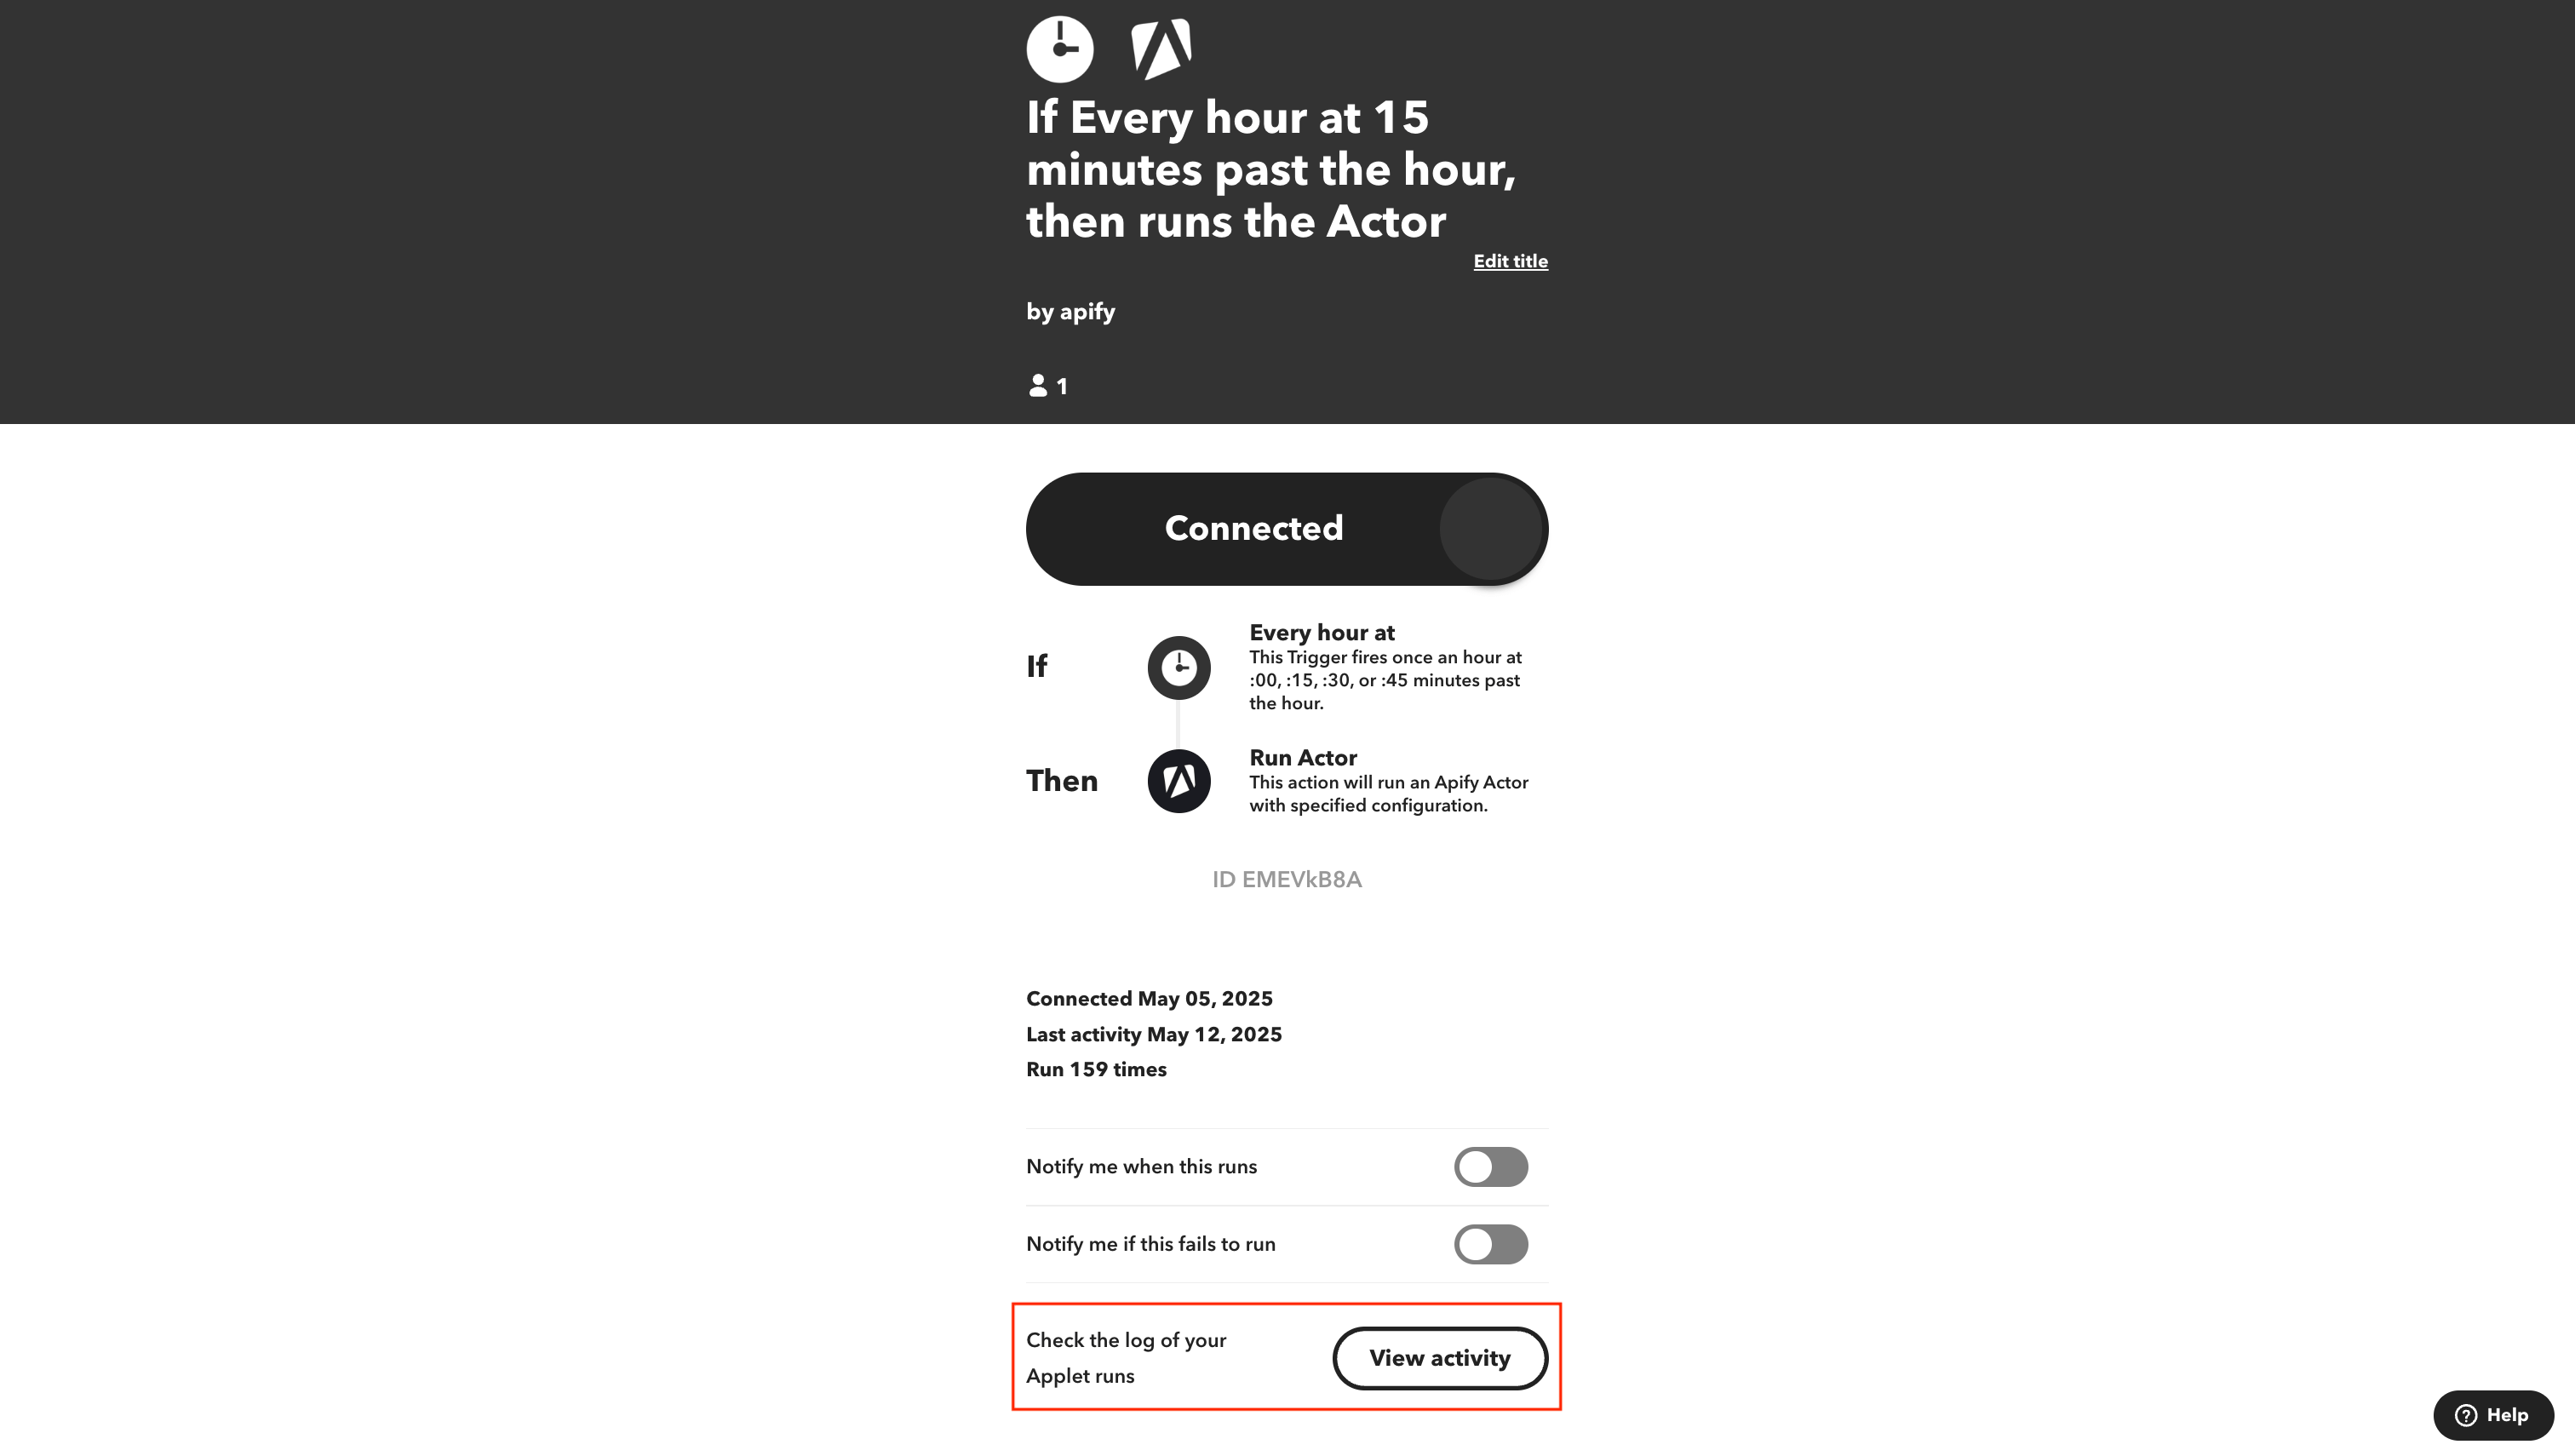
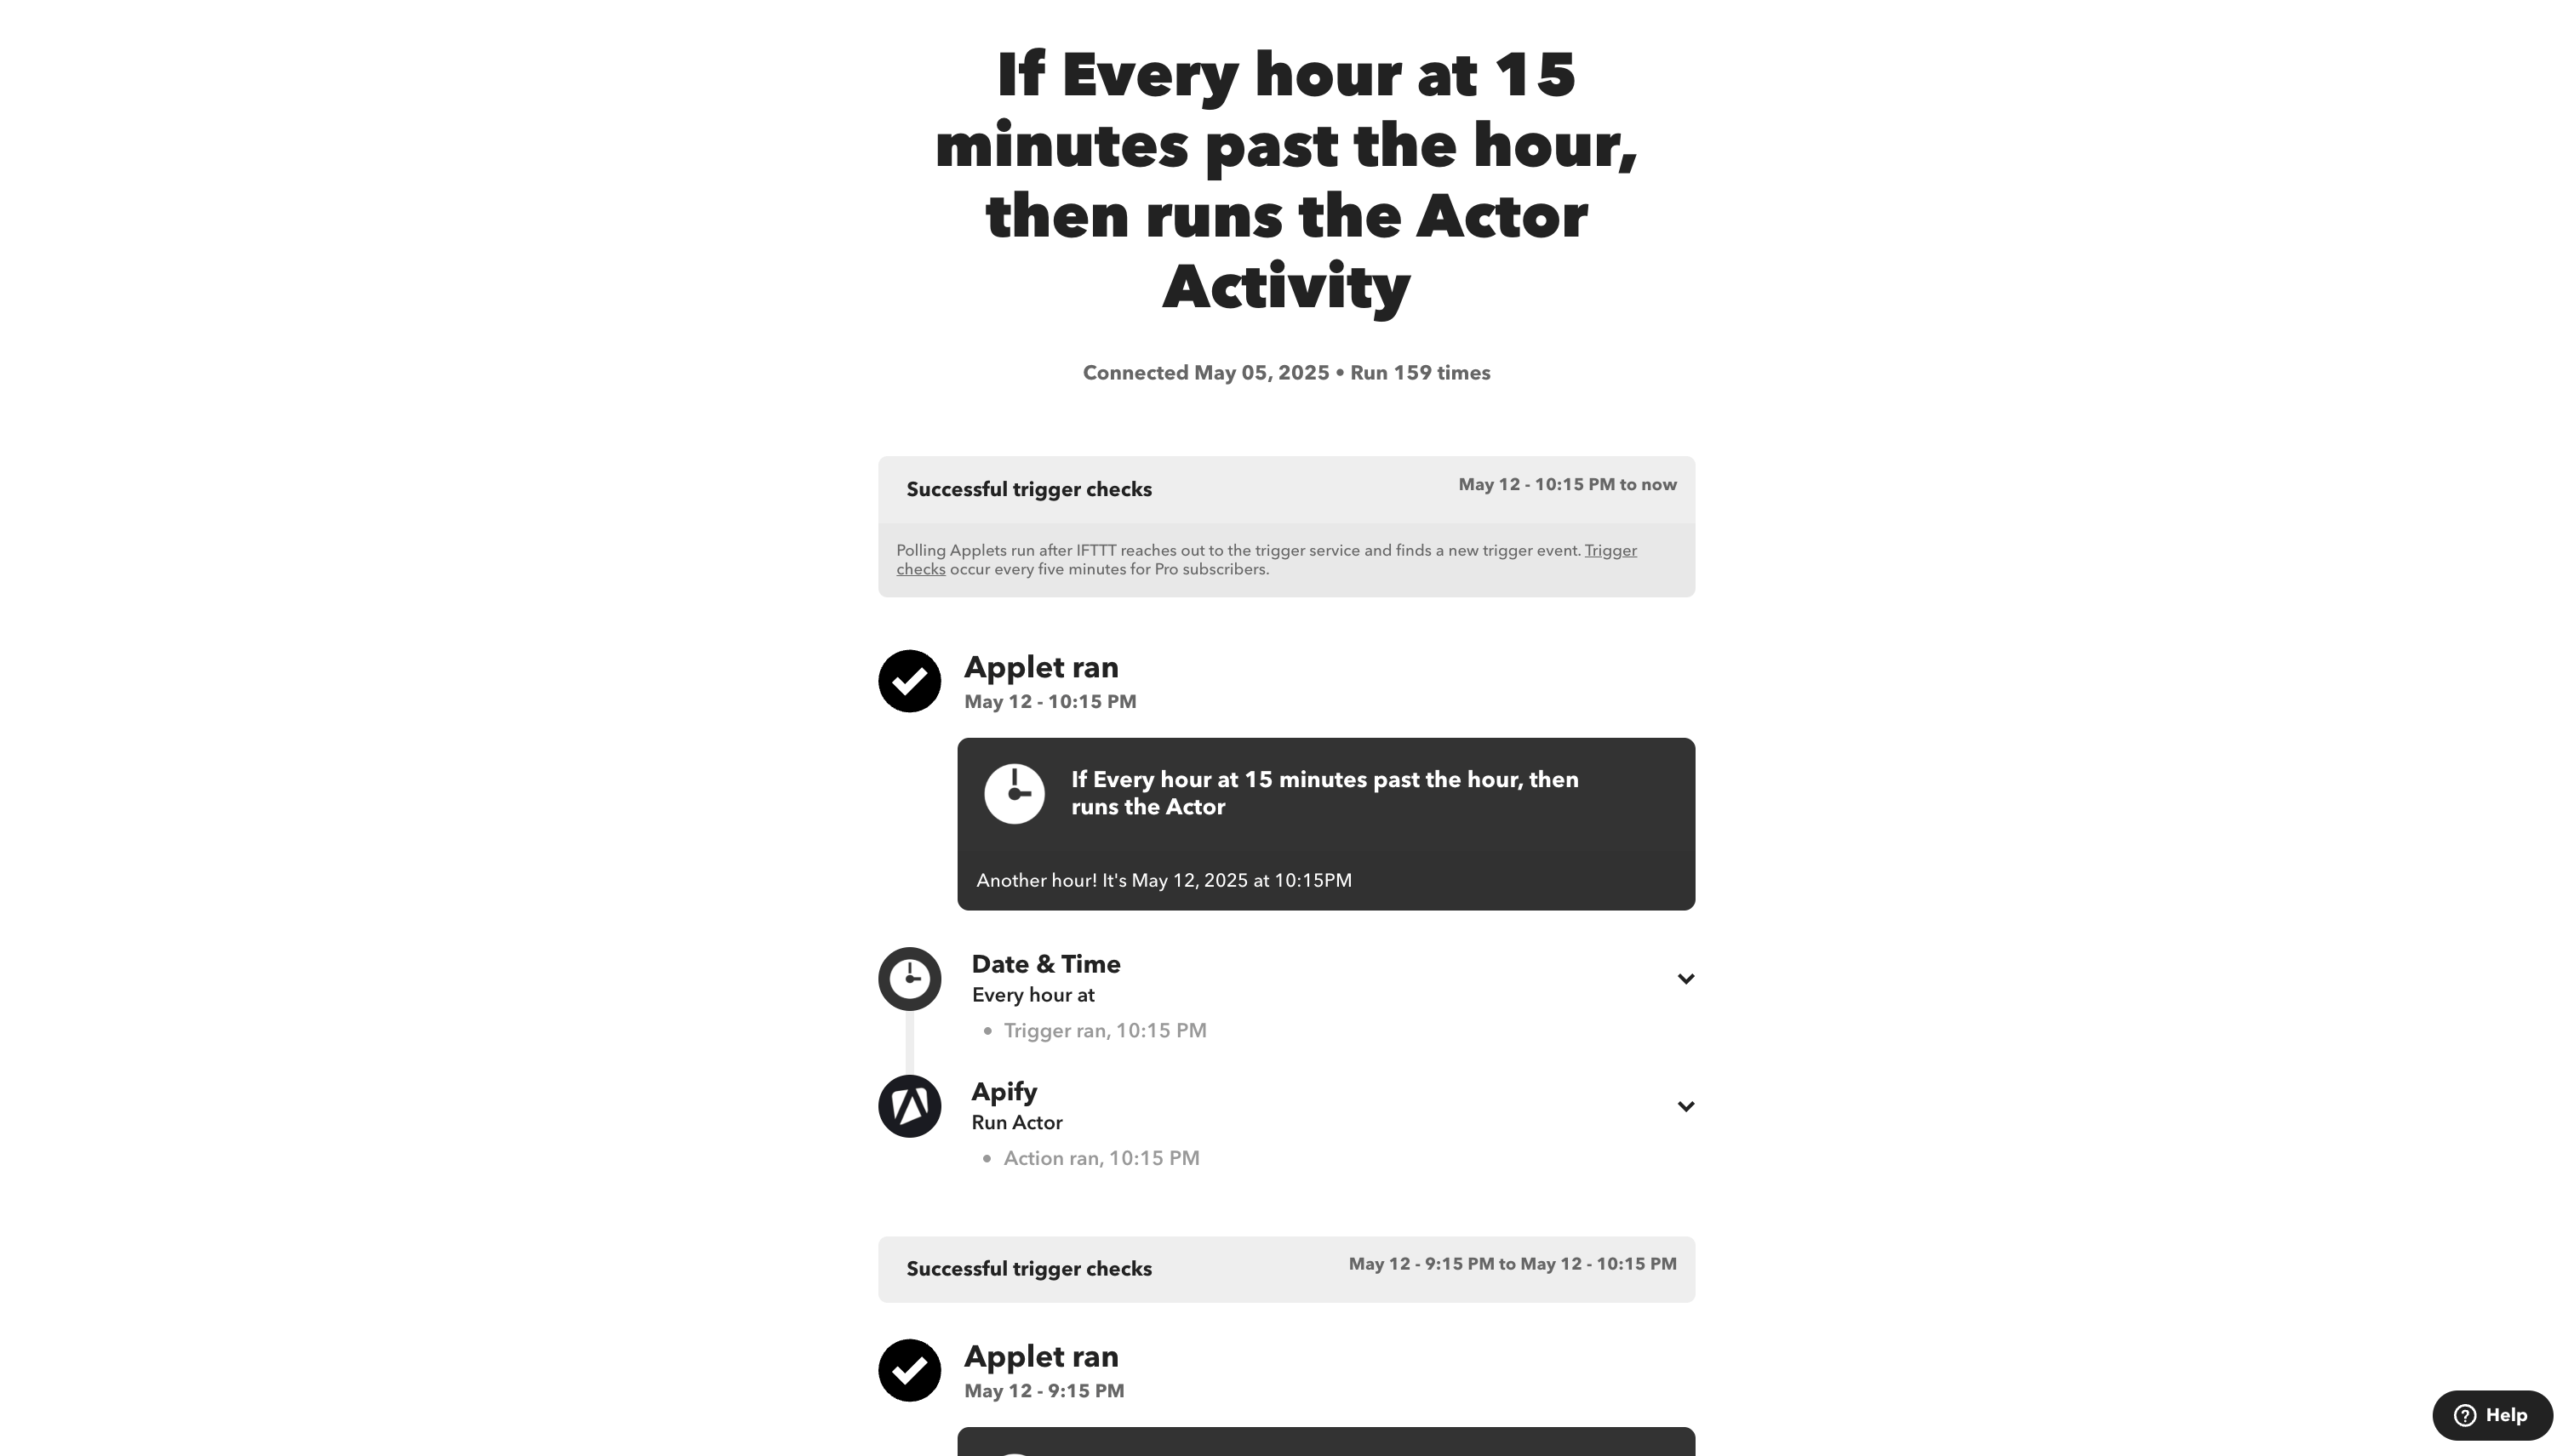
Monitor your Applet
To check if your Applet is working properly:
- Go to your Applet's detail page.
- Clicke the View activity button to see the execution history.
Available triggers, actions, and queries
Triggers
- Actor Run Finished: Activates when a selected Actor run completes
- Task Run Finished: Activates when a selected Actor task run completes
Actions
- Run Actor: Starts a specified Actor with customizable parameters
- Run Task: Executes a specified Actor task
Queries
- Get Dataset Items: Retrieves items from a dataset
- Scrape Single URL: Runs a scraper for a specified website and returns its content
- Get Key-Value Store Record: Retrieves a value from a key-value store
Troubleshooting
- Ensure your JSON inputs in the "Input overrides" field are valid and properly formatted.
- If an Applet fails to trigger, check your Apify API token permissions.
If you have any questions or need help, feel free to reach out to us on our developer community on Discord.