Setup
After creating your organization, you can configure its settings. The Account tab allows you to:
- Set the organization's email address
- Change the username
- Delete the account.
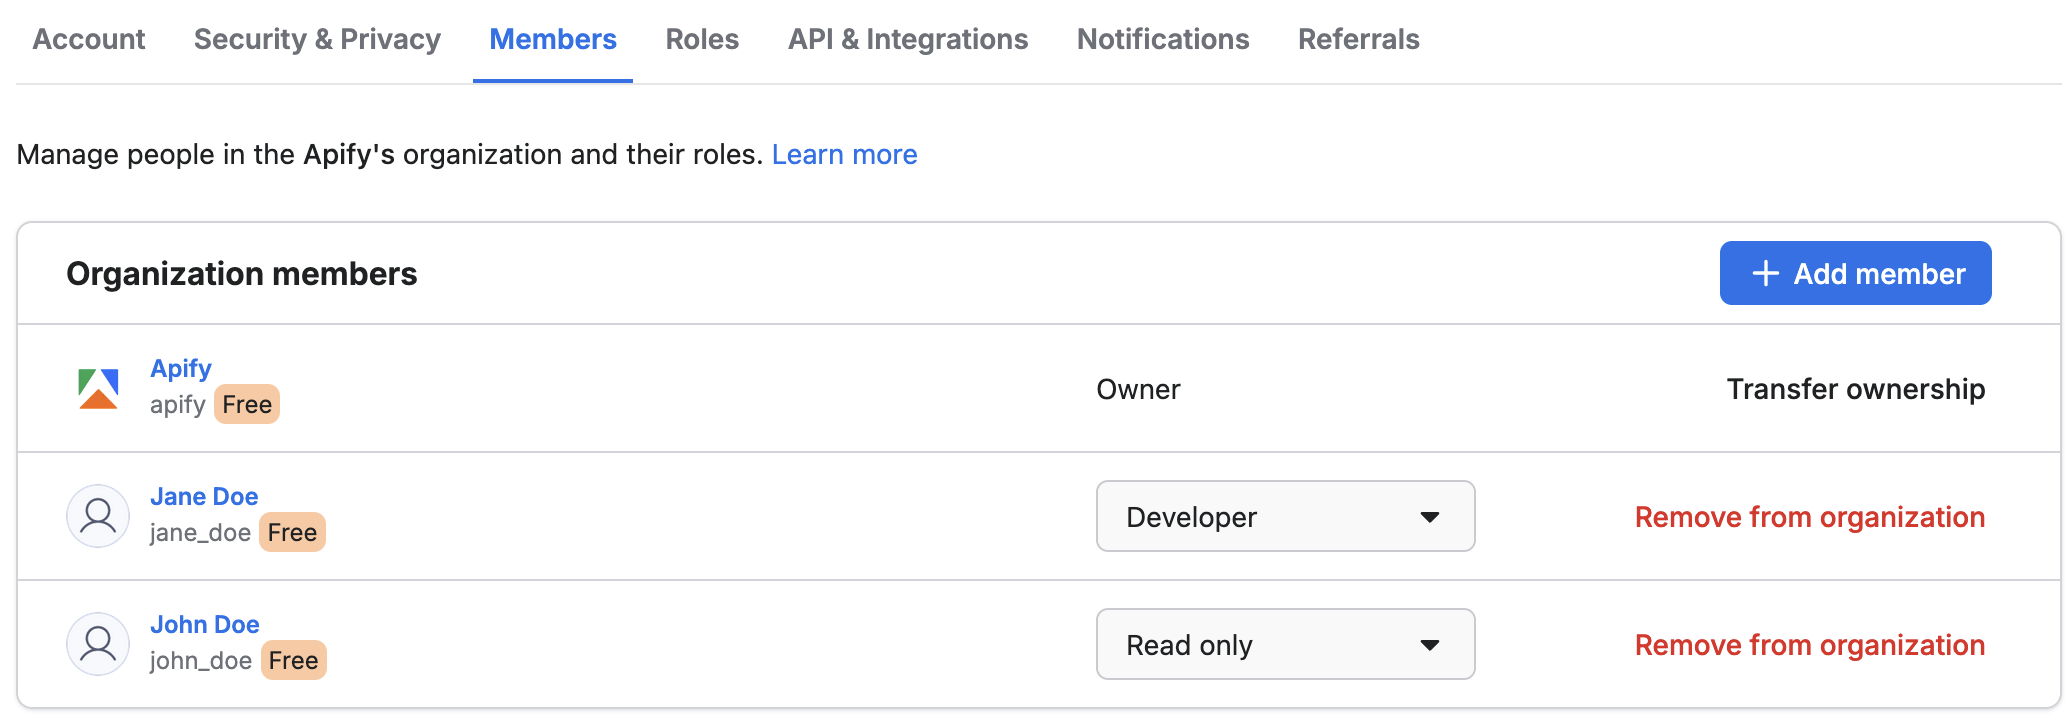
The Members tab lets you update your organization's members and set its owner.
In the Security & Privacy tab, you can set security requirements for organization members. These include:
- Maximum session lifespan
- Two-factor authentication requirement
See the video tutorial on organization accounts.
Add users to your organization
You can add members to your organization in the Members tab. You can use their User ID, username, or email. When adding a member to the organization, you must assign them a Role so their permissions are known right away.
Define roles and permissions
Roles allow you to define permissions to your organization's resources by group. Every new organization comes with three pre-defined roles, which you can customize or remove.
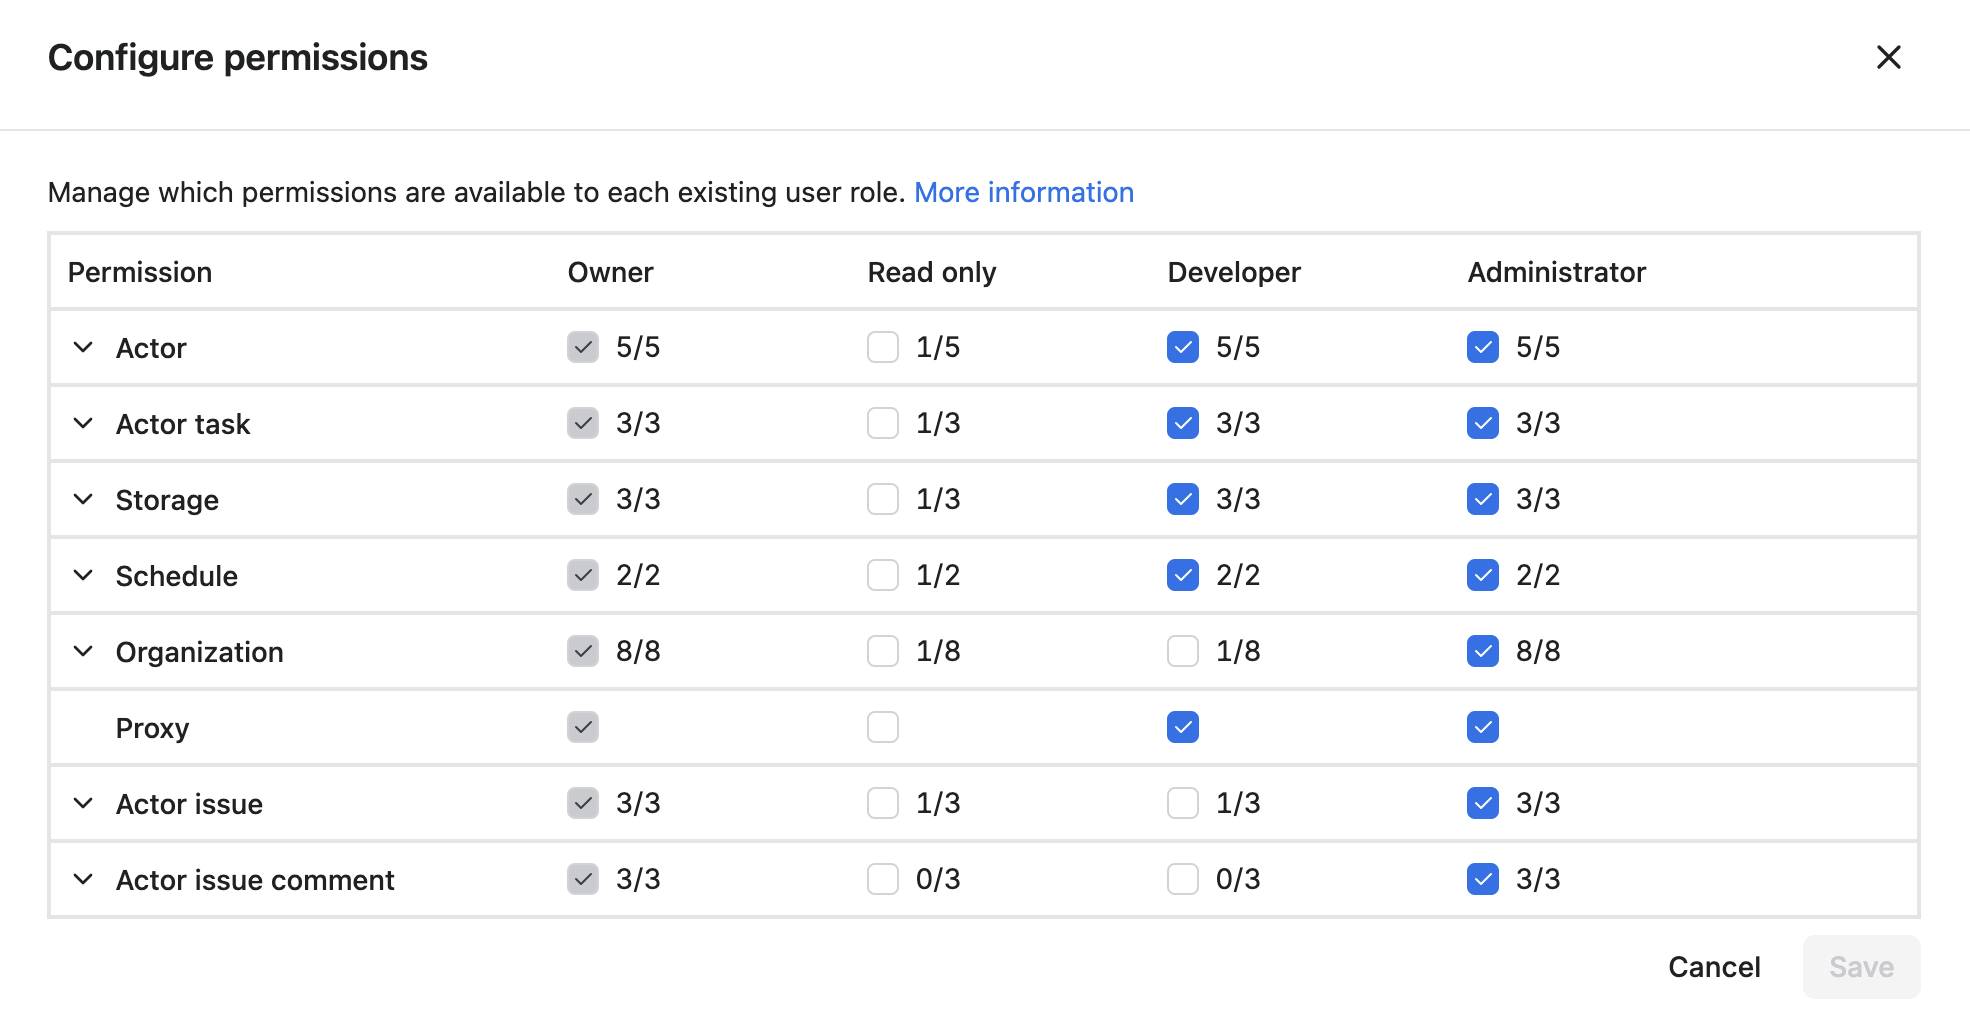
To edit the permissions for each role, click on the Configure permissions button in the top-right corner.
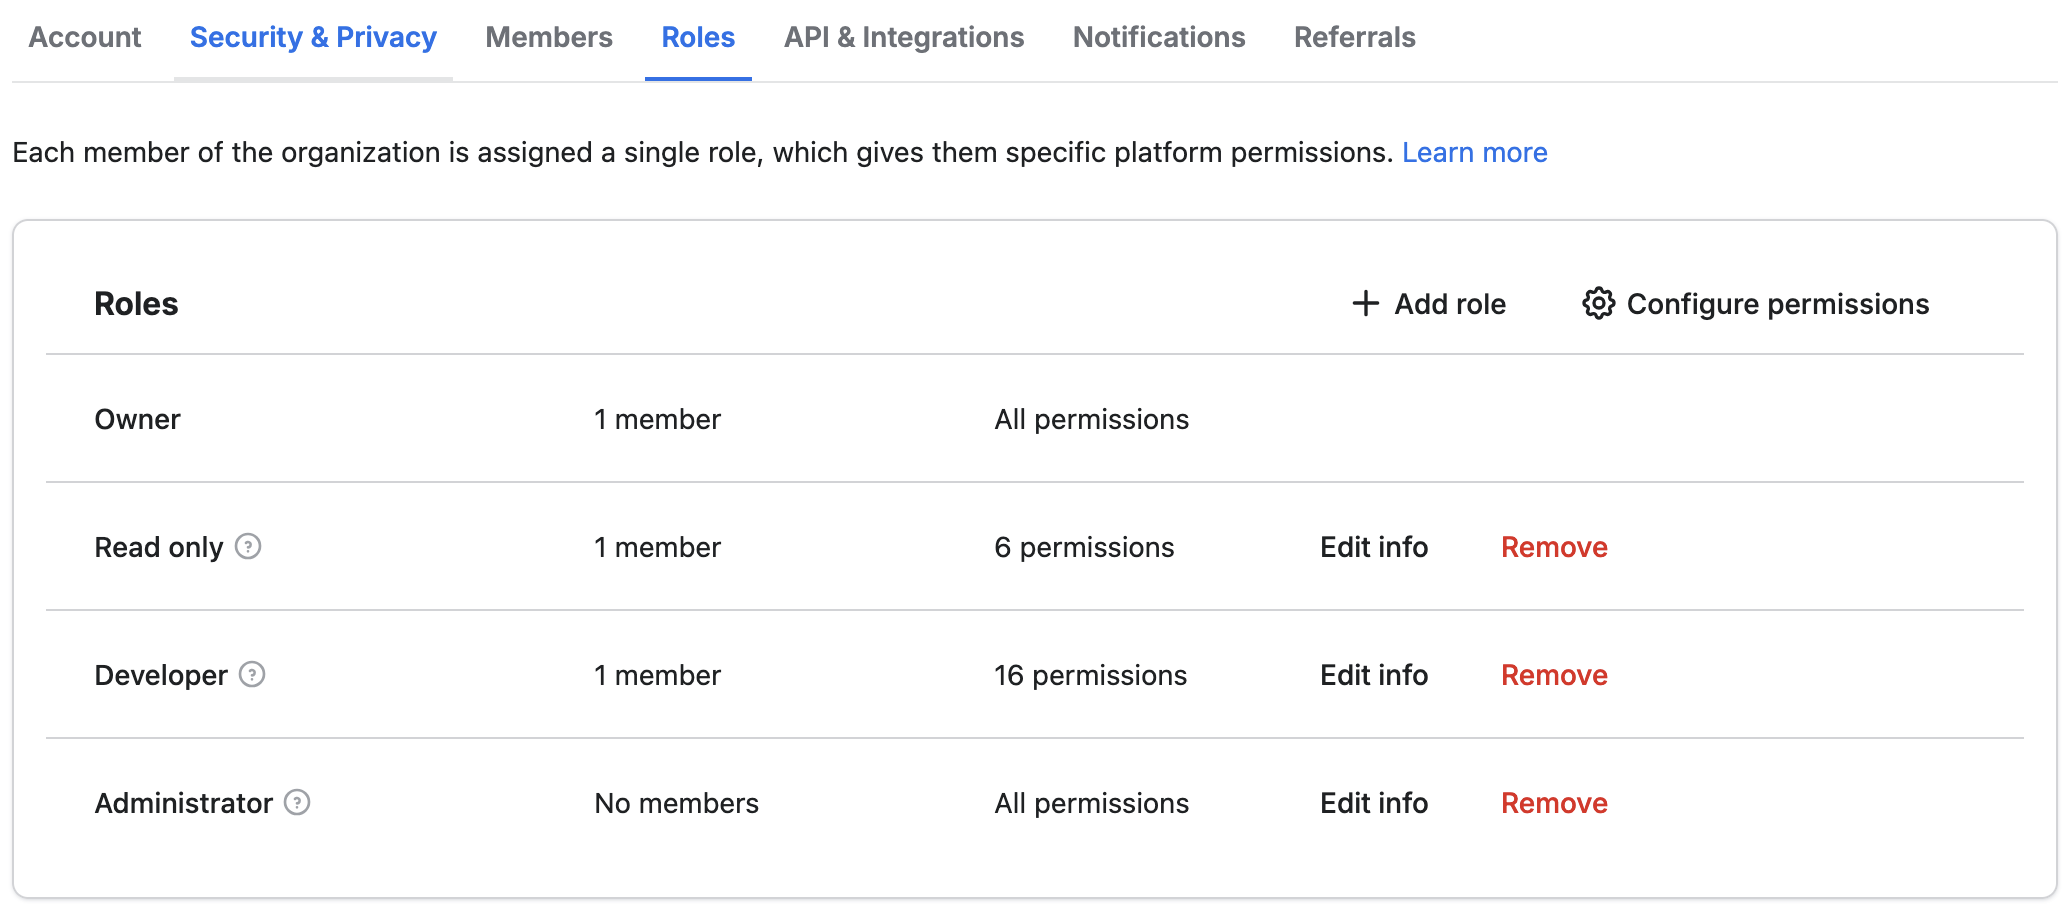
Each member can only have one role to avoid conflicting permissions.
You can configure individual permissions for each resource type such as Actors, Actor tasks or storage. Bear in mind that if a user has the read permission for storages, you cannot prevent them from accessing a particular storage (e.g. a certain dataset) - they will have access to all of the organization's storages.
Some permissions have dependencies. For example, if someone has the Actor run permission, it is likely they will also need the storage write permission, so they can store the results from their Actor runs.
See the full list of permissions that can be granted to Apify resources.