Build Actors with AI
Learn how to develop new Actors or improve existing ones using AI code generation and vibe coding tools.
This guide provides best practices for building new Actors or improving existing ones using AI code generation and vibe coding tools such as Antigravity, Cursor, Claude Code, or Visual Studio Code, by providing the AI agents with the right instructions and context.
AI coding assistant instructions
Use the following prompt in your AI coding assistant such as Antigravity, Cursor, Claude Code or GitHub Copilot:
The prompt guides AI coding assistants such as Antigravity, Cursor, Claude Code or GitHub Copilot to help users create and deploy an Apify Actor step by step. It walks through setting up the Actor structure, configuring all required files, installing dependencies, running it locally, logging in, and pushing it to the Apify platform and following Apify’s best practices.
Quick Start
- Create directory:
mkdir my-new-actor - Open the directory in Antigravity, Cursor, Claude Code, VS Code with GitHub Copilot, etc.
- Copy the prompt above and paste it into your AI coding assistant (Agent or Chat)
- Run it, and develop your first actor with the help of AI
The AI will follow the guide step-by-step, and you'll avoid copy-pasting from tools like ChatGPT or Claude.
Use Actor templates with AGENTS.md
All Actor Templates have AGENTS.md that will help you with AI coding. You can use the Apify CLI to create Actors from Actor Templates.
apify create
If you do not have Apify CLI installed, see the installation guide.
The command above will guide you through Apify Actor initialization, where you select an Actor Template that works for you. The result is an initialized Actor (with AGENTS.md) ready for development.
Use Apify MCP Server
The Apify MCP Server has tools to search and fetch documentation. If you set it up in your AI editor, it will help you improve the generated code by providing additional context to the AI.
We have prepared the Apify MCP server configuration, which you can configure for your needs.
- Cursor
- VS Code
- Claude
- Antigravity
To add Apify MCP server to Cursor manually:
-
Create or open the
.cursor/mcp.jsonfile. -
Add the following to the configuration file:
{
  "mcpServers": {
    "apify": {
      "url": "https://mcp.apify.com/?tools=docs"
    }
  }
}
VS Code supports MCP through MCP-compatible extensions like GitHub Copilot, Cline, or Roo Code.
-
Install an MCP-compatible extension (e.g., GitHub Copilot, Cline).
-
Locate the extension's MCP settings or configuration file (often
mcp.json).- For GitHub Copilot: Run the MCP: Open User Configuration command.
- For MCP-compatible extension: Go to the MCP Servers tab in the extension interface.
-
Add the Apify server configuration:
{
  "mcpServers": {
    "apify": {
      "url": "https://mcp.apify.com/?tools=docs"
    }
  }
}
- Go to Settings > Connectors in Claude.
- Click Add custom connector.
- Set the name to
Apifyand the URL tohttps://mcp.apify.com/?tools=docs. - When chatting, select the + button and choose the Apify connector to add documentation context.
To add Apify MCP server to Antigravity:
-
Click on the Chat tab.
-
Click the three dots (Additional options) menu.
-
Select Manage MCP Servers.
-
Click View raw config to open the configuration file.
-
Add the following to the configuration file:
{
  "mcpServers": {
    "apify": {
      "command": "npx",
      "args": [
        "-y",
        "@apify/actors-mcp-server",
        "--tools",
        "docs"
      ]
    }
  }
}
Provide context to assistants
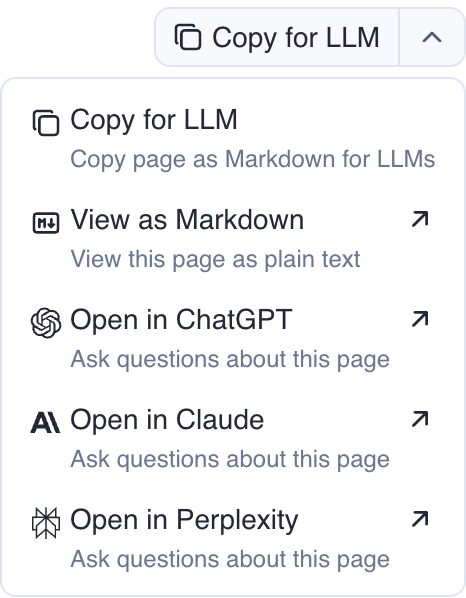
Every page in the Apify documentation has a Copy for LLM button. You can use it to add additional context to your AI assistant, or even open the page in ChatGPT, Claude, or Perplexity and ask additional questions.

Use /llms.txt files
The entire Apify documentation is available in Markdown format for use with LLMs and AI coding tools. Two consolidated files are available:
https://docs.apify.com/llms.txt: A Markdown file with an index of all documentation pages in Markdown format, based on the llmstxt.org standard.https://docs.apify.com/llms-full.txt: All Apify documentation consolidated in a single Markdown file.
Add .md to any documentation page URL to view its Markdown source.
Example: https://docs.apify.com/platform/actors > https://docs.apify.com/platform/actors.md
LLMs don't automatically discover llms.txt files, you need to add the link manually to improve the quality of answers.
Best practices
-
Small tasks: Don't ask AI for many tasks at once. Break complex problems into smaller pieces. Solve them step by step.
-
Iterative approach: Work iteratively with clear steps. Start with a basic implementation and gradually add complexity.
-
Versioning: Version your changes often using git. This lets you track changes, roll back if needed, and maintain a clear history.
-
Security: Don't expose API keys, secrets, or sensitive information in your code or conversations with LLM assistants.