Actor development quick start
Create your first Actor using the Apify Web IDE or locally in your IDE.
Before you start building your own Actor, try out a couple of existing Actors from Apify Store. See the Running Actors section for more information on running existing Actors.
Technology stack
Any code that can run inside of a Docker container can be turned into Apify Actor. This gives you freedom in choosing your technical stack, including programming language and technologies.
But to fully benefit from running on top of the Apify platform, we recommend you choose either JavaScript/Node.js or Python, where Apify provides first-level support regarding its SDK, API clients, and learning materials.
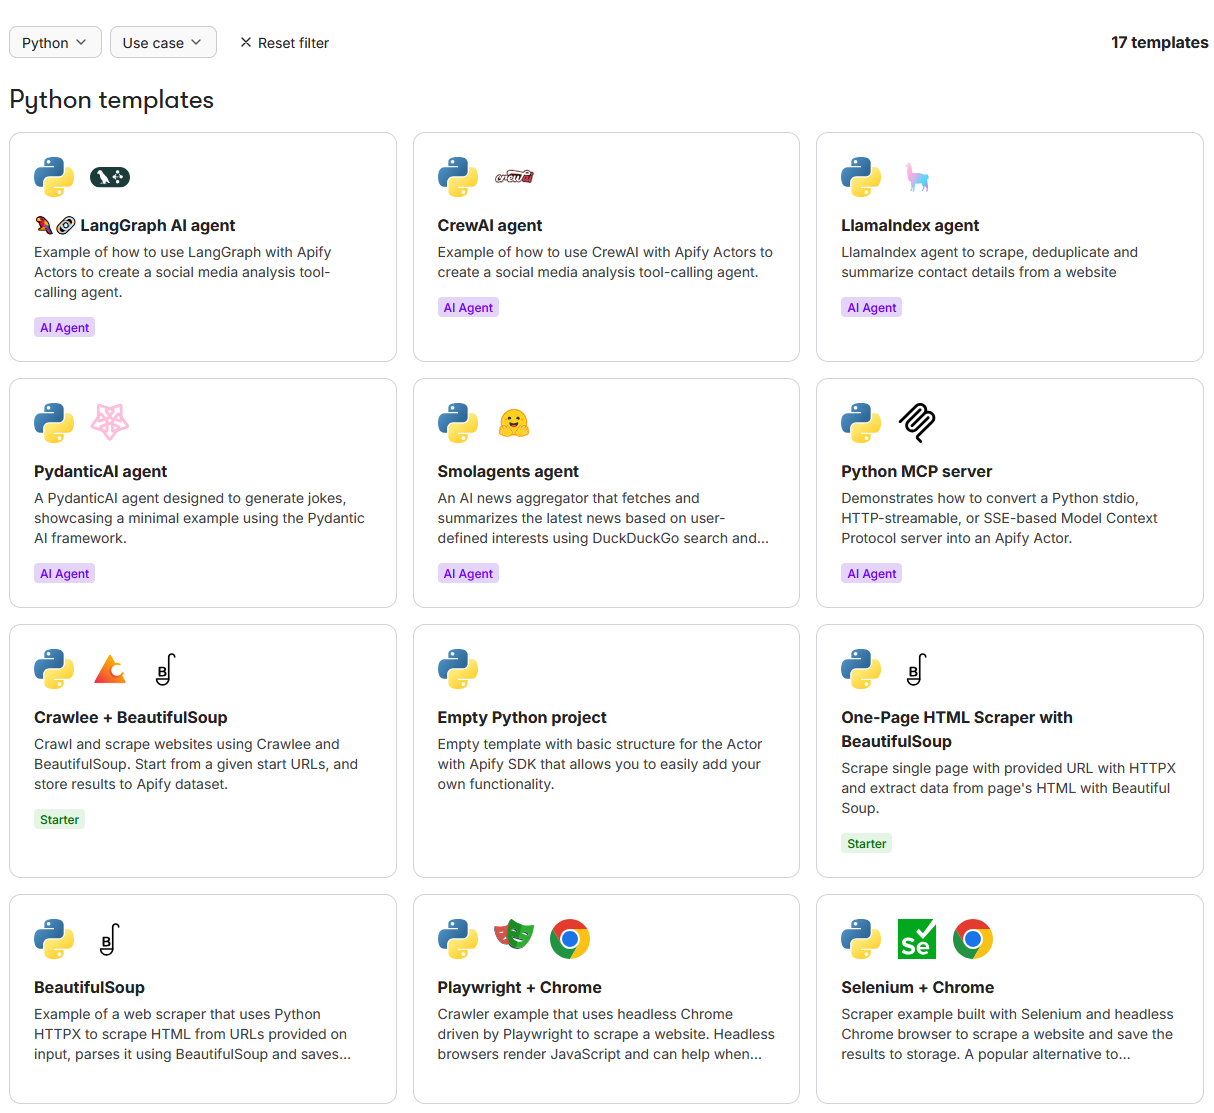
For these languages, you can also choose from many code templates that help you to kickstart your project quickly.

Development paths
You can choose from three main ways to build your Actor, depending on your preferences and requirements: