Deployment
Deploying an Actor involves uploading your source code and building it on the Apify platform. Once deployed, you can run and scale your Actor in the cloud.
Deploy using the Apify CLI
The fastest way to deploy and build your Actor is by using the Apify CLI. If you've completed one of the tutorials from the academy, you should have already have it installed. If not, follow the Apify CLI installation instructions.
To deploy your Actor using the Apify CLI:
-
Log in to your Apify account:
apify login -
Navigate to the directory of your Actor on your local machine.
-
Deploy your Actor by running:
apify push
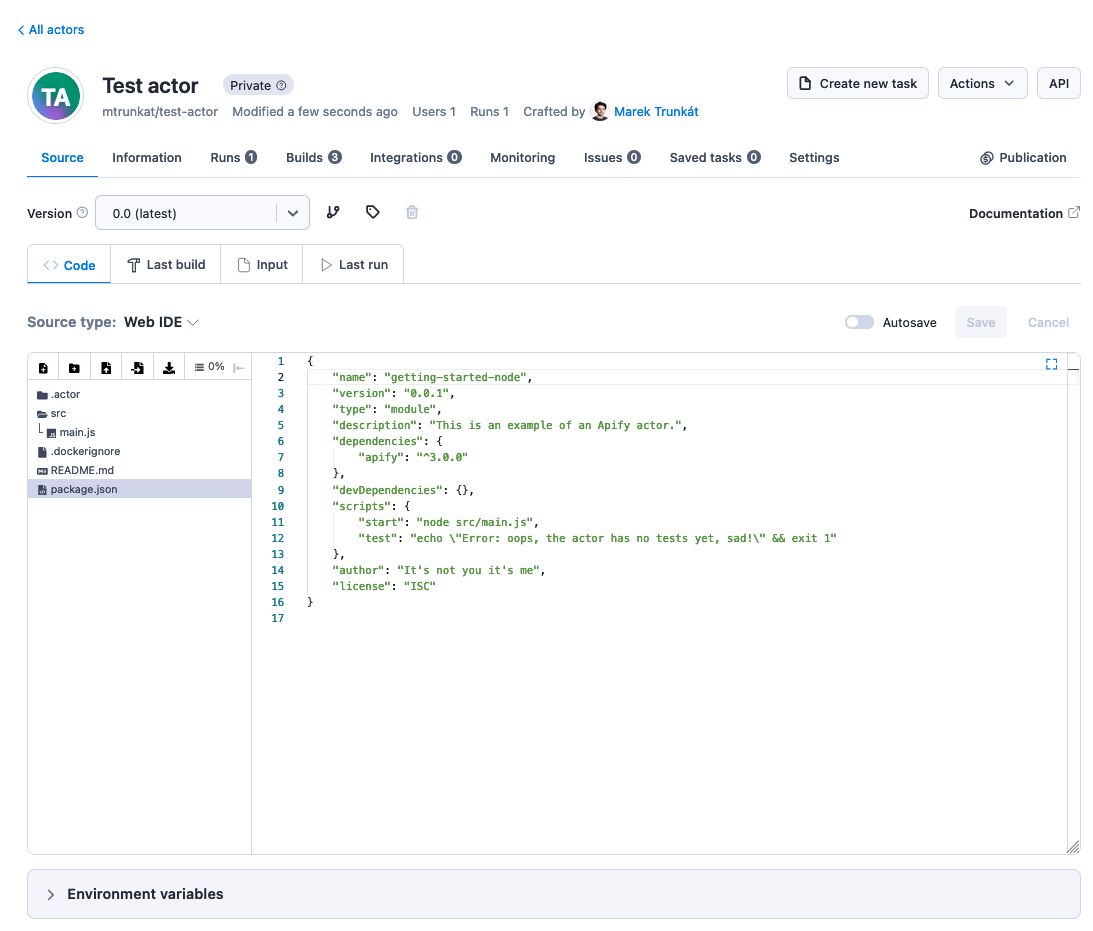
When you deploy using the CLI, your source code is uploaded as "multiple source files" and is visible and editable in the Web IDE.
The CLI deploys code as multiple source files up to 3 MB. Beyond that, it deploys as a Zip file.
Pull an existing Actor
You can also pull an existing Actor from the Apify platform to your local machine using apify pull command
apify pull [ACTORID]
This command fetches the Actor's files to your current directory. If the Actor is defined as a Git repository, it will be cloned, for Actors defined in the Web IDE, the command will fetch the files directly.
You can specify a particular version of the Actor to pull by using the --version flag:
apify pull [ACTORID] --version=1.2
If you don't provide the ACTORID, the command will update the Actor in the current directory based on its name in the .actor/actor.json file.
Alternative deployment methods
To deploy using other methods, first create the Actor manually through Apify CLI or Apify Console, then change its source type:
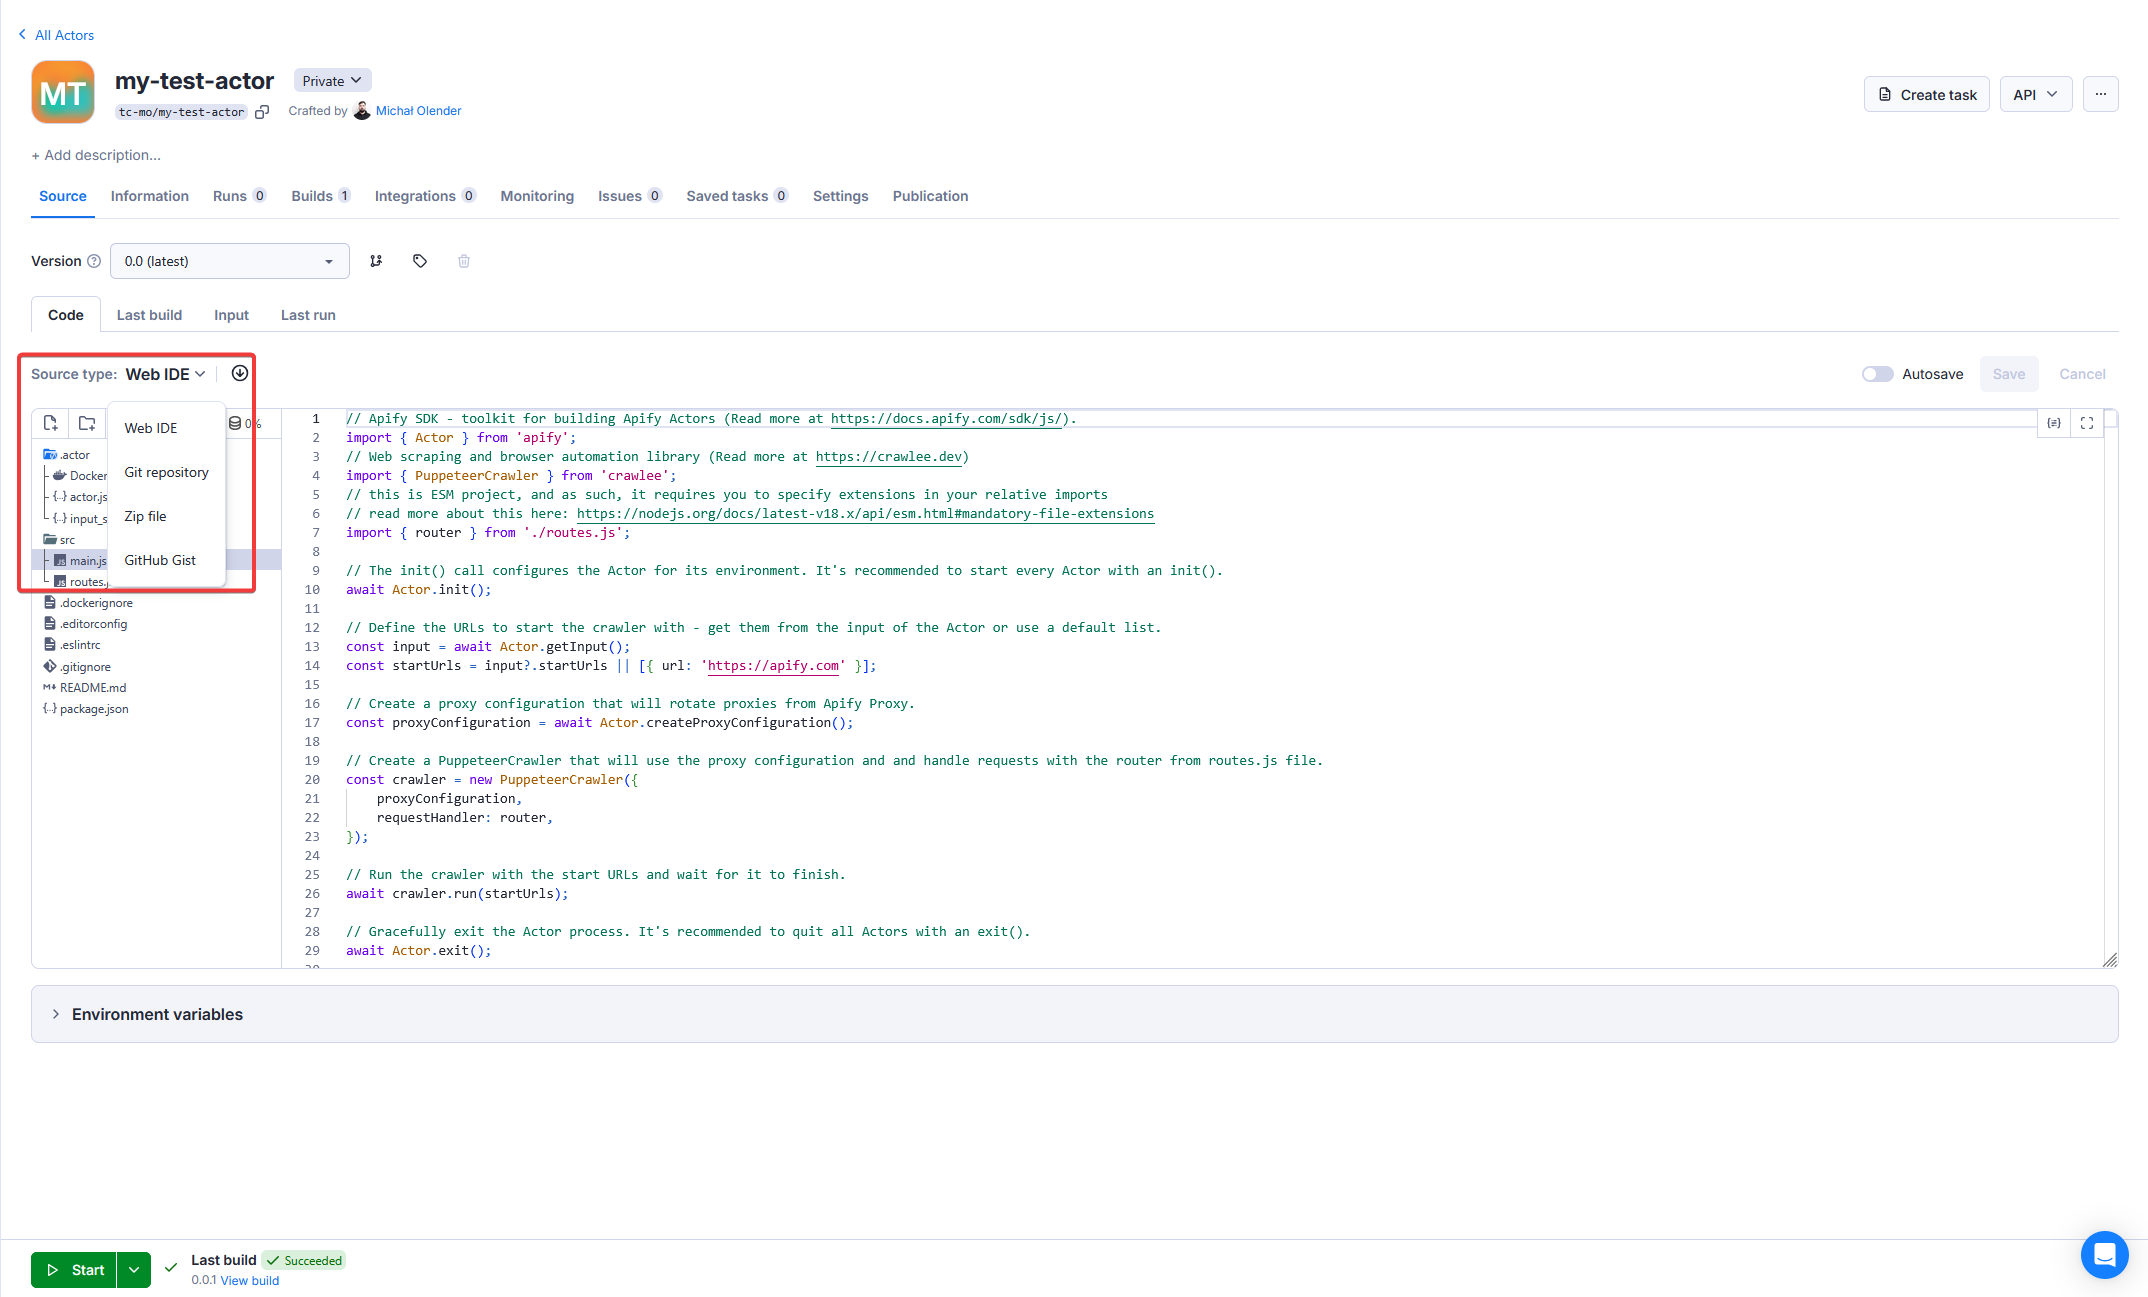
You can link your Actor to a Git repository, Gist, or a Zip file.
For more information on alternative source types, check out next chapter.