Qoder integration
Qoder is an agentic coding platform from Alibaba. The same Apify plugin for Qoder installs across its surfaces and connects them to Apify's library of Actors. The plugin bundles:
- The Apify MCP server for searching Apify Store, running Actors, and retrieving datasets through the Model Context Protocol (MCP).
- An
apifyrouting agent that picks the right tool or skill from a natural-language request. - Five built-in skills for common workflows (see Bundled skills below).
This integration uses a third-party service. If you find outdated content, please submit an issue on GitHub.
Supported surfaces
The plugin installs in the coding and desktop surfaces that support Qoder plugins:
| Surface | What it is | Install method |
|---|---|---|
| Qoder CLI | Coding agent in the terminal | Marketplace command |
| Qoder IDE | Agentic coding editor | Marketplace page or manual import |
| Qoder Desktop | Agentic coding desktop app | Manual import |
| QoderWork | Desktop assistant for document, spreadsheet, research, and browser tasks | Manual import |
The JetBrains plugin and QoderWake don't support Qoder plugins, but both can still use Apify through the Apify MCP server:
| Surface | What it is | How Apify connects |
|---|---|---|
| QoderWake | Always-on AI employees (Wakers) | Apify MCP server as a custom connector |
| JetBrains plugin | Qoder in JetBrains IDEs | Apify MCP server as a remote MCP |
In the IDE and Desktop app, the in-app marketplace search does not surface the Apify plugin. Install it from the Apify plugin's Marketplace page or by manual import, as described below.
Prerequisites
- An Apify account - sign up for free if you don't have one
- A Qoder surface installed and signed in - the CLI, IDE, Desktop app, or QoderWork
Install the plugin
There are two install methods. The CLI installs from a Marketplace command; the IDE, Desktop app, and QoderWork install from the downloaded plugin package. The IDE also supports a one-click install from the Marketplace page.
Qoder CLI
You can install from the Marketplace, or add the plugin repository as a marketplace source.
-
Open the Apify plugin on the Qoder Marketplace. Under Qoder CLI, copy the install command - it looks like
qodercli plugin install <url>.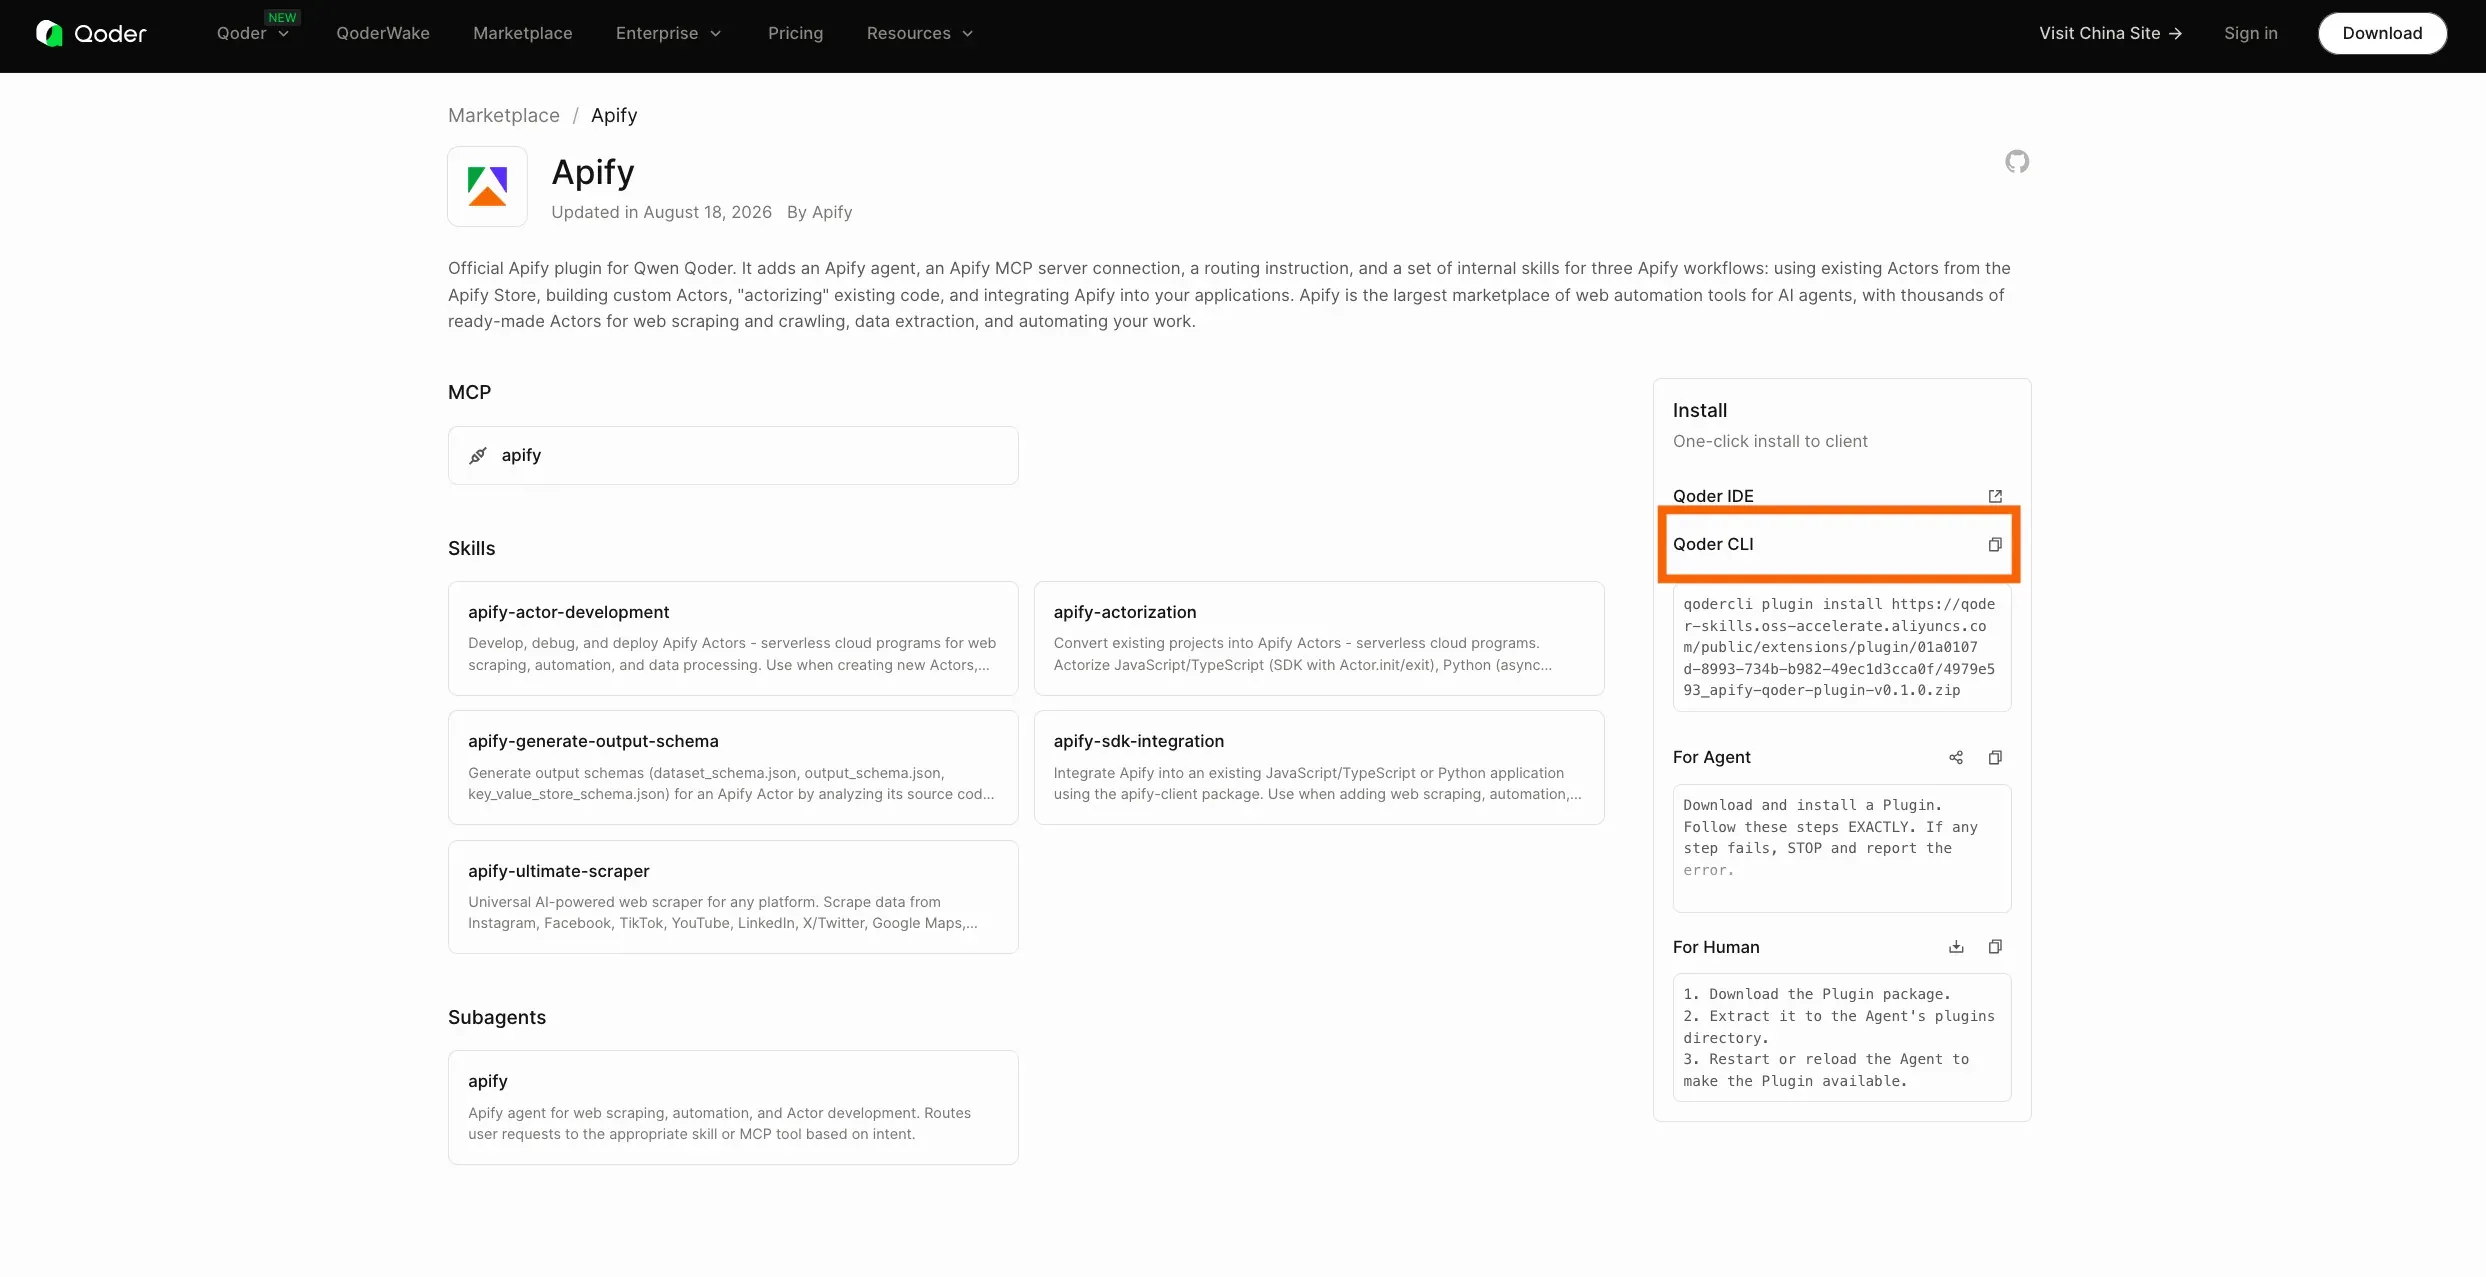
-
Run the command in your terminal, then restart the Qoder CLI so the bundled MCP server registers.
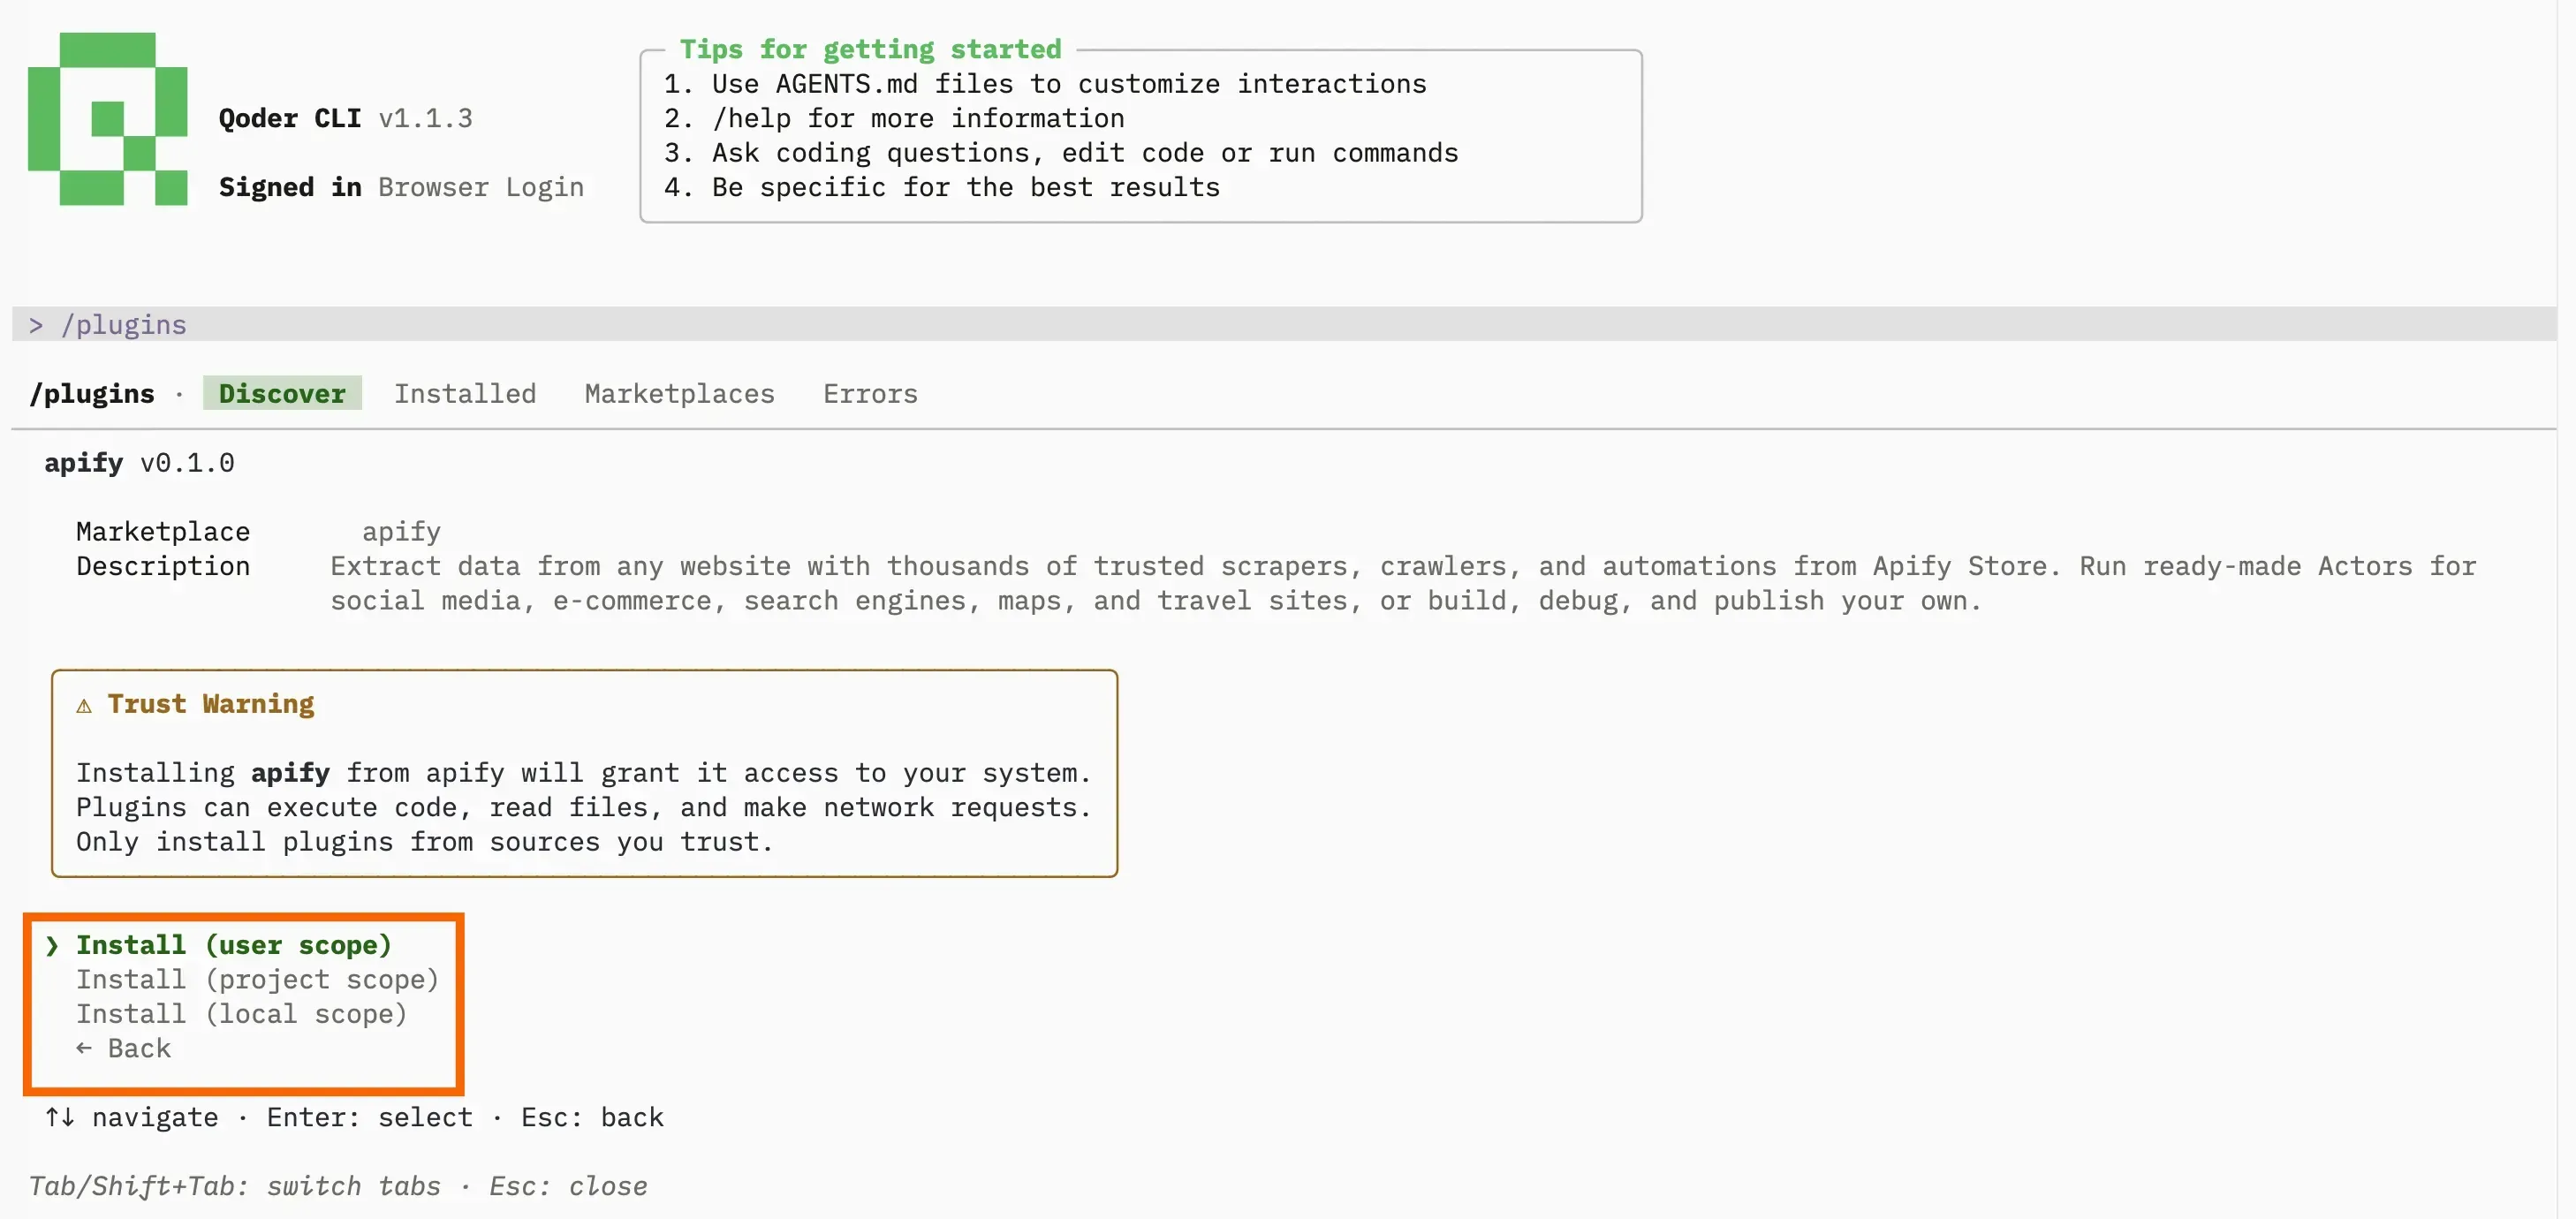
Alternatively, add the repository as a marketplace source: run /plugins, open the Marketplaces tab, select + Add marketplace, paste https://github.com/apify/apify-qoder-plugin, then install the apify plugin from the Discover tab. Run /plugins reload and restart the CLI.
Qoder IDE
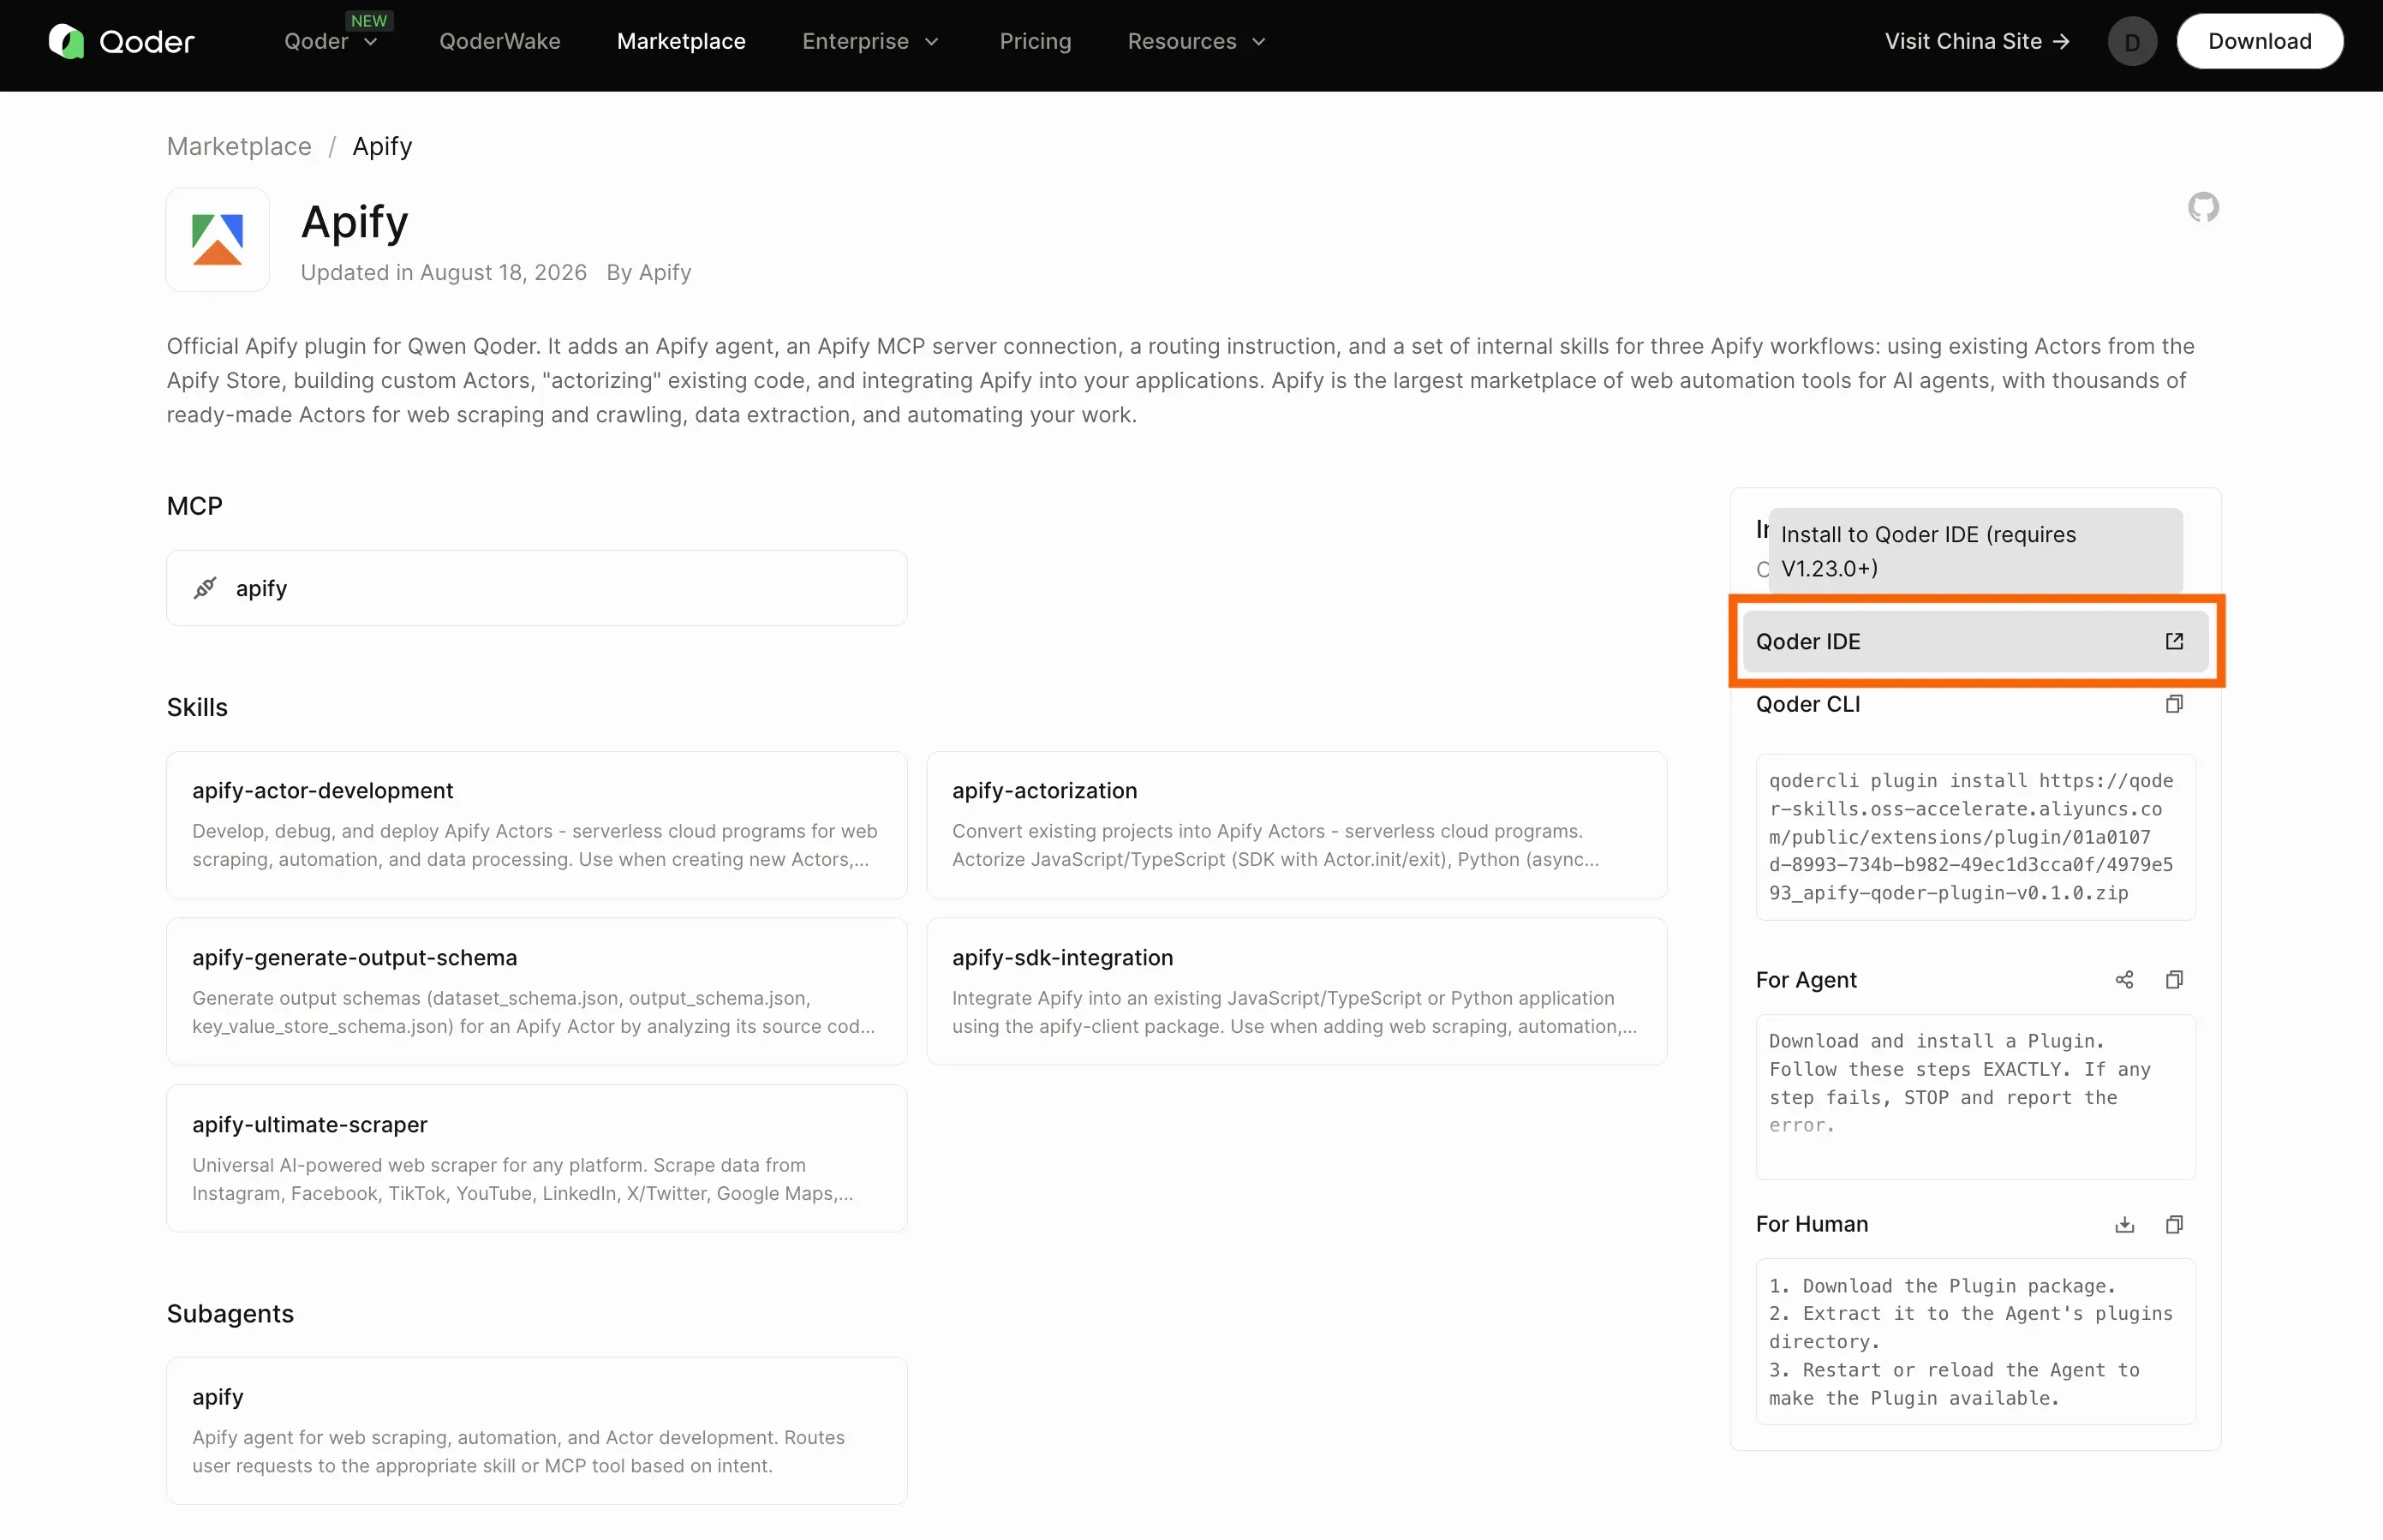
Install directly from the Marketplace page, or import the downloaded package. The one-click install requires Qoder IDE version 1.23.0 or newer.
-
From the Marketplace page: open the Apify plugin on the Qoder Marketplace, select Qoder IDE, and confirm Install Plugin in the dialog the IDE opens.
-
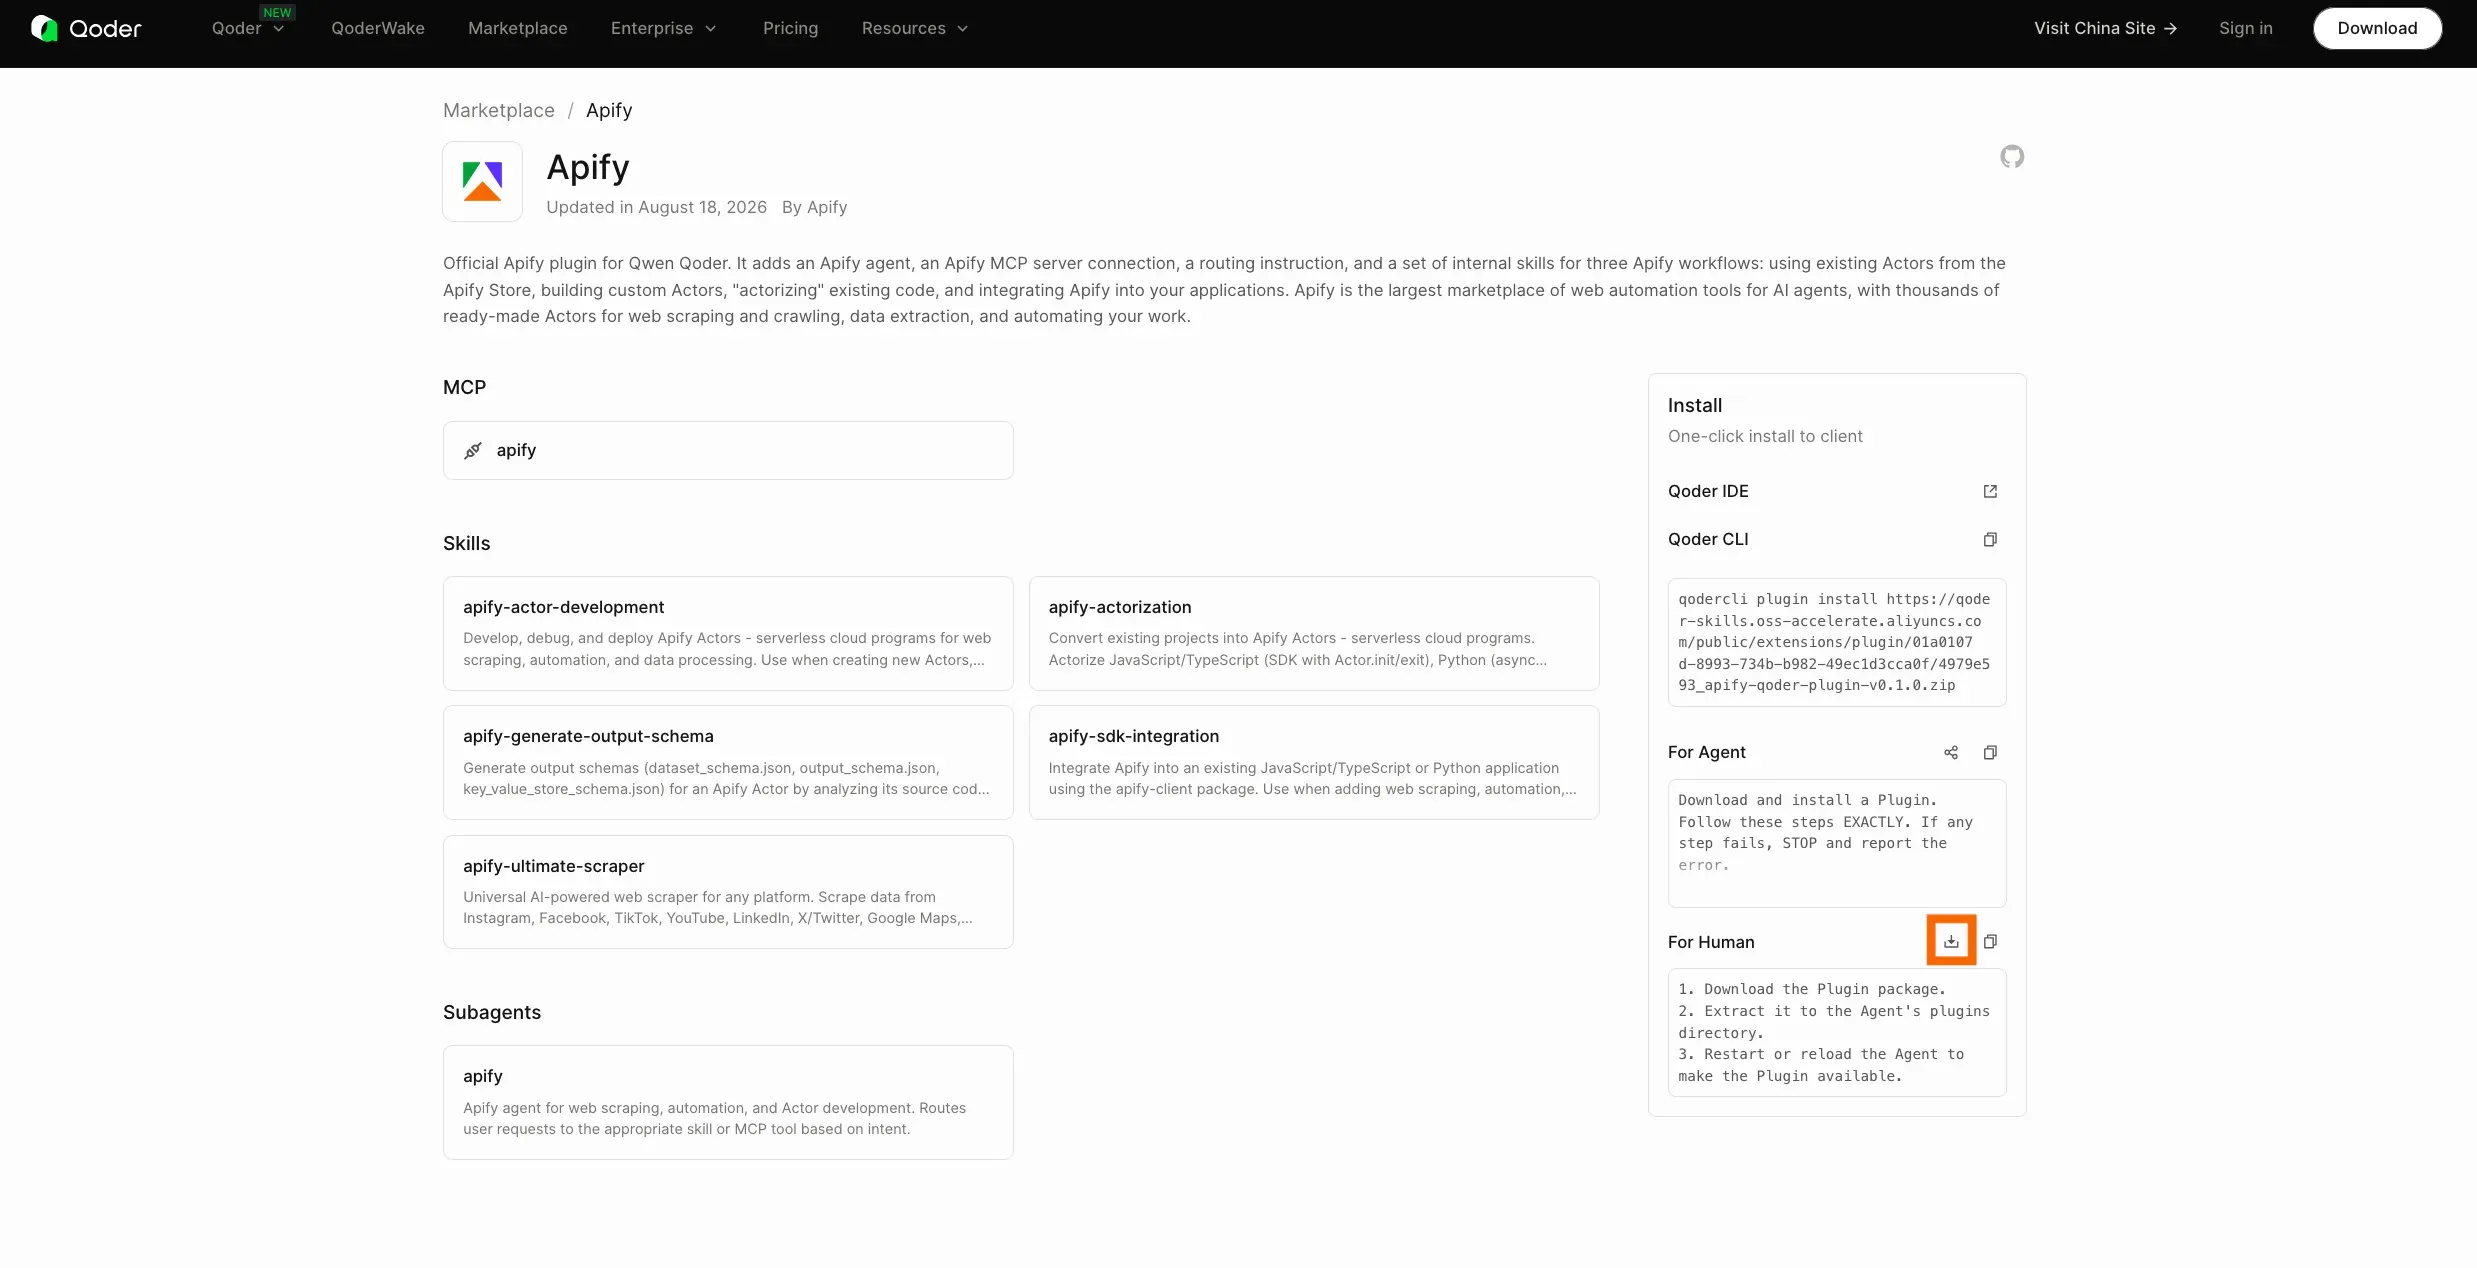
Manual import: on the same page, under For Human, download the plugin package. In the IDE, open the account menu, select Qoder Settings > Plugins, then under Custom select Import and choose the package.
The plugin appears under Installed or Custom. Make sure it's enabled, then open MCP Server to confirm the apify server is registered.
Qoder Desktop
The Desktop app installs the plugin from the downloaded package.
-
On the Apify plugin's Marketplace page, under For Human, download the plugin package.
-
In the Desktop app, open Settings > Plugins, then under Custom select Import and choose the package.
-
Make sure the plugin is enabled, then confirm the
apifyserver appears under MCP Server.
QoderWork
QoderWork imports the plugin package locally and runs it as a connector.
-
On the Apify plugin's Marketplace page, under For Human, download the plugin package.
-
In QoderWork, open Plugins, select + Add, then Upload plugin, and choose the package.
-
Turn on Enable in chat so the plugin's commands and connector are available in tasks and chat.
The Apify MCP server registers when the surface starts. If the Apify tools don't appear after installing, fully quit and reopen the CLI, IDE, Desktop app, or QoderWork.
Authenticate to Apify
The plugin bundles the Apify MCP server and connects to its default endpoint, so authenticate before your first prompt - without a token the server rejects every tool call, including Actor search. Each surface triggers the same Apify OAuth flow in your browser.
-
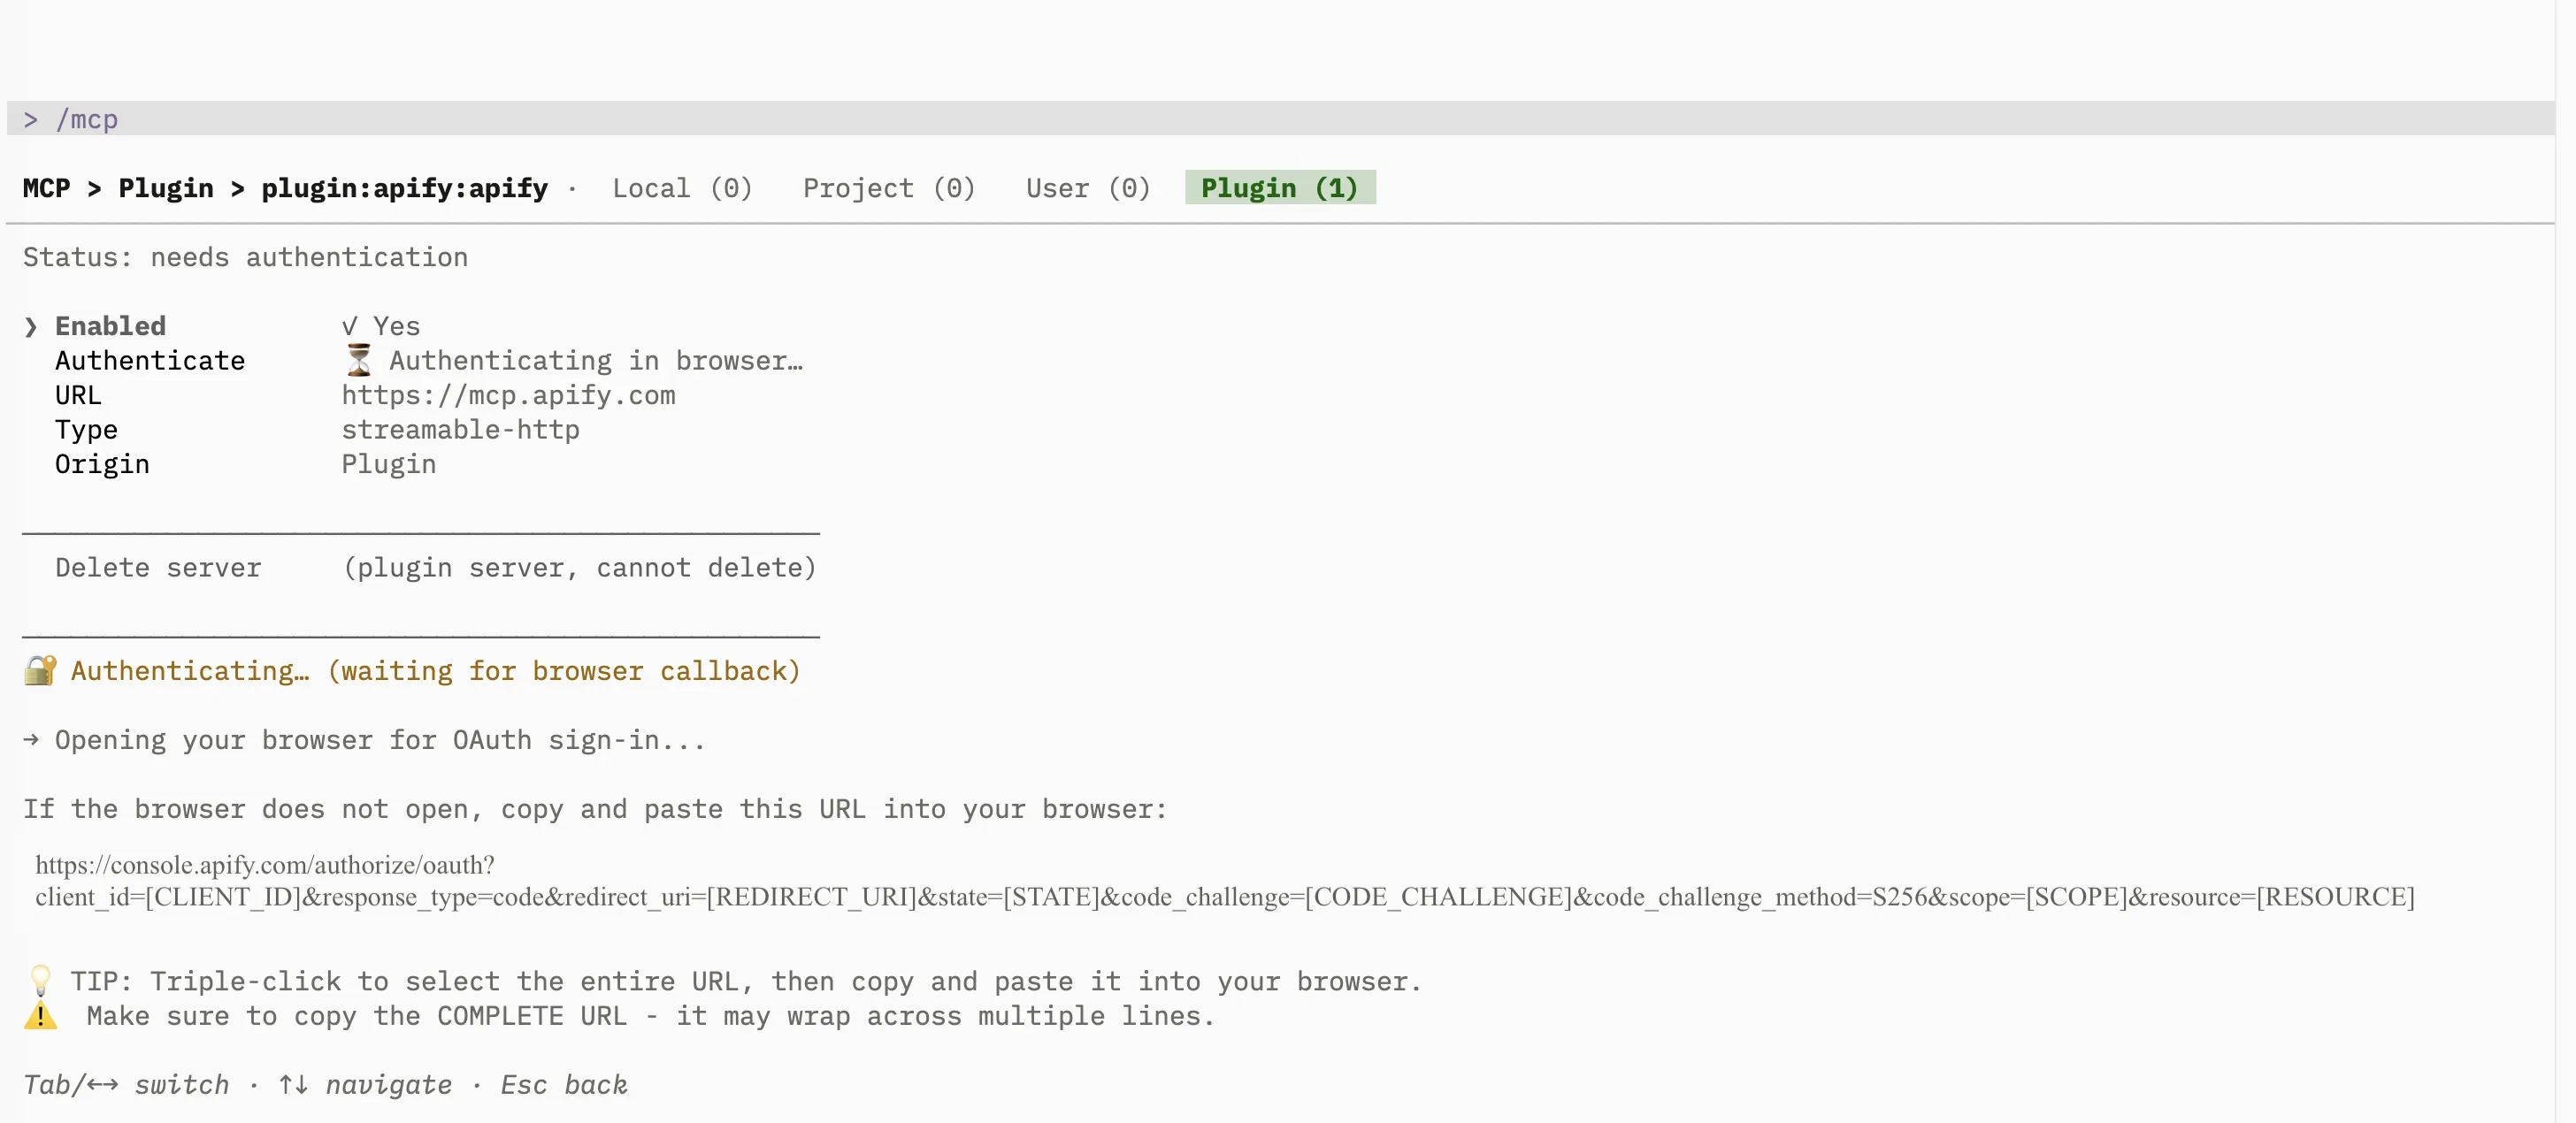
CLI: run
/mcpand open the Plugin tab, then:- Select plugin:apify:apify. Its status reads needs authentication.
- Select Authenticate, then Yes at the consent prompt.
- If the browser doesn't open, copy the full URL from the terminal (triple-click to select it) and open it manually.
- When sign-in completes, the server status changes to ready.
-
IDE and Desktop: on the first action that needs your account, the app opens a browser tab for the Apify OAuth flow.
-
QoderWork: open the
apifyplugin, and under Connectors select Auth on the Apify connector.
Review the permissions and allow access to finish signing in. The connection stays authenticated for future sessions, and you can revoke access at any time in Apify Console > Settings > Integrations.
Run your first prompt
Describe what you want in natural language. The apify agent routes the request to the right tool or skill, so you don't need to name tools yourself.
List what Apify tools you have available.
To go further, ask it to find an Actor for a task:
Use Apify to find a good Actor for scraping Google Maps places. Show me the best option, its input requirements, pricing model, and what kind of dataset output it returns. Do not run the Actor yet.
Bundled skills
| Skill | Description |
|---|---|
apify-ultimate-scraper | Extraction using existing Actors for multi-step scraping and lead-generation workflows. |
apify-actor-development | Full Actor lifecycle - template selection, development, local testing, and deployment with apify push. |
apify-actorization | Converts existing JavaScript, TypeScript, Python, or CLI projects into Apify Actors. |
apify-generate-output-schema | Generates dataset and key-value store schemas for existing Actors. |
apify-sdk-integration | Integrates Actor execution into applications using the apify-client package. |
In the CLI, IDE, and Desktop app, the agent invokes these skills automatically. In QoderWork, each skill is also a quick command - type / in a task or chat to run one directly.
To run apify-ultimate-scraper:
Find 10 highly rated coffee shops in Seattle with name, address, rating, phone, and website.
To run apify-actor-development:
Create an Apify Actor that accepts a
startUrlandmaxPagesinput, crawls the site, and stores each page title and URL.
To run apify-sdk-integration:
Add Apify to this project. The Node.js API route should run an Actor and return dataset items as JSON.
Add the Apify MCP server
The JetBrains plugin and QoderWake don't support Qoder plugins, so the bundled skills and the apify agent aren't available there. You can still give them the Apify tools by connecting the Apify MCP server directly.
QoderWake
QoderWake runs digital employees called Wakers. Add the Apify MCP server as a custom connector.
-
In the QoderWake management console, create a Waker, then open it and select Edit to reach its settings.
-
Open Connector, select the Installed tab, and under Custom select Add.
-
In the Add MCP Server dialog, set Server Type to Streamable HTTP, name the server (for example
apify-mcp), set the server URL tohttps://mcp.apify.com, then select Add. -
Restart QoderWake. The connector then appears under Custom with the status Not connected.
-
Select Auth on the connector and complete the Apify sign-in in your browser.
-
Restart QoderWake again. The connector status changes to connected, and the Waker can call the Apify tools.
The Waker gains the Apify MCP tools for searching Apify Store, running Actors, and retrieving datasets. To revoke access later, select Reset authorization on the connector, or manage the connection in Apify Console > Settings > Integrations.
JetBrains plugin
The Qoder JetBrains plugin connects to the Apify MCP server as a remote MCP server.
-
In your JetBrains IDE, select the Qoder icon in the status bar, then select Advanced Settings.
-
Go to Personal Settings > MCP Servers and select Add Remote MCP.
-
Enter a Name, set Remote MCP URL to
https://mcp.apify.com(the Command is generated from the URL), then select OK. -
Complete the Apify sign-in in your browser when prompted.
The Qoder agent in the IDE can then call the Apify MCP tools.
Troubleshooting
Common issues and how to fix them.
The Apify MCP server doesn't appear
The server registers at startup. Confirm the plugin is enabled, then fully quit and reopen the surface. In the IDE and Desktop app, check the MCP Server page; in the CLI, run /mcp.
The Apify plugin isn't in the marketplace search
The in-app marketplace does not list the Apify plugin yet. Install it from the Marketplace page (CLI command or IDE one-click), or import the downloaded package (IDE, Desktop, QoderWork).
Actor runs time out
Increase the request timeout for the apify server. See Limitations for why long-running Actors can exceed a single tool call.
Browser doesn't open, or OAuth fails
If the browser doesn't open automatically, copy the OAuth URL shown by the surface and open it manually. If sign-in still fails, add an Authorization header to the apify server with a token from Apify Console > Settings > Integrations:
"headers": {
    "Authorization": "Bearer <APIFY_TOKEN>"
}
Limitations
- Long-running Actors may exceed the time a single tool call waits for completion. Reduce the scope or split the work across multiple prompts.
- Each Actor run consumes Apify platform usage from your plan in addition to any Qoder usage. See Billing for details.
- Skills that edit files in your project (Actor development, actorization, SDK integration) make local changes - review them before deploying or committing.
Related integrations
- Qwen integration - Use Apify in Qwen Code and QwenWork
- MCP server integration - Use the Apify MCP server with other clients
Resources
- Apify plugin for Qoder - Source repository and README with advanced setup notes
- Qoder documentation - Official Qoder docs
- Apify Store - Browse Actors you can run from Qoder