Actor tasks
Actor tasks let you create multiple reusable configurations of a single Actor, adapted for specific use cases. For example, you can create one Web Scraper configuration (task) that scrapes the latest reviews from IMDb, another that scrapes nike.com for the latest sneakers, and a third that scrapes your competitor's e-shop. You can then use and reuse these configurations directly from Apify Console, Schedules, or API.
You can find all your tasks in the Apify Console.
Create
To create a task, open any Actor from Apify Store or your list of Actors in Apify Console. At the top-right section of the page, click the Save as a new task button.

Configure
You can set up your task's input under the Input tab. A task's input configuration works just like an Actor's. After all, it's just a copy of an Actor you can pre-configure for a specific scenario. You can use either JSON or the visual input UI.
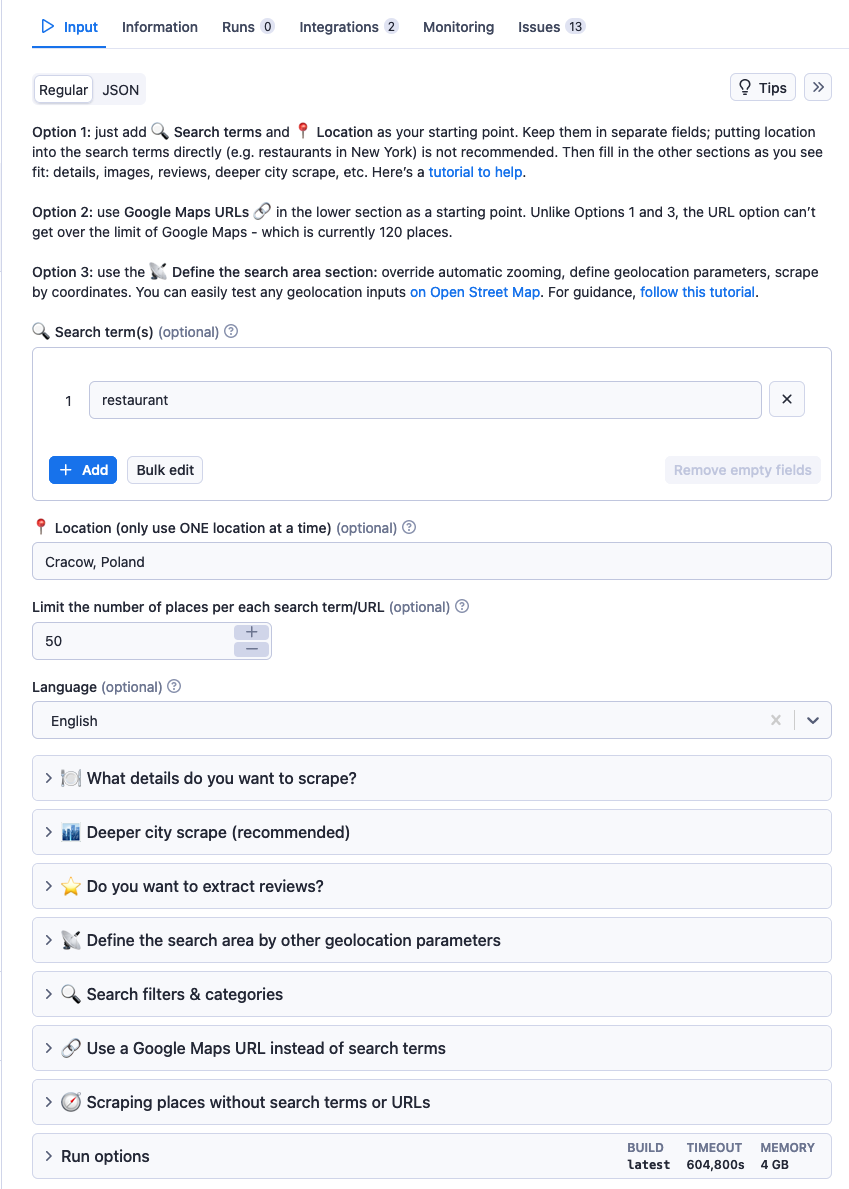
An Actors' input fields may vary depending on their purpose, but they all follow the same principle: you provide an Actor with the information it needs so it can do what you want it to do.
You can set run options such as timeout and memory in the Run options tab of the task's input configuration.
Naming
To make a task easier to identify, you can give it a name, title, and description by clicking its caption on the detail page. A task's name should be at least 3 characters long with a limit of 63 characters.
Run
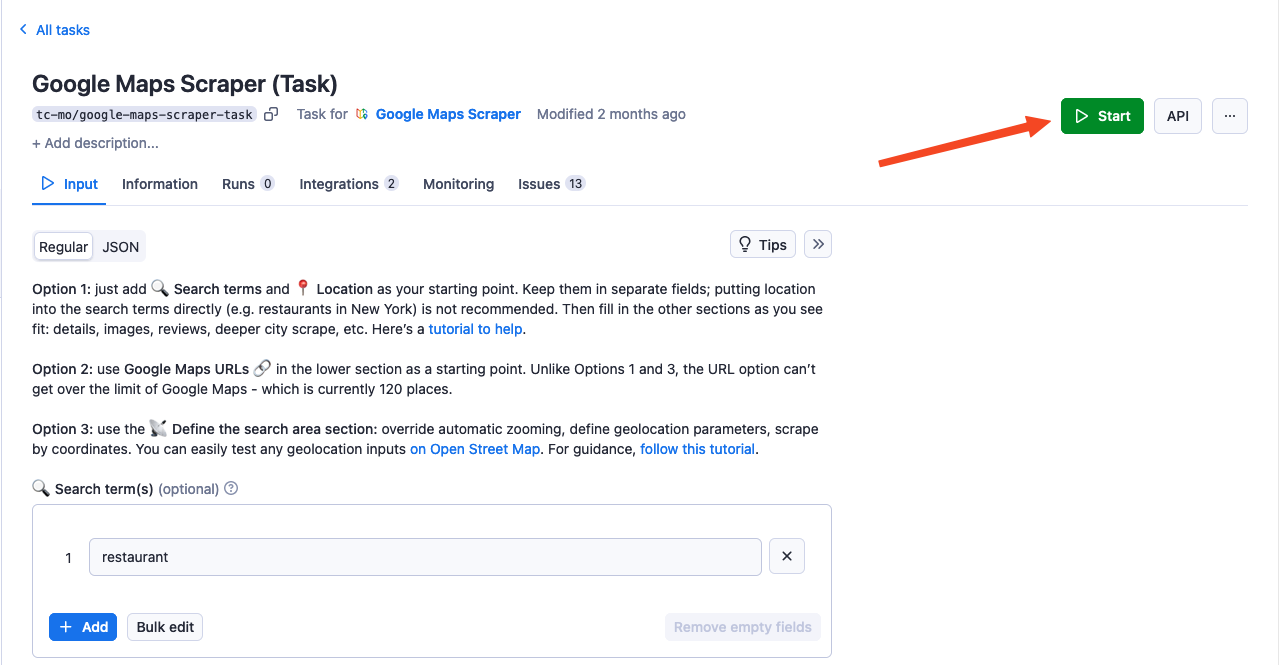
Once you've configured your task, you can run it using the Start button on the top-right side of the screen.
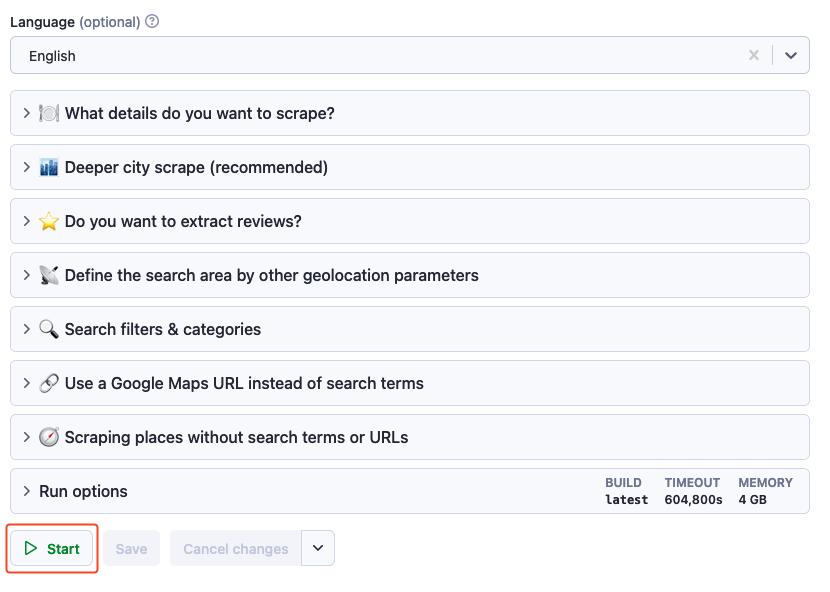
Or using the Start button positioned following the input configuration.
You can also run tasks using:
- Schedules.
- Directly via the Apify API.
- The JavaScript API client.
- The Python API client.
Share
Like any other resource, you can share your Actor tasks with other Apify users via the access rights system.