Web scraping basics for JavaScript devs
Learn how to use JavaScript to extract information from websites in this practical course, starting from the absolute basics.
In this course we'll use JavaScript to create an application for watching prices. It'll be able to scrape all product pages of an e-commerce website and record prices. Data from several runs of such program would be useful for seeing trends in price changes, detecting discounts, etc.
What we'll do
- Inspect pages using browser DevTools.
- Download web pages using the Fetch API.
- Extract data from web pages using the Cheerio library.
- Save extracted data in various formats (e.g. CSV which MS Excel or Google Sheets can open) using the json2csv library.
- Follow links programmatically (crawling).
- Save time and effort with frameworks, such as Crawlee, and scraping platforms, such as Apify.
Who is this course for
Anyone with basic knowledge of developing programs in JavaScript who wants to start with web scraping can take this course. The course does not expect you to have any prior knowledge of other web technologies or scraping.
Requirements
- A macOS, Linux, or Windows machine with a web browser and Node.js installed.
- Familiarity with JavaScript basics: variables, conditions, loops, functions, strings, arrays, objects, files, classes, promises, imports, and exceptions.
- Comfort with building a Node.js package and installing dependencies with
npm. - Familiarity with running commands in Terminal (macOS/Linux) or Command Prompt (Windows).
You may want to know
Let's explore the key reasons to take this course. What is web scraping good for, and what career opportunities does it enable for you?
Why learn scraping
The internet is full of useful data, but most of it isn't offered in a structured way that's easy to process programmatically. That's why you need scraping, a set of approaches to download websites and extract data from them.
Scraper development is also a fun and challenging way to learn web development, web technologies, and understand the internet. You'll reverse-engineer websites, understand how they work internally, discover what technologies they use, and learn how they communicate with servers. You'll also master your chosen programming language and core programming concepts. Understanding web scraping gives you a head start in learning web technologies such as HTML, CSS, JavaScript, frontend frameworks (like React or Next.js), HTTP, REST APIs, GraphQL APIs, and more.
Why build your own scrapers
Scrapers are programs specifically designed to mine data from the internet. Point-and-click or no-code scraping solutions do exist, but they only take you so far. While simple to use, they lack the flexibility and optimization needed to handle advanced cases. Only custom-built scrapers can tackle more difficult challenges. And unlike ready-made solutions, they can be fine-tuned to perform tasks more efficiently, at a lower cost, or with greater precision.
Why become a scraper dev
As a scraper developer, you are not limited by whether certain data is available programmatically through an official API - the entire web becomes your API! Here are some things you can do if you understand scraping:
- Improve your productivity by building personal tools, such as your own real estate or rare sneakers watchdog.
- Companies can hire you to build custom scrapers mining data important for their business.
- Become an invaluable asset to data journalism, data science, or nonprofit teams working to make the world a better place.
- You can publish your scrapers on platforms like the Apify Store and earn money by renting them out to others.
Why learn with Apify
We are Apify, a web scraping and automation platform. We do our best to build this course on top of open source technologies. That means what you learn applies to any scraping project, and you'll be able to run your scrapers on any computer. We will show you how a scraping platform can simplify your life, but that lesson is optional and designed to fit within our free tier.
Course content
📄️ DevTools: Inspecting
Lesson about using the browser tools for developers to inspect and manipulate the structure of a website.
📄️ DevTools: Locating HTML elements
Lesson about using the browser tools for developers to manually find products on an e-commerce website.
📄️ DevTools: Extracting data
Lesson about using the browser tools for developers to manually extract product data from an e-commerce website.
📄️ Downloading HTML
Lesson about building a Node.js application for watching prices. Using the Fetch API to download HTML code of a product listing page.
📄️ Parsing HTML
Lesson about building a Node.js application for watching prices. Using the Cheerio library to parse HTML code of a product listing page.
📄️ Locating HTML elements
Lesson about building a Node.js application for watching prices. Using the Cheerio library to locate products on the product listing page.
📄️ Extracting data from HTML
Lesson about building a Node.js application for watching prices. Using string manipulation to extract and clean data scraped from the product listing page.
📄️ Saving data
Lesson about building a Node.js application for watching prices. Using the json2csv library to save data scraped from product listing pages in both JSON and CSV.
📄️ Getting links from HTML
Lesson about building a Node.js application for watching prices. Using the Cheerio library to locate links to individual product pages.
📄️ Crawling websites
Lesson about building a Node.js application for watching prices. Using the Fetch API to follow links to individual product pages.
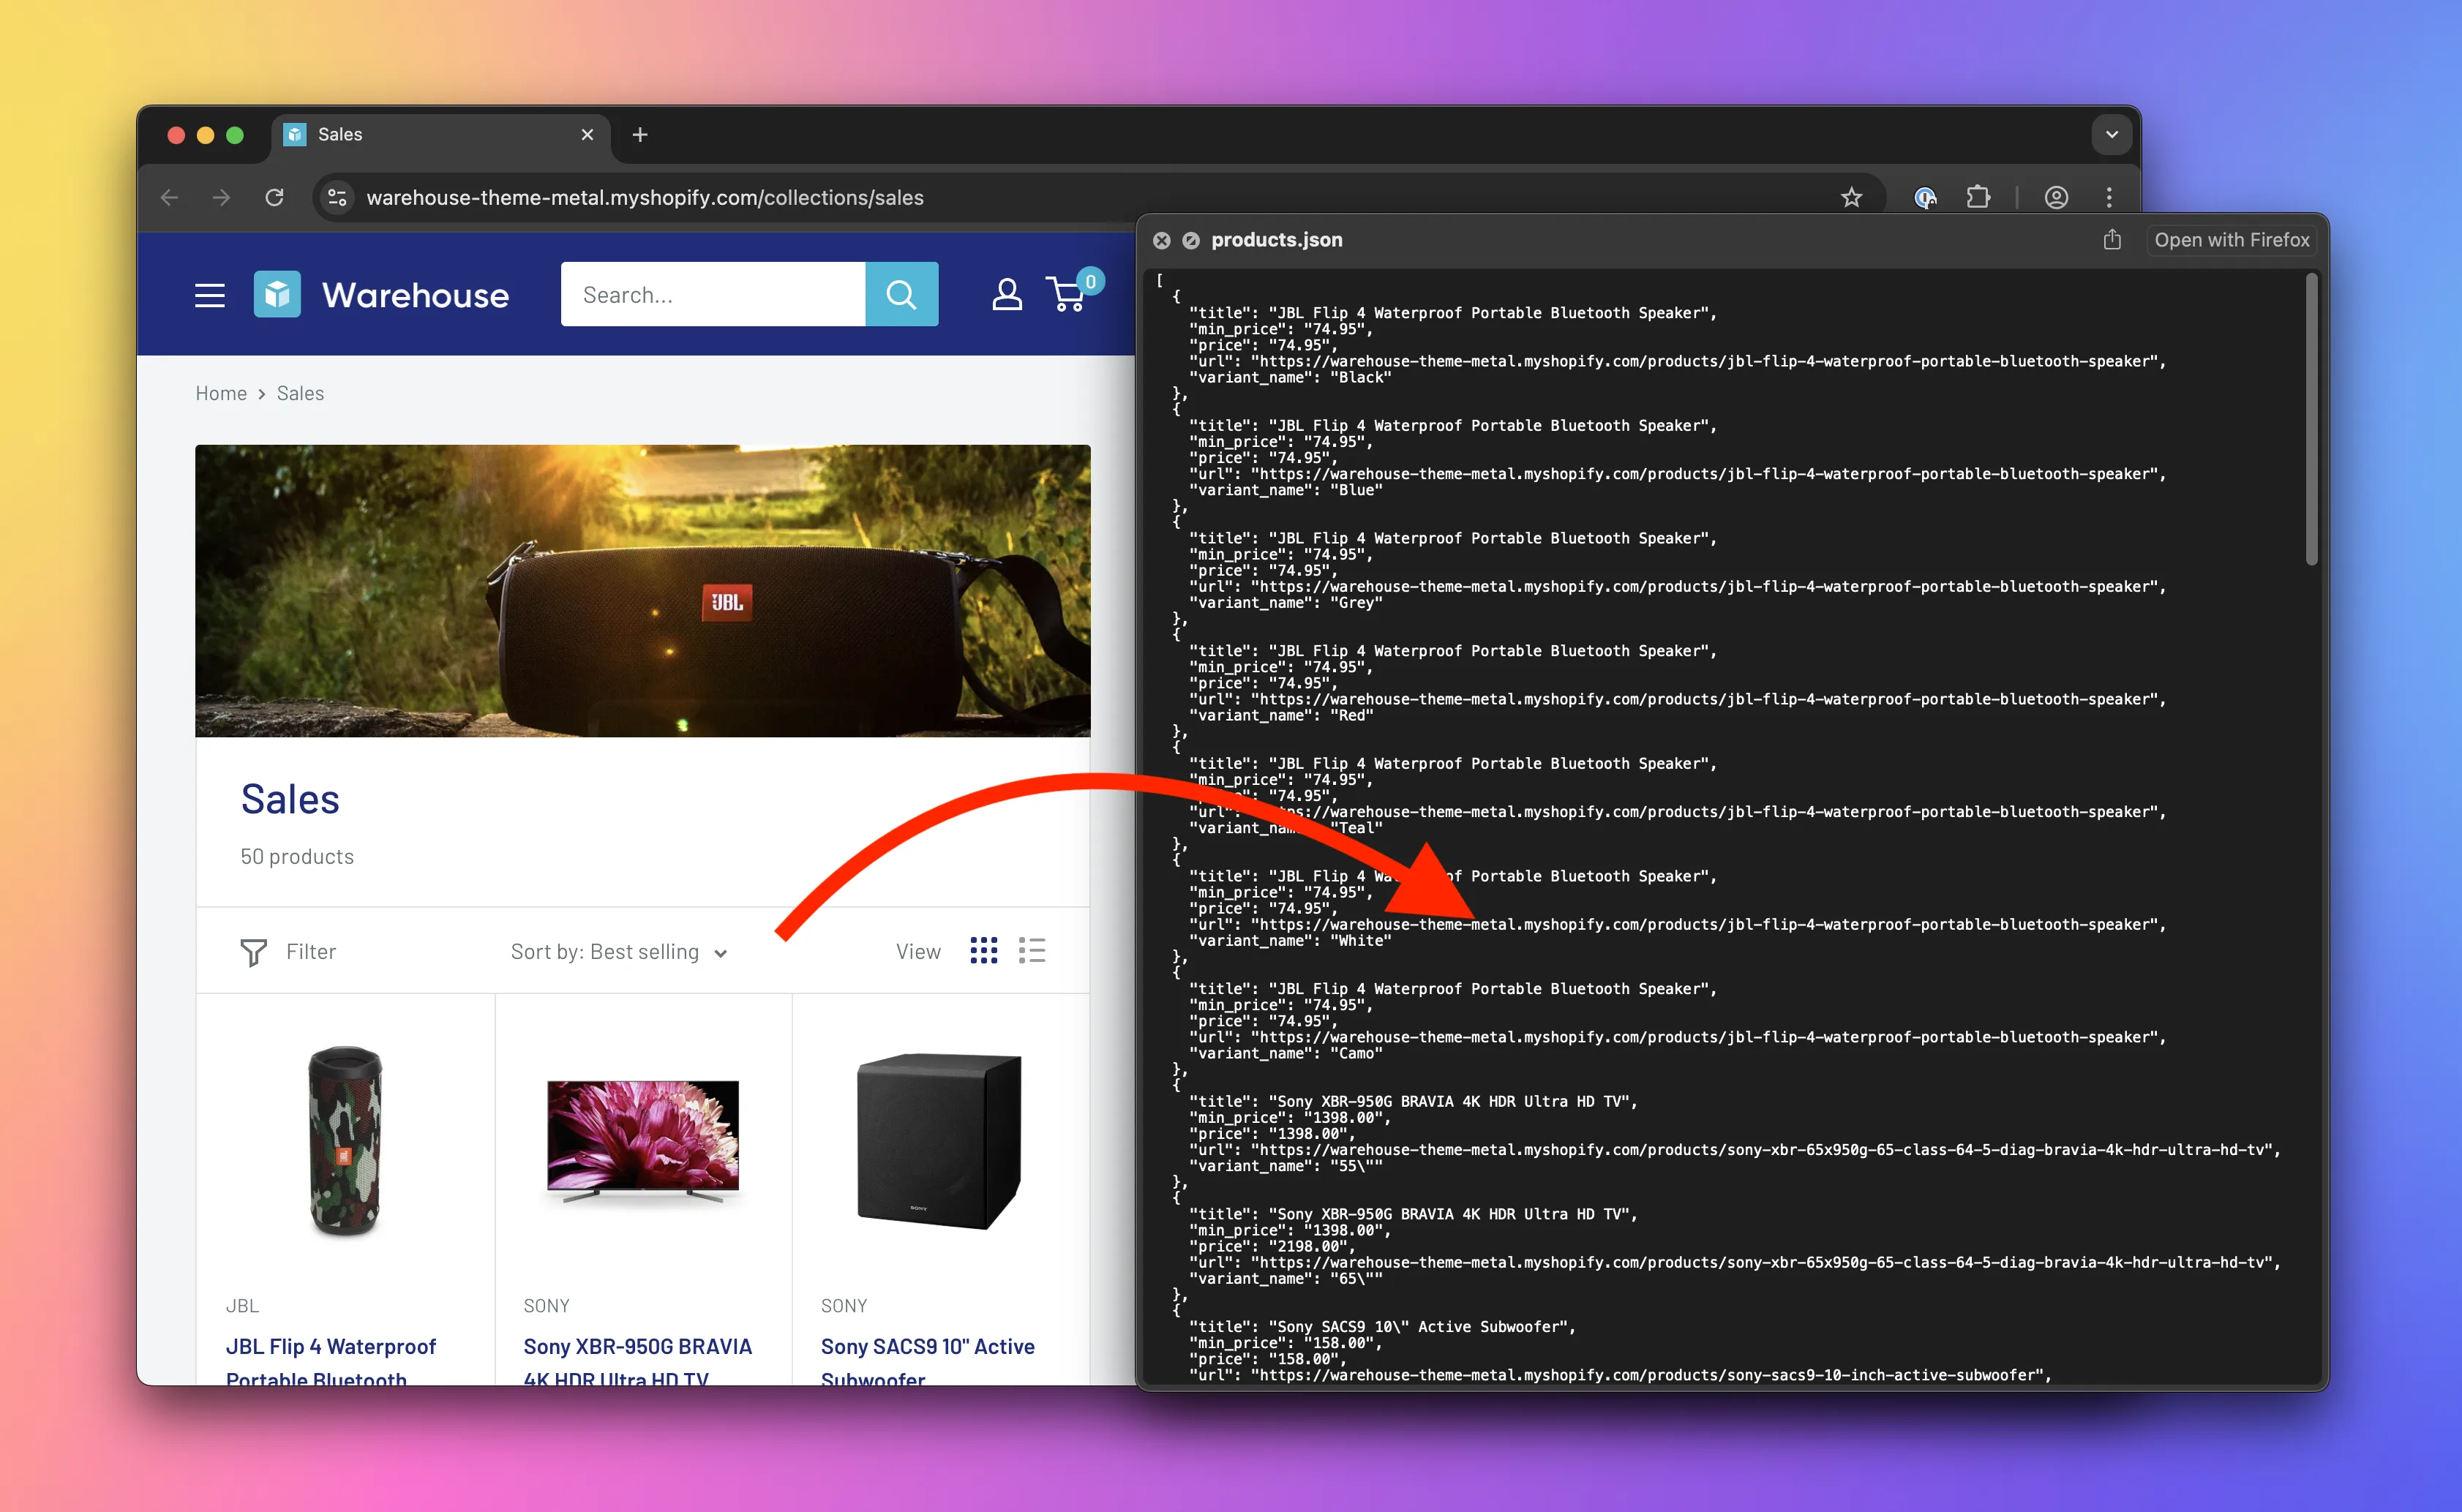
📄️ Scraping product variants
Lesson about building a Node.js application for watching prices. Using browser DevTools to figure out how to extract product variants and exporting them as separate items.
📄️ Using a framework
Lesson about building a Node.js application for watching prices. Using the Crawlee framework to simplify creating a scraper.
📄️ Using a platform
Lesson about building a Node.js application for watching prices. Using the Apify platform to deploy a scraper.