The Apify API
Learn how to use the Apify API to programmatically call your Actors, retrieve data stored on the platform, view Actor logs, and more!
Apify's API is your ticket to the Apify platform without even needing to access the Apify Console web-interface. The API is organized around RESTful HTTP endpoints.
In this lesson, we'll be learning how to use the Apify API to call an Actor and view its results. We'll be using the Actor we created in the previous lesson, so if you haven't already gotten that one set up, go ahead do that before moving forward if you'd like to follow along.
Finding your endpoint
Within one of your Actors on the Apify Console (we'll use the adding-actor from the previous lesson), click on the API button in the top right-hand corner:
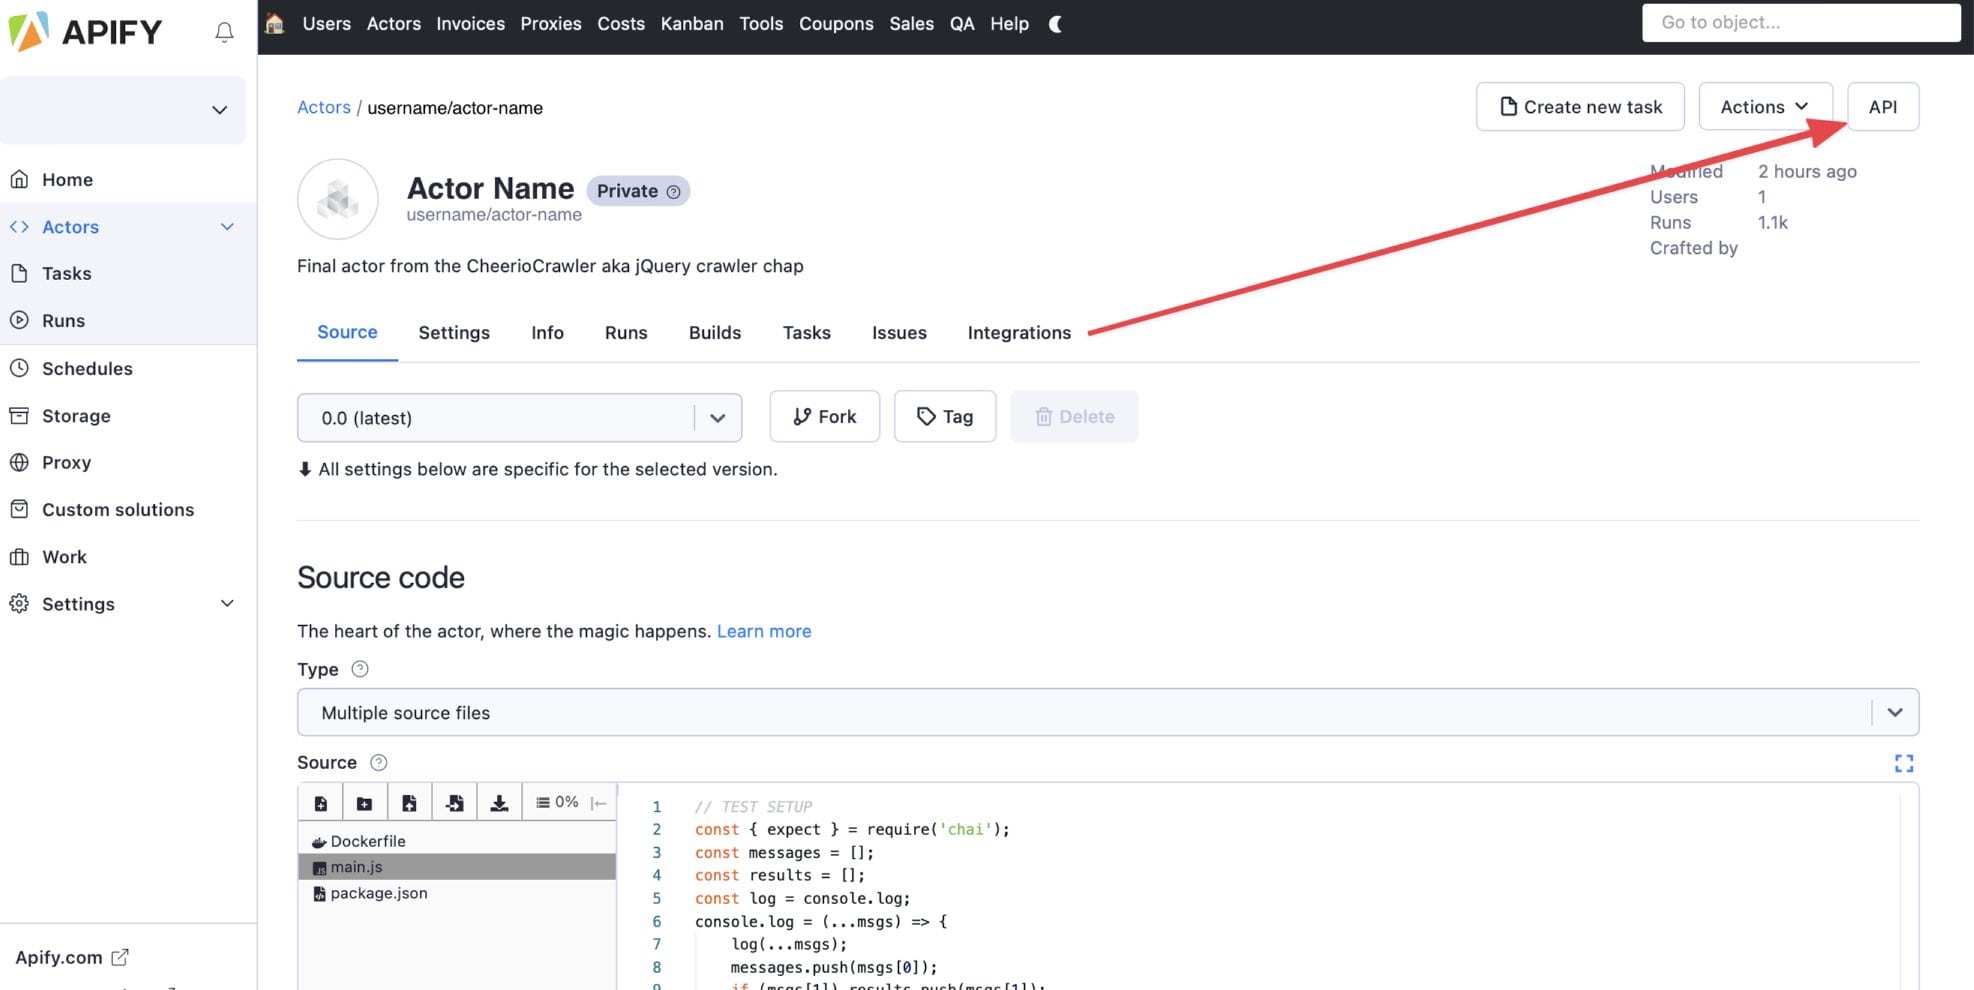
You should see a long list of API endpoints that you can copy and paste elsewhere, or even test right within the API modal. Go ahead and copy the endpoint labeled Run Actor synchronously and get dataset items. It should look something like this:
https://api.apify.com/v2/actors/YOUR_USERNAME~adding-actor/run-sync?token=YOUR_TOKEN
In this lesson, we'll only be focusing on this one endpoint, as it is the most popularly used one, however, don't let this limit your curiosity! Take a look at the other endpoints in the API window to learn about everything you can do to your Actor programmatically.
Now, let's move over to our favorite HTTP client (in this lesson we'll use Insomnia in order to prepare and send the request, but you can use Postman, Bruno, Httpie or any other client you like).
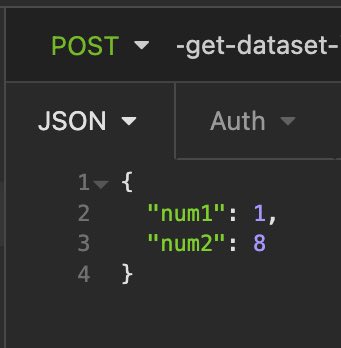
Providing input
Our adding-actor takes in two input values (num1 and num2). When using the Actor on the platform, provide these fields either through the UI generated by the INPUT_SCHEMA.json, or directly in JSON format. When providing input when making an API call to run an Actor, the input must be provided in the body of the POST request as a JSON object.
Parameters
Let's say we want to run our adding-actor via API and view its results in CSV format at the end. We'll achieve this by passing the format parameter with a value of csv to change the output format:
https://api.apify.com/v2/actors/YOUR_USERNAME~adding-actor/run-sync-get-dataset-items?token=YOUR_TOKEN_HERE&format=csv
Additional parameters can be passed to this endpoint. You can learn about them in our API documentation
Network components can record visited URLs, so it's more secure to send the token as a HTTP header, not as a parameter. The header should look like Authorization: Bearer YOUR_TOKEN. Popular HTTP clients, such as Postman or Insomnia, provide a convenient way to configure the Authorization header for all your API requests.
Sending the request
If you're not using an HTTP client, you can send the request through your terminal with this command:
curl -d '{"num1":1, "num2":8}' -H "Content-Type: application/json" -X POST "https://api.apify.com/v2/actors/YOUR_USERNAME~adding-actor/run-sync-get-dataset-items?token=YOUR_TOKEN_HERE&format=csv"
Here's the response we got:

And there it is! The Actor was run with our inputs of num1 and num2, then the dataset results were returned back to us in CSV format.
Apify API's many features
What we've done in this lesson only scratches the surface of what the Apify API can do. Right from Insomnia, or from any HTTP client, you can manage datasets and key-value stores, add to request queues, update Actors, and much more! Basically, whatever you can do on the platform's web interface, you also do through the API.
Next up
Next up, we'll be learning about how to use Apify's JavaScript and Python clients to interact with the API right within our code.