Monetizing your Actor
Learn how you can monetize your web scraping and automation projects by publishing Actors to users in Apify Store.
When you publish your Actor on the Apify platform, you have the option to make it a Paid Actor and earn revenue from users who benefit from your tool. You can choose between two pricing models:
- Rental
- Pay-per-result
Rental pricing model
With the rental model, you can specify a free trial period and a monthly rental price. After the trial, users with an Apify paid plan can continue using your Actor by paying the monthly fee. You can receive 80% of the total rental fees collected each month.
Example - rental pricing model
You make your Actor rental with 7 days free trial and then $30/month. During the first calendar month, three users start to use your Actor:
- First user, on Apify paid plan, starts the free trial on 15th
- Second user, on Apify paid plan, starts the free trial on 25th
- Third user, on Apify free plan, start the free trial on 20th
The first user pays their first rent 7 days after the free trial, i.e., on 22nd. The second user only starts paying the rent next month. The third user is on Apify free plan, so after the free trial ends on 27th, they are not charged and cannot use the Actor further until they get a paid plan. Your profit is computed only from the first user. They were charged $30, so 80% of this goes to you, i.e., 0.8 * 30 = $24.
Pay-per-result pricing model
In this model, you set a price per 1000 results. Users are charged based on the number of results your Actor produces. Your profit is calculated as 80% of the revenue minus platform usage costs. The formula is:
(0.8 * revenue) - costs = profit
Pay-per-result unit pricing for cost computation
| Service | Unit price |
|---|---|
| Compute unit | $0.3 / CU |
| Residential proxies | $13 / GB |
| SERPs proxy | $3 / 1,000 SERPs |
| Data transfer - external | $0.20 / GB |
| Data transfer - internal | $0.05 / GB |
| Dataset - timed storage | $1.00 / 1,000 GB-hours |
| Dataset - reads | $0.0004 / 1,000 reads |
| Dataset - writes | $0.005 / 1,000 writes |
| Key-value store - timed storage | $1.00 / 1,000 GB-hours |
| Key-value store - reads | $0.005 / 1,000 reads |
| Key-value store - writes | $0.05 / 1,000 writes |
| Key-value store - lists | $0.05 / 1,000 lists |
| Request queue - timed storage | $4.00 / 1,000 GB-hours |
| Request queue - reads | $0.004 / 1,000 reads |
| Request queue - writes | $0.02 / 1,000 writes |
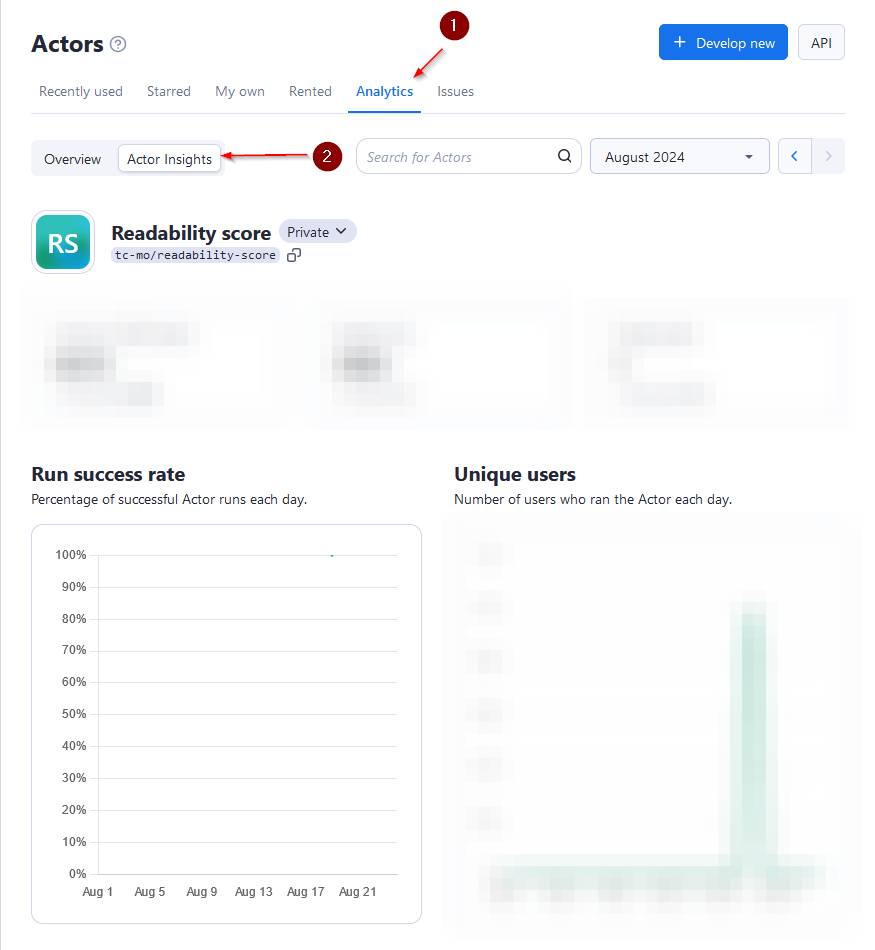
Only revenue & cost for Apify customers on paid plans are taken into consideration when computing your profit. Users on free plans are not reflected there, although you can see statistics about the potential revenue of users that are currently on free plans in Actor Insights in the Apify Console.
Gigabyte-hours (GB-hours) are a unit of measurement used to quantify data storage and processing capacity over time. To calculate GB-hours, multiply the amount of data in gigabytes by the number of hours it's stored or processed.
For example, if you host 50GB of data for 30 days:
- Convert days to hours: 30 * 24 = 720
- Multiply data size by hours: 50 * 720 = 36,000
This means that storing 50 GB of data for 30 days results in 36,000 GB-hours.
Read more about Actors in the Store and different pricing models from the perspective of your users in the Store documentation.
Example - pay-per-result pricing model
You make your Actor pay-per-result and set price to be $1/1,000 results. During the first month, two users on Apify paid plans use your Actor to get 50,000 and 20,000 results, costing them $50 and $20 respectively. Let's say the underlying platform usage for the first user is $5 and for the second $2. Third user, this time on Apify free plan, uses the Actor to get 5,000 results, with underlying platform usage $0.5.
Your profit is computed only from the first two users, since they are on Apify paid plans. The revenue for the first user is $50 and for the second $20, i.e., total revenue is $70. The total underlying cost is $5 + $2 = $7. Since your profit is 80% of the revenue minus the cost, it would be 0.8 * 70 - 7 = $49.
Best practices for Pay-per-results Actors
To ensure profitable operation:
- Set memory limits in your
actor.jsonfile to control platform usage costs - Implement the
ACTOR_MAX_PAID_DATASET_ITEMScheck to prevent excess result generation - Test your Actor with various result volumes to determine optimal pricing
Setting up monetization
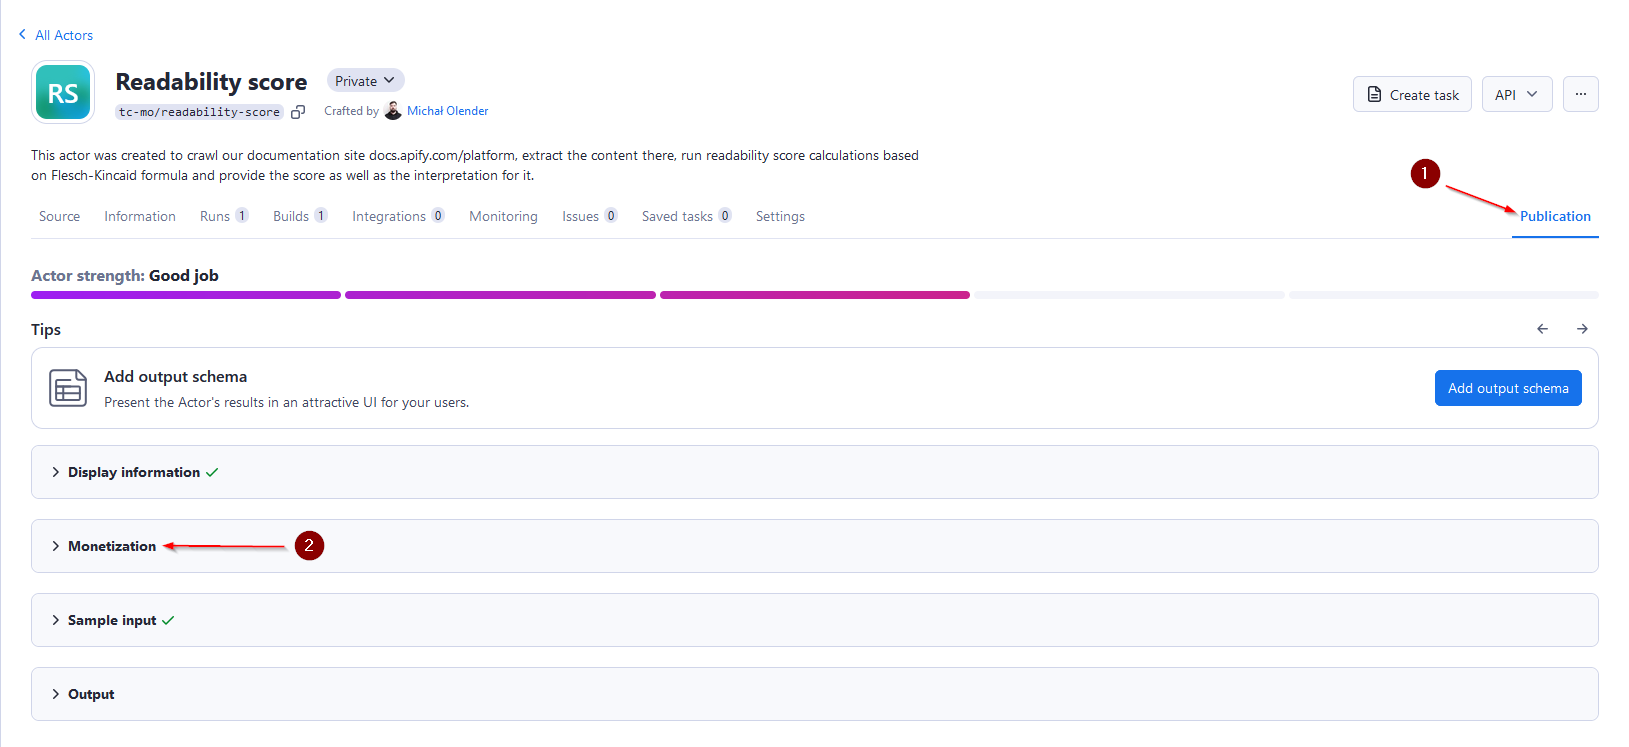
Navigate to your Actor page in the Apify Console choose Actor that you want to monetize, and select the Publication tab.
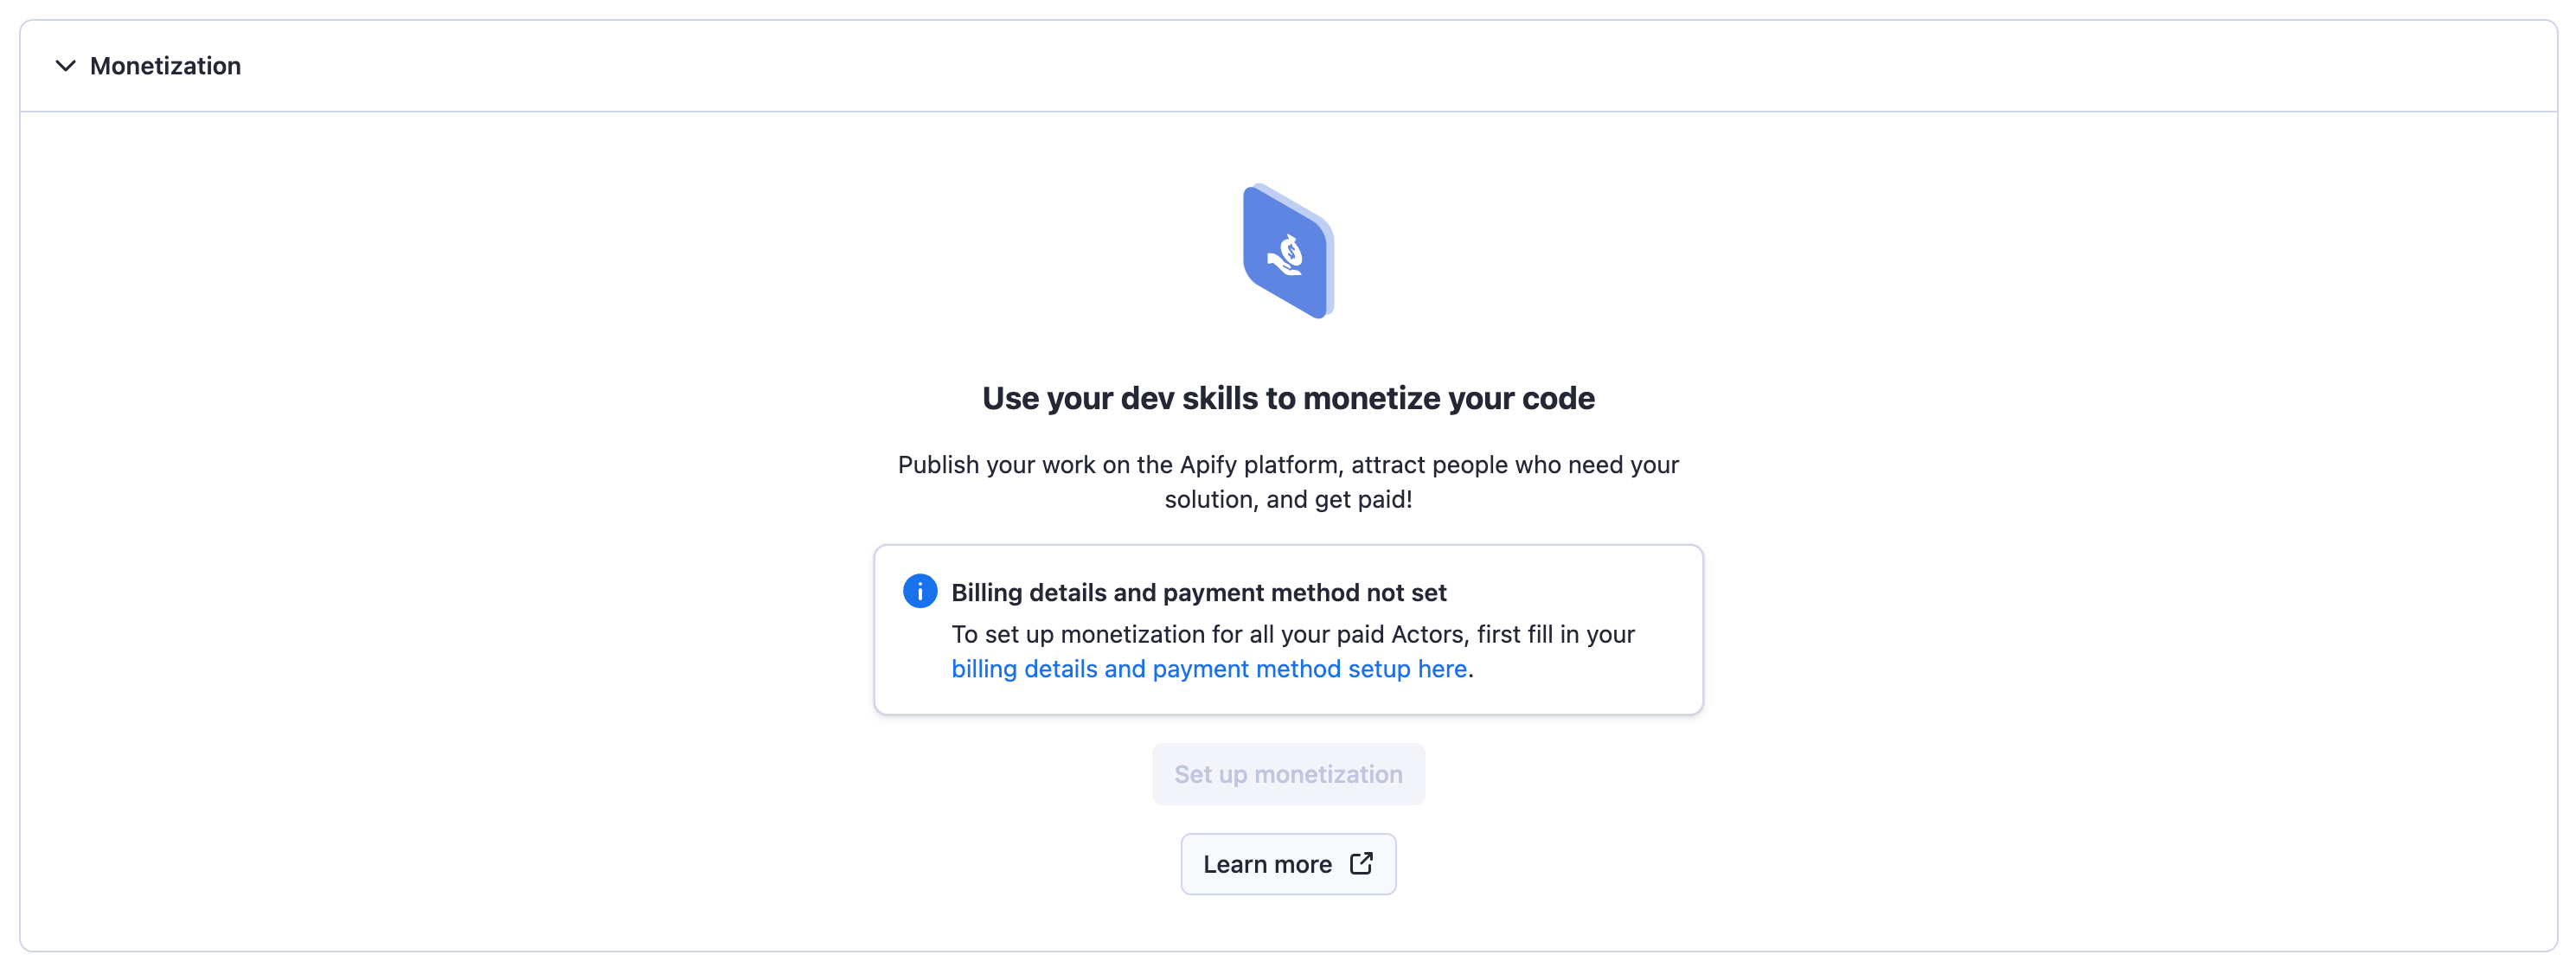
 Open the Monetization section and complete your billing and payment details.
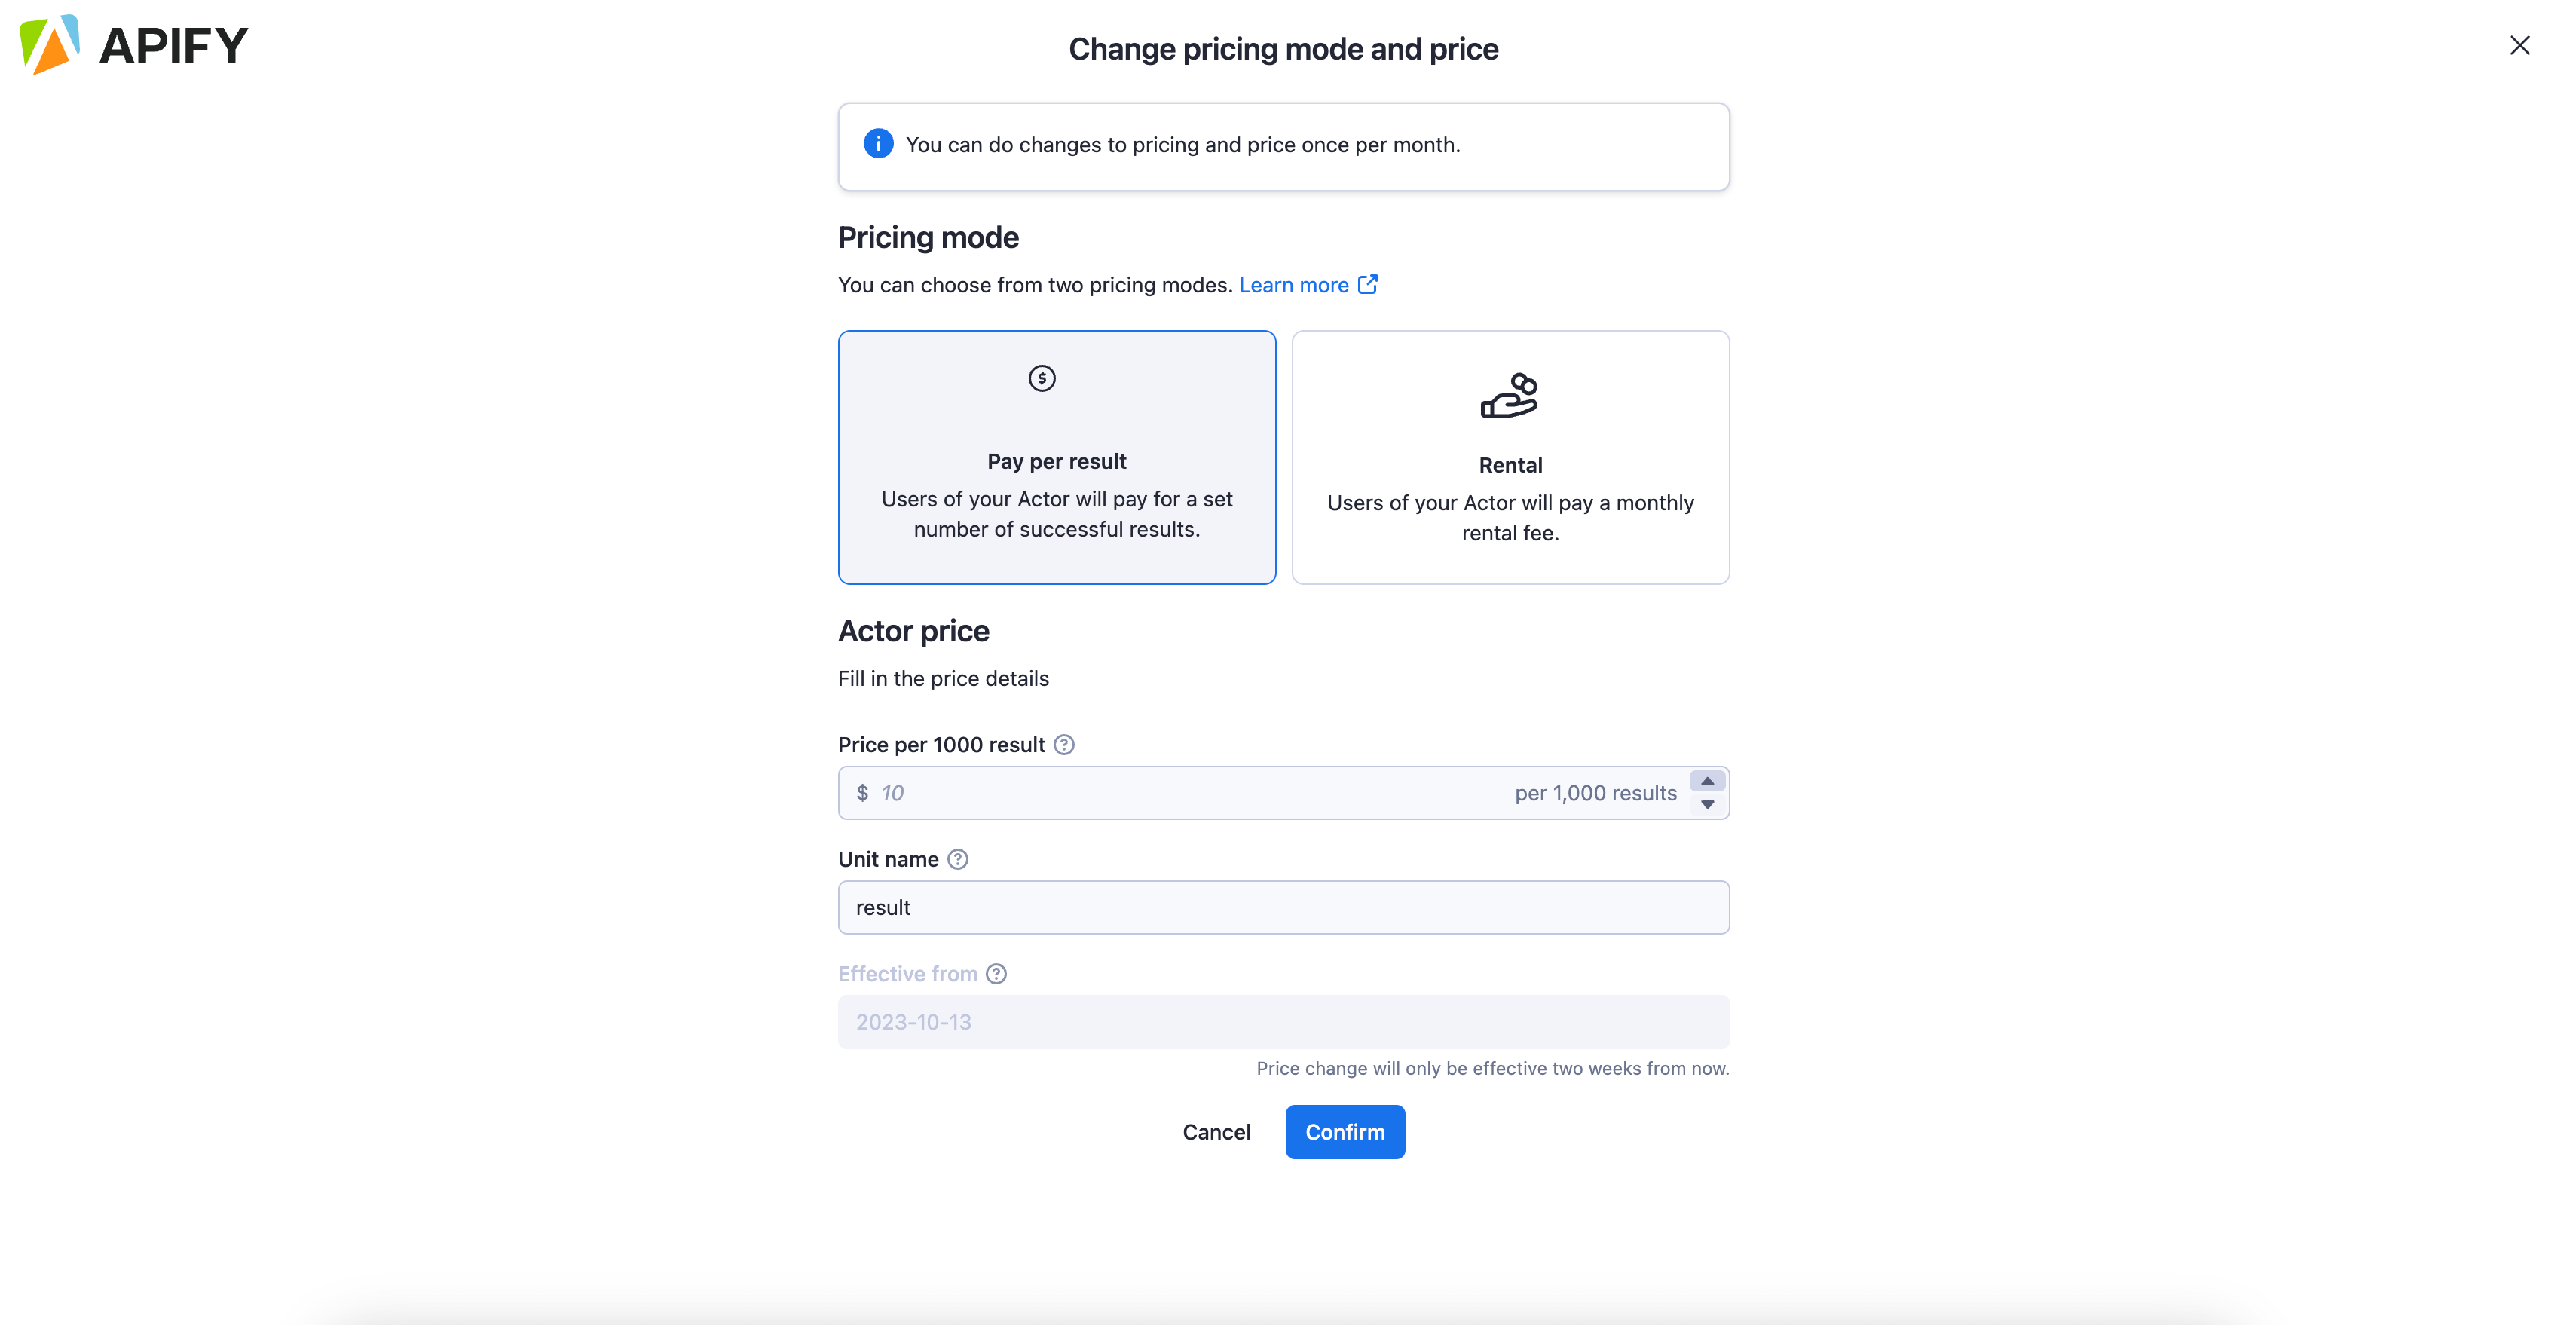
 Follow the monetization wizard to configure. Follow the monetization wizard to configure your pricing model.
Changing monetization
You can change the monetization setting of your Actor by using the same wizard as for the setup in the Monetization section of your Actor's Publication tab.
Most changes take effect immediately. However, major changes require a 14-day notice period and are limited to once per month to protect users.
Major changes that require 14-day notice include:
- Changing the pricing model (e.g., from rental to pay-per-result)
- Increasing prices
- Adding new pay-per-event charges
All other changes (such as decreasing prices, adjusting descriptions, or removing pay-per-event charges) take effect immediately.
You can make major monetization changes to each Actor only once per month. After making a major change, you must wait until it takes effect (14 days) plus an additional period before making another major change. For further information & guidelines, please refer to our Terms & Conditions
Payouts & analytics
Payout invoices are generated automatically on the 14th of each month. Review your invoice in the Settings > Payout section within one week. If not approved by the 20th, the system will auto-approve on the 21st.
Track your Actor's performance through:
-
The payout section for financial records
-
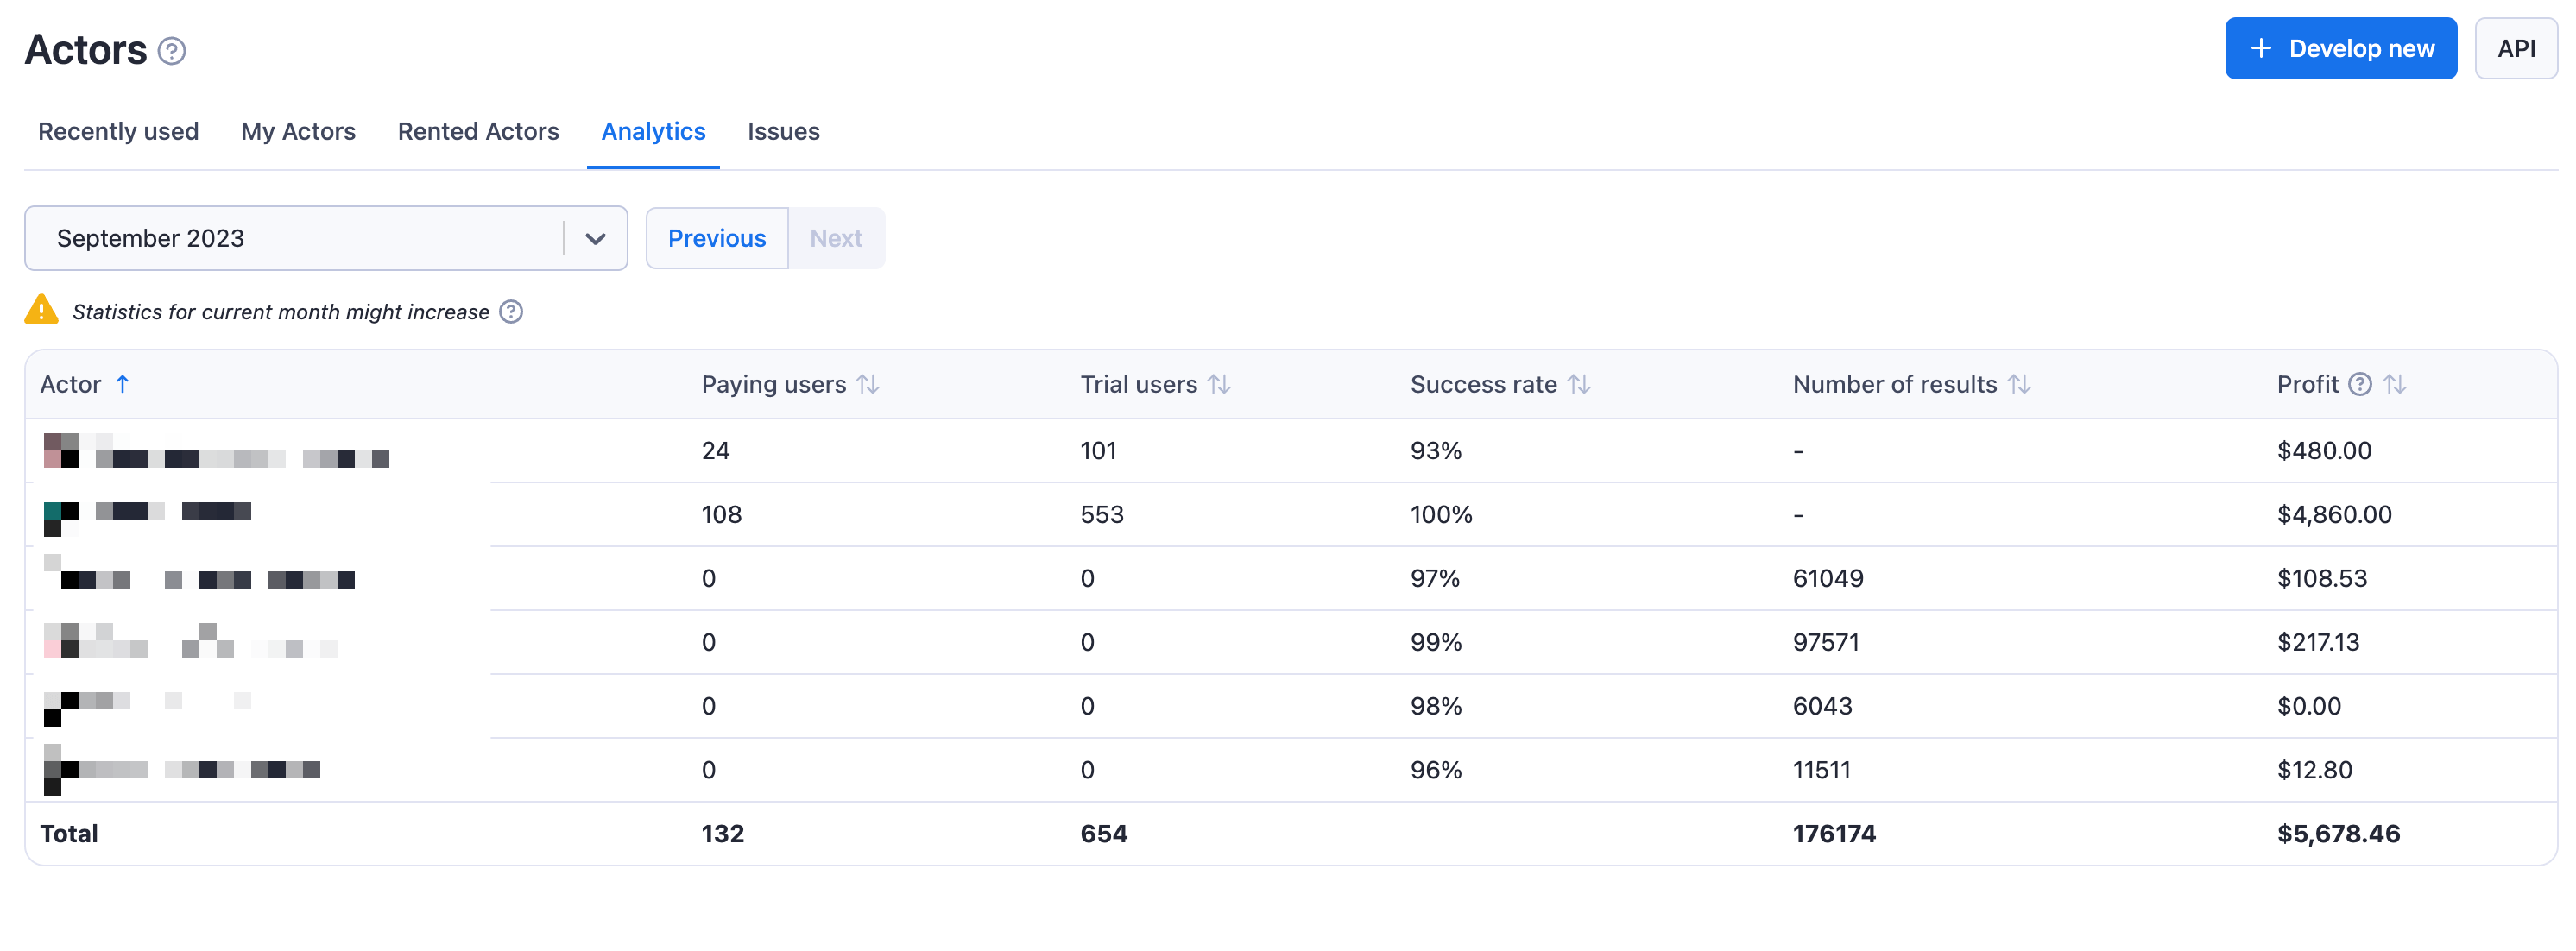
Actor Analytics for usage statistics
-
Individual Actor Insights for detailed performance metrics
Promoting your Actor
Create SEO-optimized descriptions and README files to improve search engine visibility. Share your Actor on multiple channels:
- Post on Reddit, Quora, and social media platform
- Create tutorial videos demonstrating key features
- Publish articles about your Actor on relevant websites
- Consider creating a product showcase on platforms like Product hunt
Remember to tag Apify in your social media posts for additional exposure. Effective promotion can significantly impact your Actor's success, differentiating between those with many paid users and those with few to none.
Learn more about promoting your Actor from Apify's Marketing Playbook.